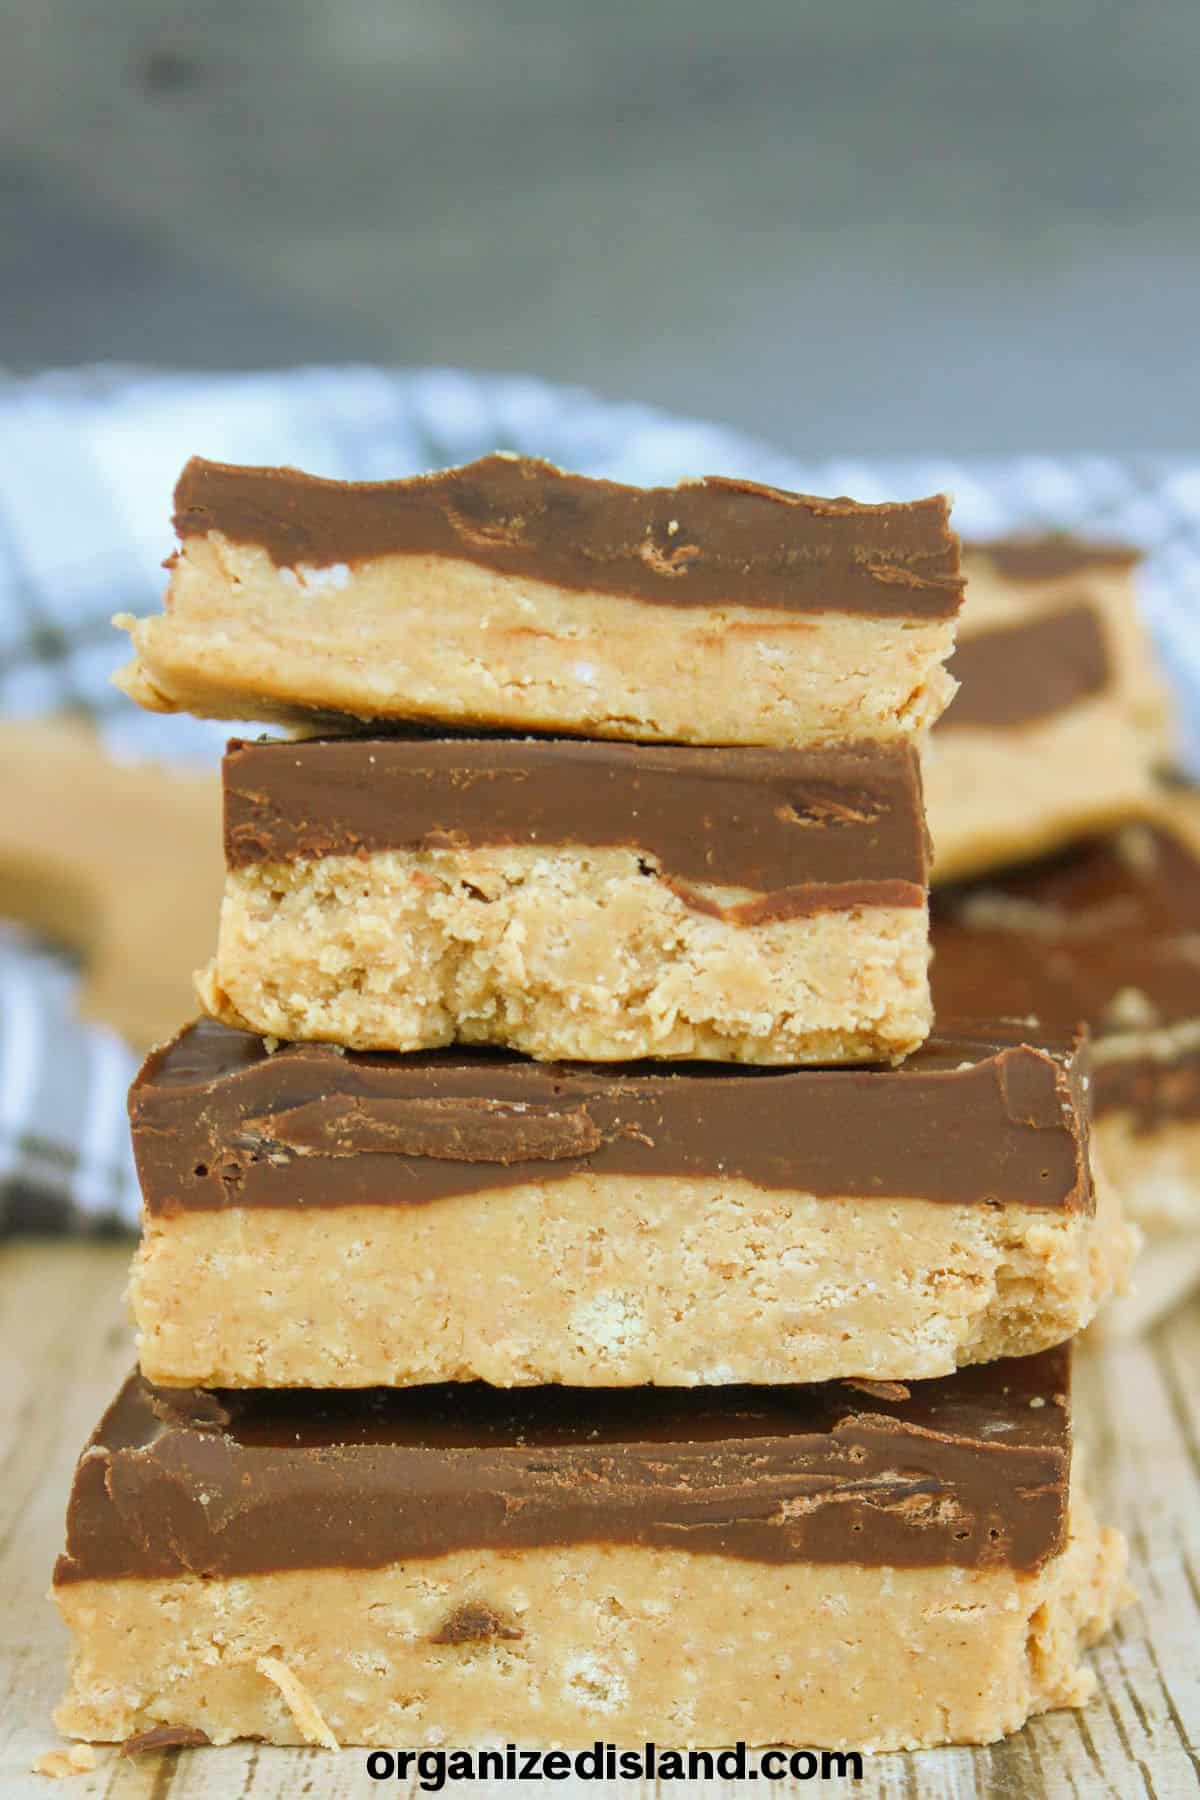
Old Fashioned Peanut Butter Bars (No Bake)
This post may contain affiliate links.

These Old Fashioned Peanut Butter bars are a fun chocolate and peanut butter treat. When you are craving peanut butter and chocolate there is no need to run to the store for a candy bar. You can make your own right at home!
Enjoy these no bake bars any time of year. These classic peanut butter bars also make a great surprise after school snack!
Why This Recipe
Easy Recipe. You don’t need a long list of ingredients to pull off a delicious dessert treat. This no bake dessert recipe is made with just a few simple ingredients.
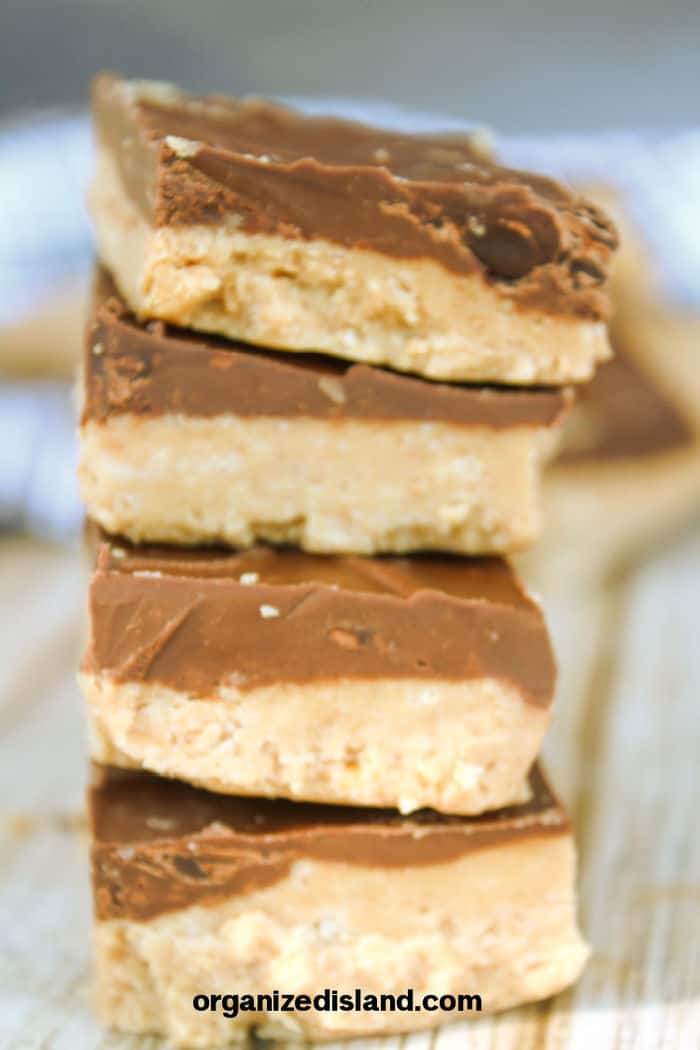
Delicious. These old fashioned peanut butter bars have a layer of creamy peanut butter and a delicious chocolate layer – they taste like Reese’s peanut butter cups. These delicious bars are some of my favorite treats for picnics and potlucks.
Fast to make. You’ll only need a few minutes of time microwaving, mixing and stirring ingredients to make this peanut butter chocolate bars recipe. It’s the easiest dessert. You can have it finished and chilling in the refrigerator before your guests arrive even if you start ten minutes before they pull in the driveway.
Classic. Also known as lunch lady peanut butter bars, these homemade peanut butter bars have been around for years. I used to love these in elementary school, they were my favorite treat to have at school lunch.
Ingredients for No-Bake Peanut Butter Bars
Graham Crackers. Do not buy the ones with extra cinnamon. Use plain graham crackers.
Peanut Butter. You can use your favorite brand of peanut butter for this recipe. I do not recommend crunchy peanut butter, use smooth peanut butter.
Butter. A dairy-free substitute can also be used.
Powdered Sugar. You cannot substitute regular white sugar as it will make your no-bake peanut butter bars grainy.
Chocolate Chips. I like semi-sweet chocolate chips for this recipe because it gives just a little balance to the sweetness, but you can use milk chocolate chips for a sweeter snack.
Parchment Paper. If you use this to line your pan you will find it much easier to remove the peanut butter bars. But it’s not a firm requirement.
Equipment Needed
- 9 x 13 Baking Dish
- Parchment Paper
- Mixing Bowl
- Saucepan or microwave-safe bowl
- Offset Spatula
- Spoon
Full details in recipe card.
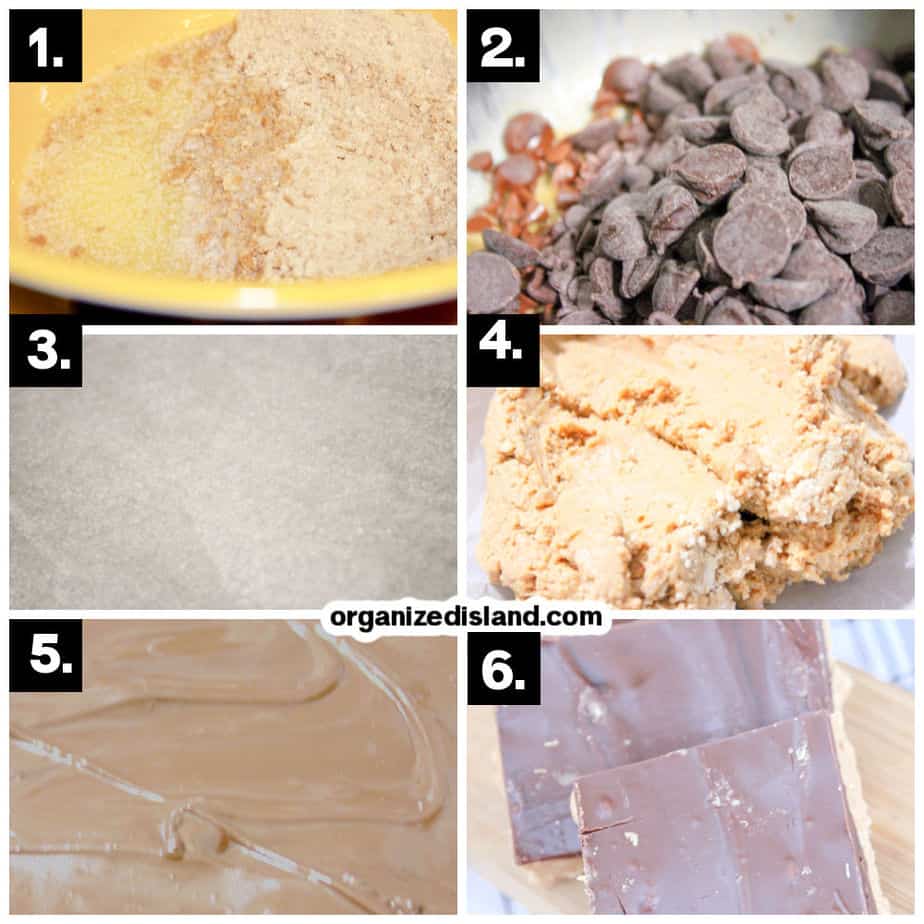
How to Make No Bake Chocolate Peanut Butter Bars
Step-By-Step Instructions
- Line a 9×13” baking dish with parchment paper
- Crush graham crackers and melt butter in a baggie. You don’t need a l food processor.
- In a large bowl combine graham cracker crumbs, melted butter, ¾ cup of peanut butter and powdered sugar.
- Mix peanut butter mixture with a spoon until they are well combined.
- Place this dough mixture into the prepared baking dish.
- Spread the dough out to cover the bottom of the dish.
- Press the dough firmly into the bottom to compress it.
- In a small saucepan (you can absolutely use the same dish you melted butter in!) combine the chocolate chips and the remaining 2 tablespoons of peanut butter.
- Allow this to melt over low heat. Be sure to stir often to avoid burning!
- When the chocolate chips and peanut butter can be stirred and is melted completely and smooth, remove from heat and pour this mixture over the graham cracker mixture. Spread melted chocolate with a rubber spoon until it is uniformly spread.
- Let warm bars cool before cutting. Place the squares in the refrigerator for about 90 minutes to allow it to harden. Cut into small squares and enjoy.
- These should be stored in an airtight container and hold up best when they are refrigerated.
Save The Recipe!
FAQs
Can I make no-bake peanut butter bars gluten-free?
Yes. Just use gluten-free graham crackers and your bars will be gluten-free. That’s the only substitution needed. You can find these in the natural foods/gluten-free section of your supermarket. If your supermarket doesn’t have a good GF selection, try Amazon.
Can I make no-bake peanut butter bars dairy-free?
Yes. You will need to make at least two substitutions. Substitute the butter with a non-dairy butter. Substitute the chocolate chips with allergen-friendly chocolate chips that do not contain milk. You will also need to double check the label on your graham crackers to make sure they do not contain dairy. When in doubt, read the labels if you are baking for someone with food allergies.
How do I store leftover no bake peanut butter bars?
You can store delicious peanut butter bars in an airtight container at room temperature for several days or you can refrigerate the container if you prefer.
Can I freeze no-bake peanut butter bars with chocolate?
Yes. You can freeze individual bars for up to three months in an airtight container. They don’t even have to be thawed all the way to be eaten.
More No Bake Desserts
More Easy peanut butter desserts for the Peanut Butter Lover
Chocolate Covered Peanut Butter Balls
Peanut Butter Cake Mix Cookies
Peanut Butter chocolate chip cookies
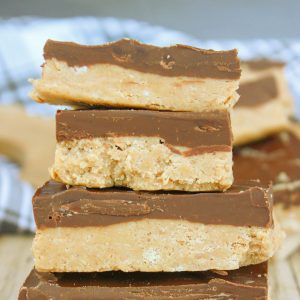
No Bake Peanut Butter Bars
Equipment
- Spoon
Ingredients
- 9 graham crackers crushed (9 graham crackers)
- ¾ cup peanut butter
- 1/2 cup butter melted
- 2 cups powdered sugar
- 1 cup chocolate chips
- 2 tablespoons peanut butter
Instructions
- Line a 9×13” baking dish with parchment paper
- Crush graham crackers and melt butter.
- In a medium mixing bowl combine graham cracker crumbs, melted butter, ¾ cup of peanut butter and powdered sugar.
- Mix with a mixing spoon until they are well combined.
- Place this dough mixture into the prepared baking dish.
- Spread the dough out to cover the bottom of the dish.
- Press the dough firmly into the bottom to compress it.
- In a small saucepan (you can absolutely use the same dish you melted butter in!) combine the chocolate chips and the remaining 2 tablespoons of peanut butter.
- Allow this to melt over low heat. Be sure to stir often to avoid burning!
- When the chocolate chips and peanut butter can be stirred and is melted completely and smooth, remove from heat and pour this mixture over the graham cracker mixture. Spread the chocolate layer on the top of the bars with a rubber spoon until it is uniformly spread.
- Place the squares in the refrigerator for about 90 minutes to allow it to harden. Cut into small squares and enjoy.
Notes
Nutrition
If you are not yet subscribing to my CELEBRATE THE SEASON newsletter, you can subscribe here. I share easy recipes for the season that the entire family is sure to love and also a few things that I don’t share here.
This looks like something I used to make as a teenager. The ingredients are different, but it looks so similar. Thanks for the memory and I can’t wait to give them a try!
~ Cassie | letsgrowmom.com
These look delicious! I am a lover of peanut butter, and so are my sons. I’ll have to try these!
Thanks so much for joining the Grace at Home party at Imparting Grace. I’m featuring you this week!