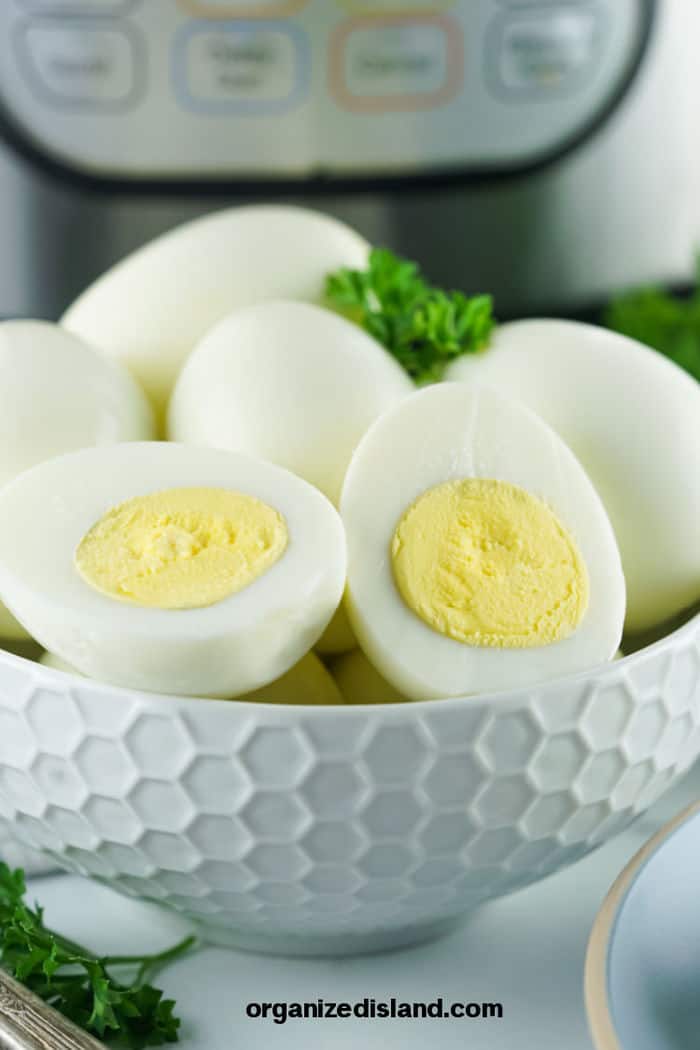
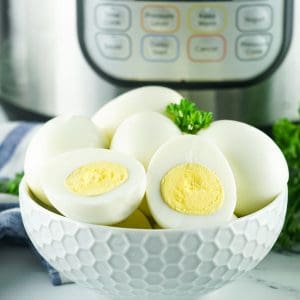
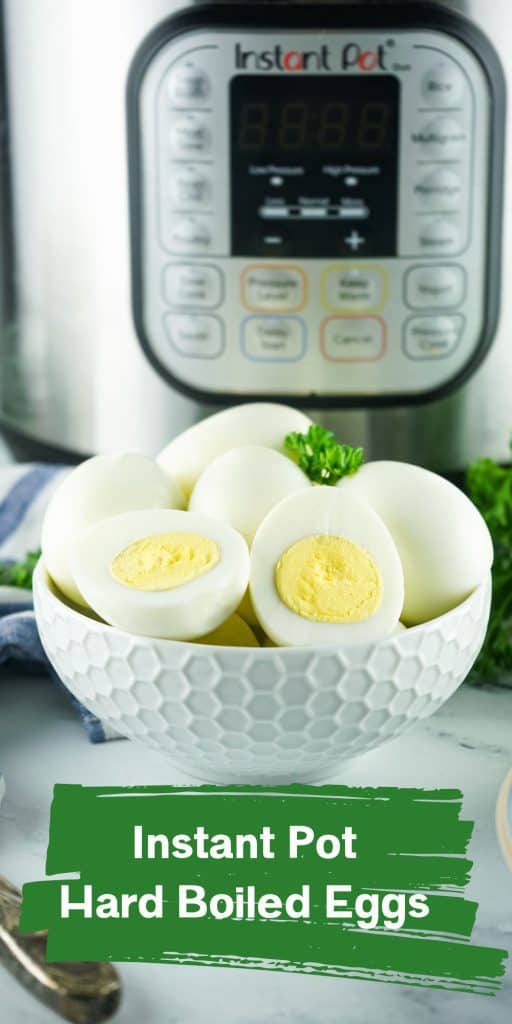
Making hard boiled eggs in an instant pot is an easy and quick way to enjoy hard cooked eggs. Hard boiled eggs instant pot method is a convenient way to make eggs for egg salad sandwiches a low carb snack and appetizers.
Why Make Eggs In the Instant Pot
Hard boil eggs made in the instant pot are the perfect eggs each time. They are great for using in making potato salad or egg salad.
These instant pot eggs are a great way to hard boil eggs for a quick breakfast.
This just might be your new favorite method of making perfect eggs. This is one of the easiest ways to make Easter eggs.
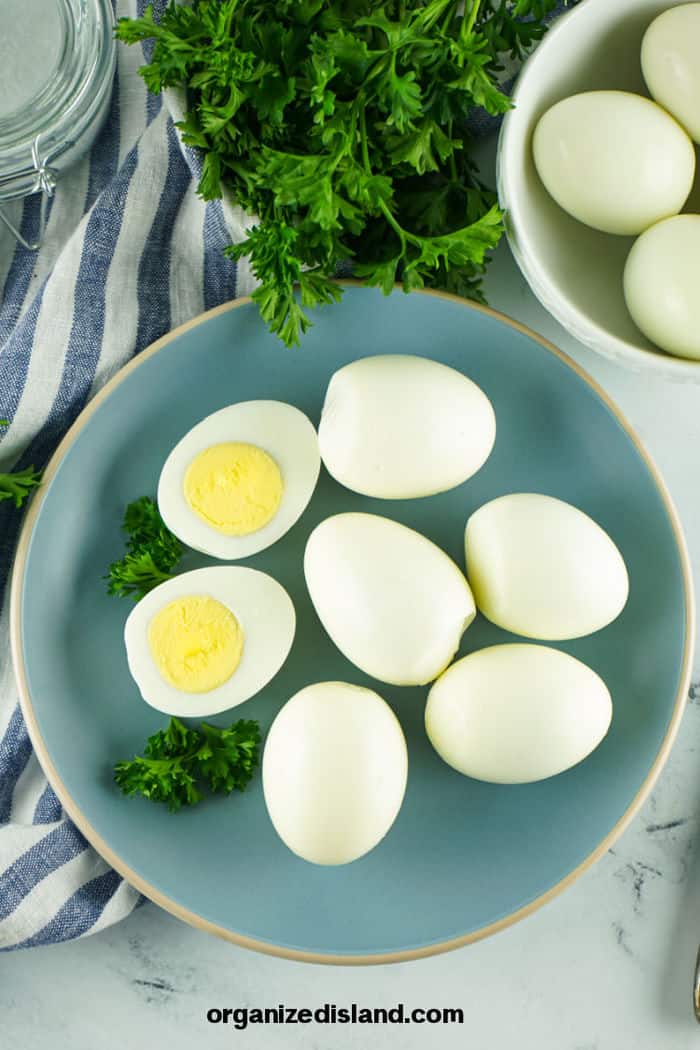
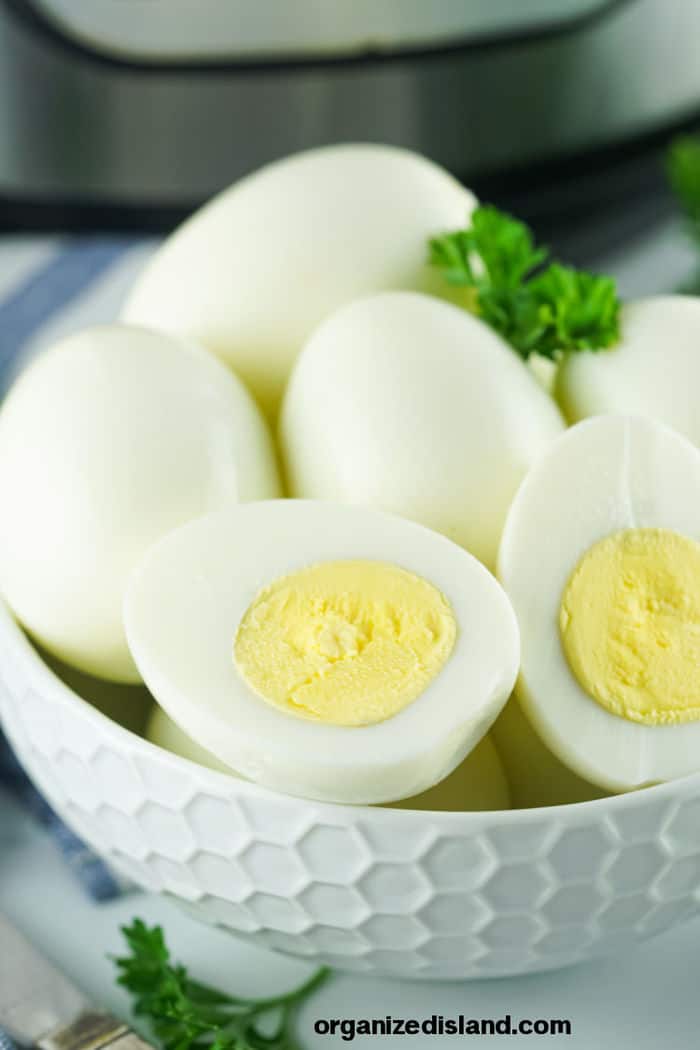
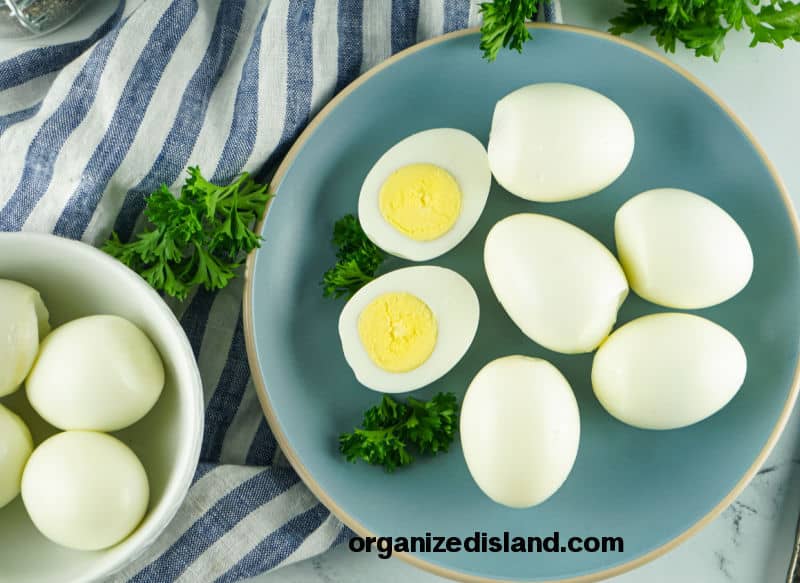
The outer shell of the eggs is an easy peel after cooling. It is also easy to remove the egg yolk from the egg white.
Ingredient List
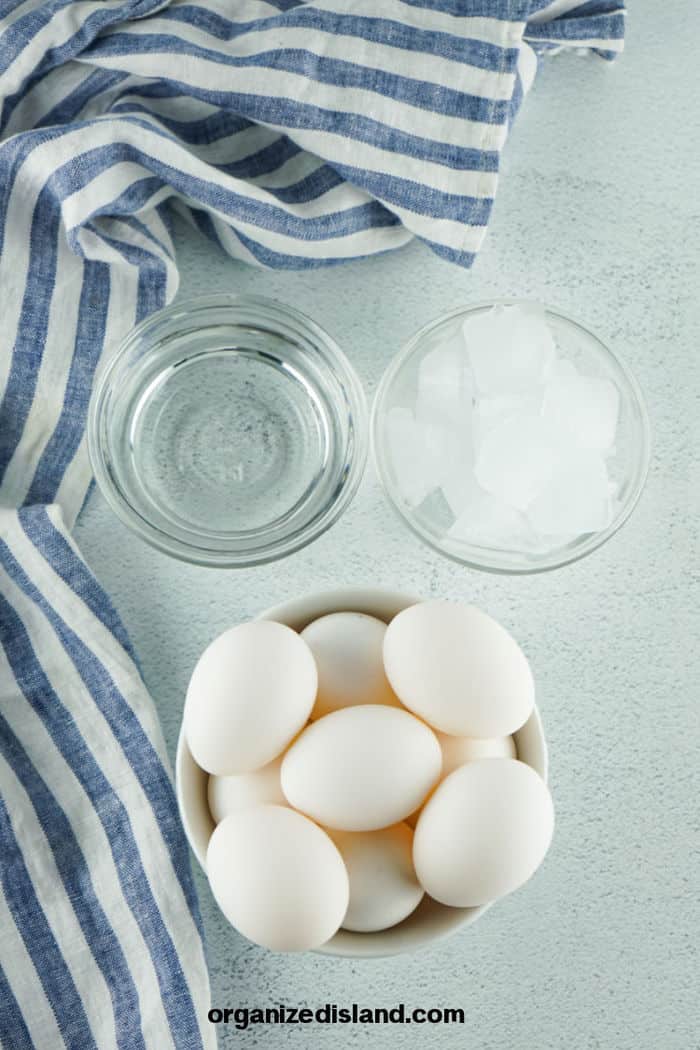
1 dozen eggs (white eggs or brown eggs)
1 cup of water
Equipment and Kitchen Tools Needed
- instant pot electric pressure cooker
- steamer basket
- rack
- tongs
- bowl of ice water
How To Make Instant Pot Hard Boiled Eggs
Step by Step Cooking Process
- Wash and dry your eggs, if desired.
- Add cup of water to the pressure cooker.
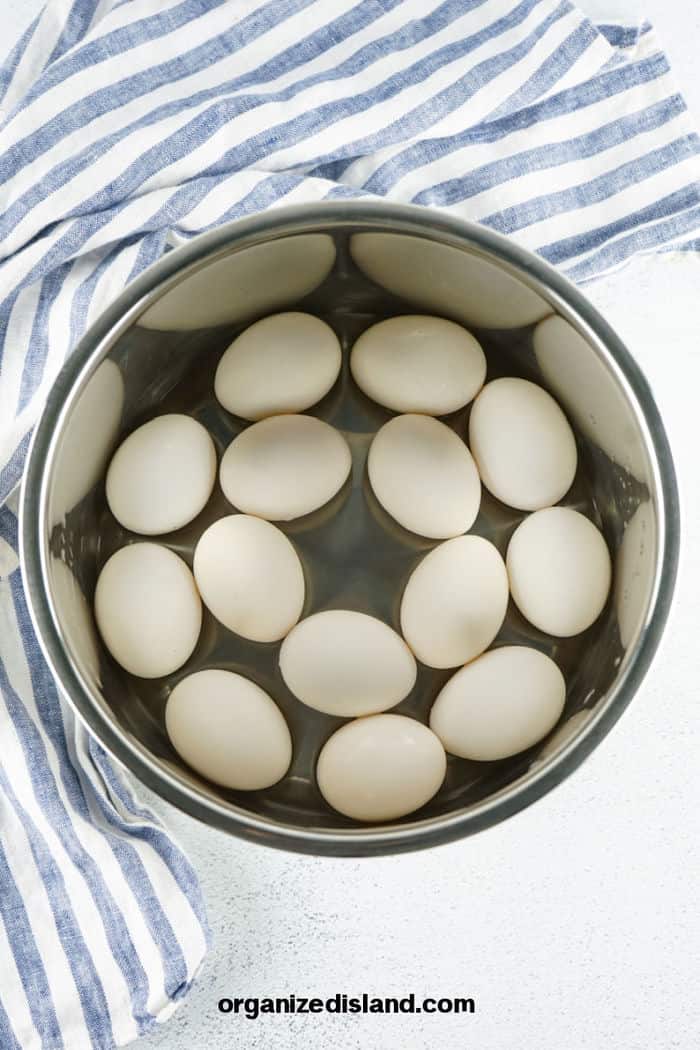
- Place the eggs in a single layer in the steamer basket, making sure to not stack them on top of each other. Place the basket in the bottom of the instant pot.
- The water level should be just below the steamer basket. If necessary, add a little more water.
- Place your instant pot on manual high pressure and set the timer for 5 minutes, ensuring that the pressure valve is set to sealing. It will take it about 5 minutes to pressurize and begin the 5 minute cooking process.
- Let the pot naturally release for 5 minutes .
- After 5 minutes of natural release, carefully flip the steam valve to "venting" and quick release any remaining steam and pressure.
- Fill a bowl big enough to hold the eggs, with water and some ice while releasing is taking place.
- Immediately place the eggs from the instant pot into the ice bath (cold water with ice cubes).Leave for 10 minutes. Enjoy!

Pro Tips and Timesaver Shortcuts
- I used a 6-quart instant pot. If you have a insta pot that is a different size, you may be able to add more eggs.
- Cooling the eggs quickly prevents over cooking the eggs and the resulting green ring.
- You do not need the water to cover the eggs. It just needs to be about halfway up the eggs.
- An ice bath is one of the best ways to ensure the eggs will peel easily after cooking. However, you can also add a teaspoon of baking soda to the cooking water as that tends to help as well.
- Farm fresh eggs do not peel well, no matter what. So, be aware that they might give you issues, even if you try these techniques.
- Actual cooking time is only 5 minutes, but it will take time to pressurize before cooking starts, and you have the release after it cooks, which also takes more time. Therefore, I believe it’s truly 15 minutes for the full cooking time. Remember that cooking time may vary according to you instant pot model.
Variations, Notes, and Substitutions
- For a clean peel, tap the larger end of the egg on a hard surface, just enough to break the shell. Then peel away under running water.
- If your eggs seem to be cracking more often, or are cracking before the whites are set, try cooking them at low pressure. You can also try adjusting your cook time to a minute less.
Serving and Storage Suggestions
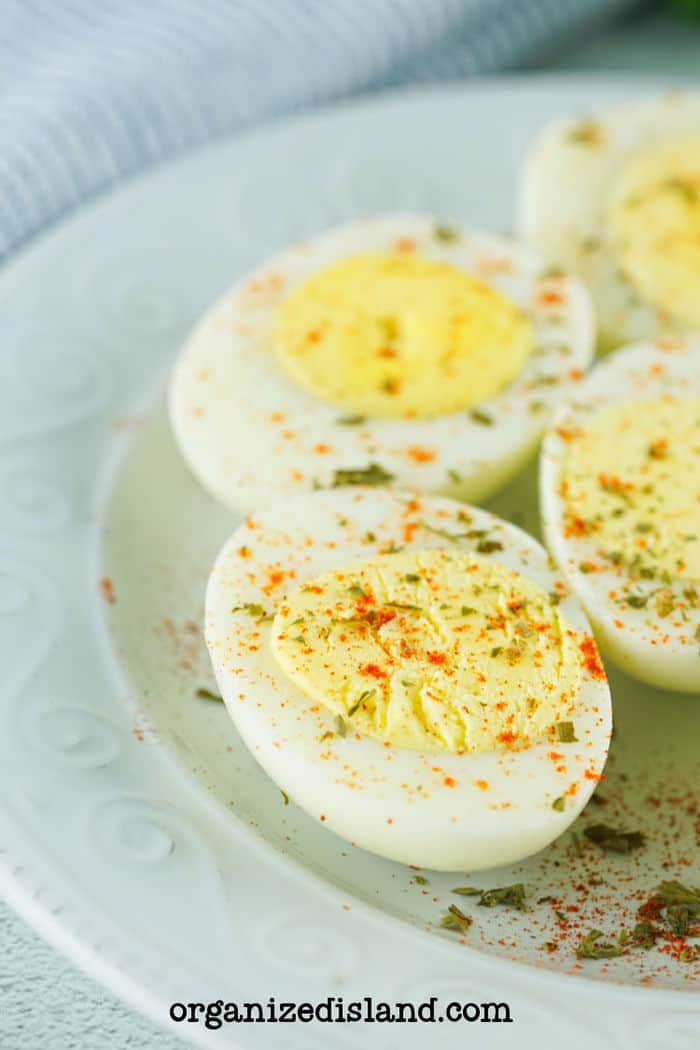
- These are perfect for deviled eggs or eggs for a Cobb salad.
- Store leftovers in an airtight container in the refrigerator.
FAQ
Should I use older eggs or fresh eggs for hard boiled?
You want to be sure to use eggs that are within their expiration date, but since fresher eggs are harder they are to peel, I would use the older ones.
How long do hard boiled eggs last in the refrigerator?
About 5-7 days.
More Egg Recipes
- Hard boiled eggs with the traditional stovetop method with boiling water
- Hard Boiled eggs with an Air Fryer
- Chorizo Deviled Eggs
- Egg Burritos
- Egg Breakfast Sandwich
📖 Recipe
Hard Boiled Eggs Electric Pressure Cooker Method
Ingredients
- 12 eggs
- 1 cup water
Instructions
- Wash and dry your eggs, if desired.
- Add cup of water to the pressure cooker.
- Place the eggs in a single layer, in the steamer basket, making sure to not stack them on top of each other.
- The water level should be just below the steamer basket. If necessary, add a little more water.
- Place your instant pot on manual high pressure and set the timer for 5 minutes, ensuring that the pressure valve is set to sealing. It will take it about 5 minutes to pressurize and begin the 5 minute cooking process.
- Let the pot naturally release for 5 minutes .
- After 5 minutes of natural release, carefully flip the steam valve to "venting" and quick release any remaining pressure.
- Fill a bowl big enough to hold the eggs, with water and some ice while releasing is taking place.
- Immediately place the eggs from the instant pot into the ice bath (cold water with ice cubes).Leave for 10 minutes. Enjoy!
Notes
- Do not skip the cold water bath, it is essential to avoid over cooking the eggs.
- I used a 6-quart instant pot. If you have a smaller or larger one, you may need to reduce or add more eggs.
- Cooling the eggs quickly prevents over cooking the eggs and the resulting green ring.
- You do not need the water to cover the eggs. It just needs to be about halfway up the eggs.
- An ice bath is one of the best ways to ensure the eggs will peel easily after cooking. However, you can also add a teaspoon of baking soda to the cooking water as that tends to help as well.
- Farm fresh eggs do not peel well, no matter what. So, be aware that they might give you issues, even if you try these techniques.
- Actual cooking time is only 5 minutes, but it will take time to pressurize before cooking starts, and you have the release after it cooks, which also takes more time. Therefore, I believe it’s truly 15 minutes for the full cooking time. Remember that cooking time may vary according to you instant pot model.
Nutrition
We hope you enjoyed this Instant Pot Hard Boiled egg recipe. Talk about a time saver. If you are not yet subscribing to my CELEBRATE THE SEASON newsletter, you can subscribe here.
I share simple recipes to celebrate the season and a few things that I don’t share here. I email you only once a week. I know how valuable your time is and respect that tremendously!
If you try this recipe or any other recipe on Organized Island, please don’t forget to rate the recipe and let me know where you found it in the comments below, I love hearing from you! To see what I am up to, check out my stories on Instagram and let me know you are following. It would bring me much joy!
Want to streamline your weekly meals? Check out my Beginner's Guide to Meal Planning book on Amazon.


Leave a Reply