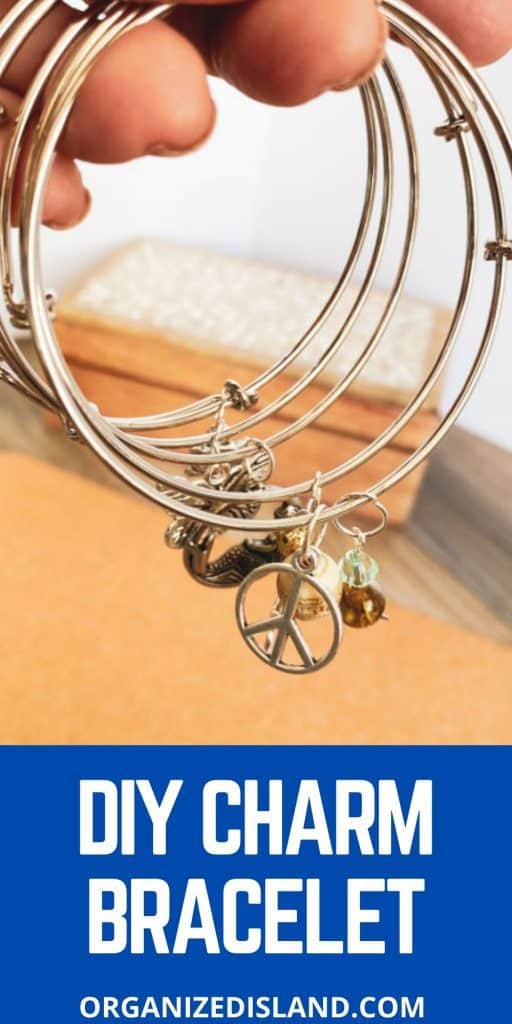
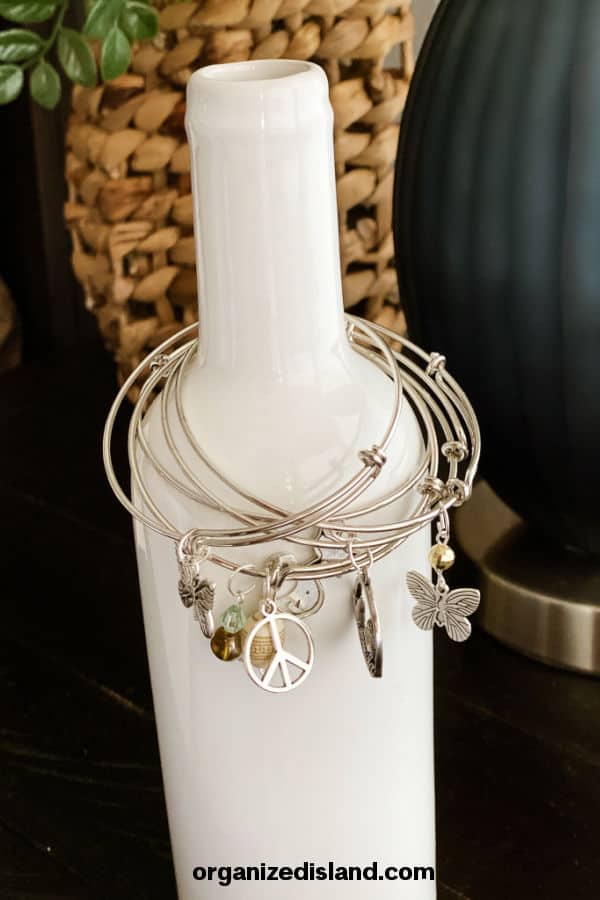
This simple DIY Charm bracelet is a fun craft idea and also a great gift idea for family and friends. I used to make jewelry back when I was a teen and I have recently revisited jewelry making.
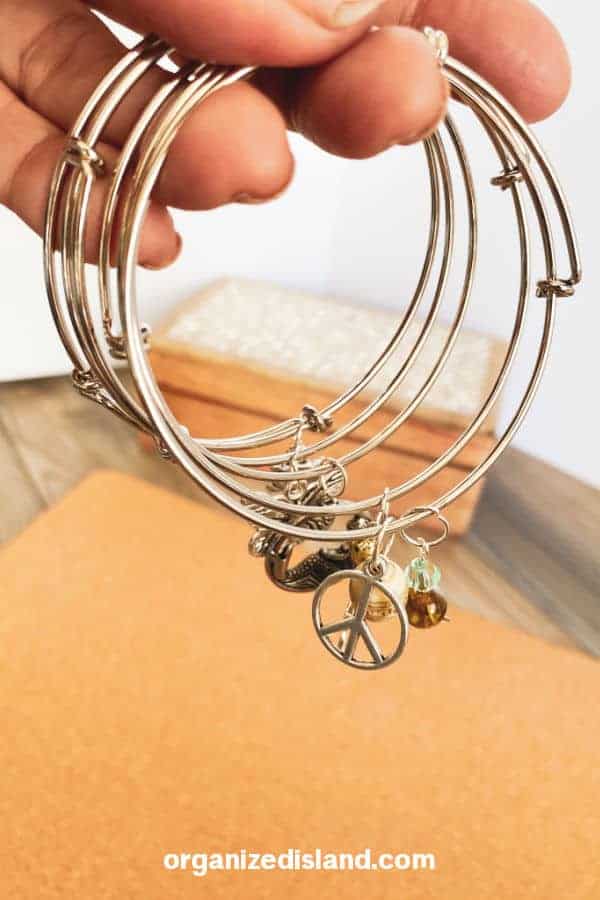
I had nearly forgotten how much I enjoyed handcrafting a piece of jewelry. I would classify these bracelets as charm bracelet style in more of a copycat Alex and Ani style.
Handcrafting jewelry is a nice activity for teens and adults.
The bracelets not only make for a fun craft session, they are also great as a Mother's Day gift idea or Graduation gift idea.
Before you start, there are a few things to consider when making bracelets.
- Choose the band color. These bracelet forms come in silver, gold, and bronze.
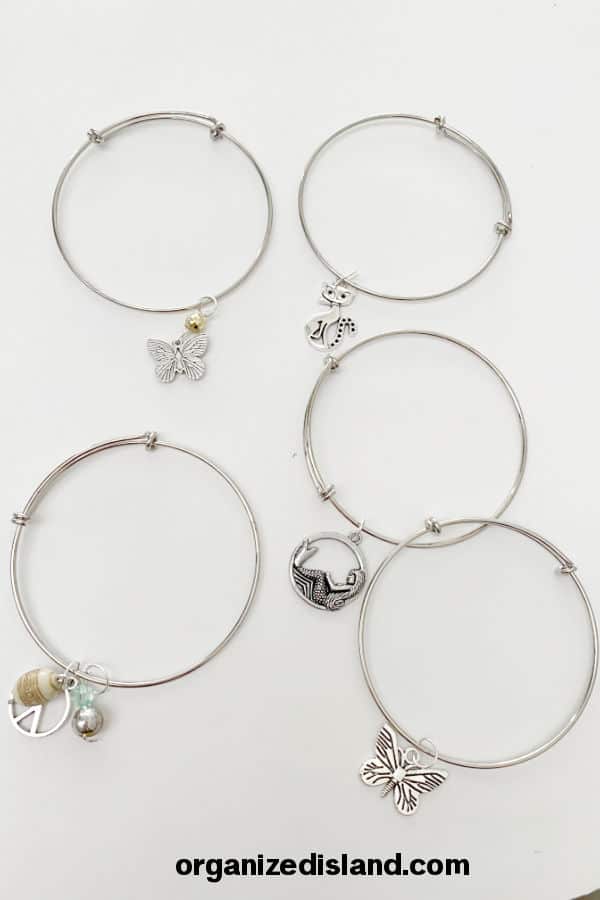
- Choose the charms that you want to include on the bracelet.
- Decide if you want to include beads as part of the design, as these require an additional component.
- You will need a few basic materials to make these.
Materials Needed for DIY Charm Bracelets
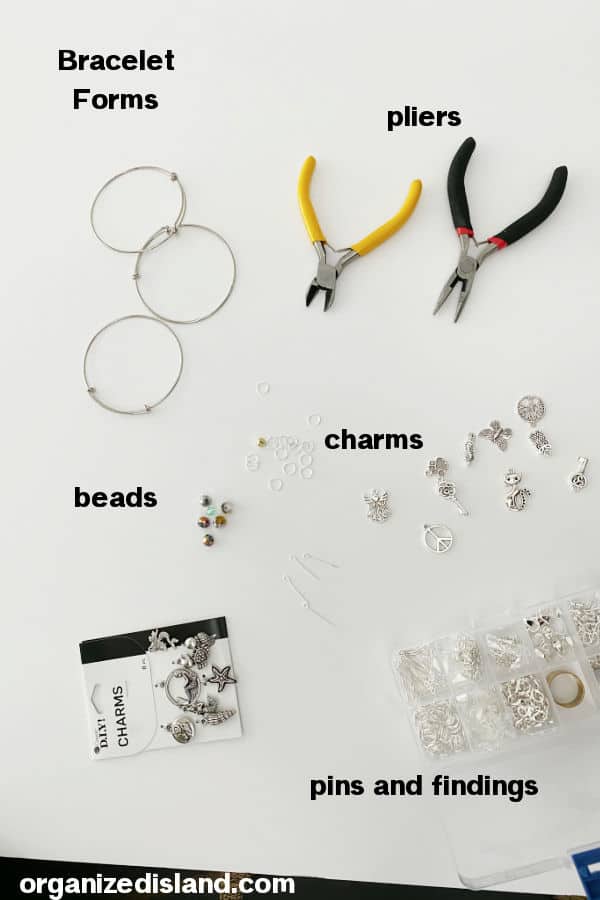
- Adjustable wire blank bangles
- Charms - While you can buy single charms at a craft store, you will get a better deal buying sets like these.
- Beads - these are optional but add color and character to bracelets.
- Open Eye Beading pins. You will need these for adding beads.
- Pilers - Flat nose and needle nose wire pliers are great for so many crafts but are essential to jewelry making.
- Jump Rings - These are necessary for suspending small items for necklaces and bracelets. It is best to have them in several sizes.
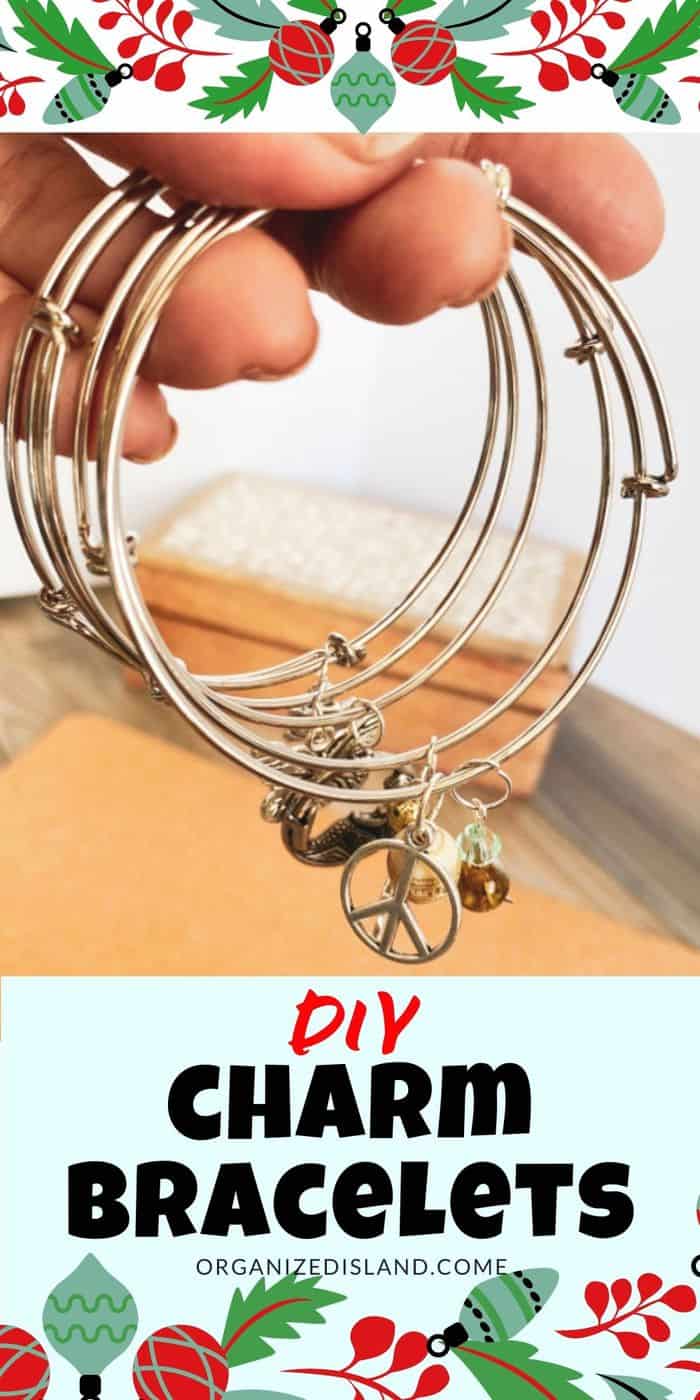
DIY Charm Bracelet Instructions
- Have a blank bangle ready to attach a charm.
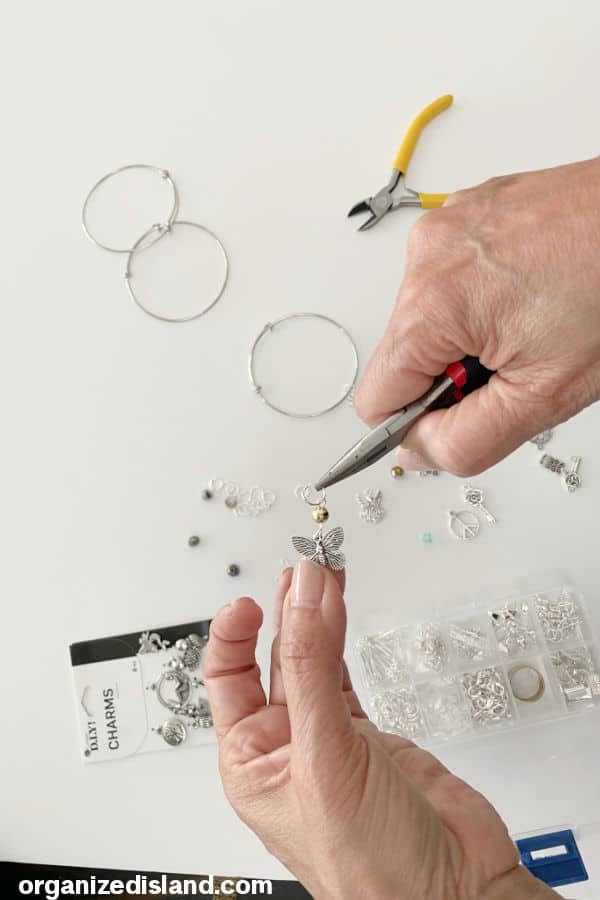
- Select charm to use for the bracelet.

2.
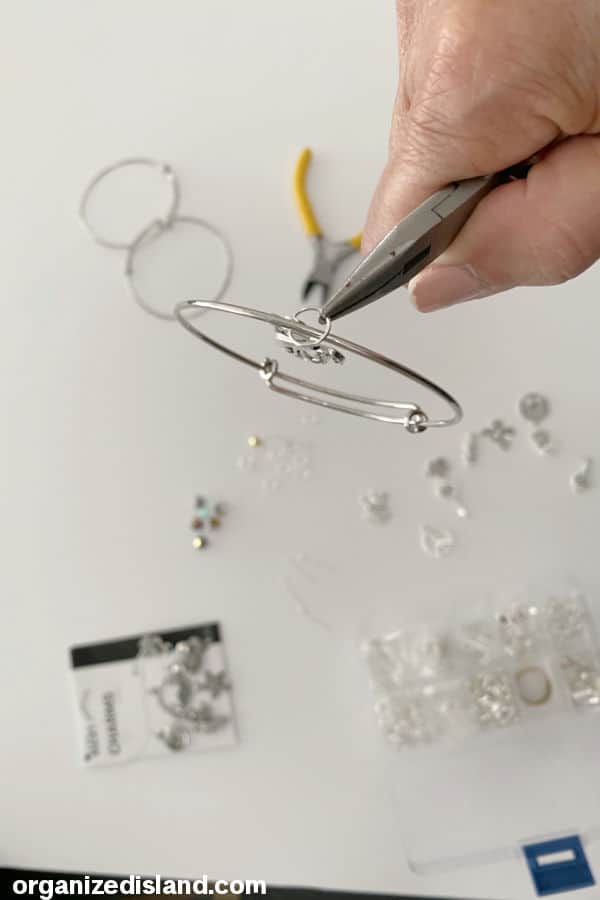
3. Attach a jump ring to the charm using pliers.
4. Use flat nose pliers to help you get a good grip on the jump rin. Open up the ring with the needle-nose pliers by twisting the ring gently. To close the ring, twist the ends of the jump ring right next to each other. Pinch slightly to nsure that ring is closed. For a basic bracelet, you are done. To add beads, read on.
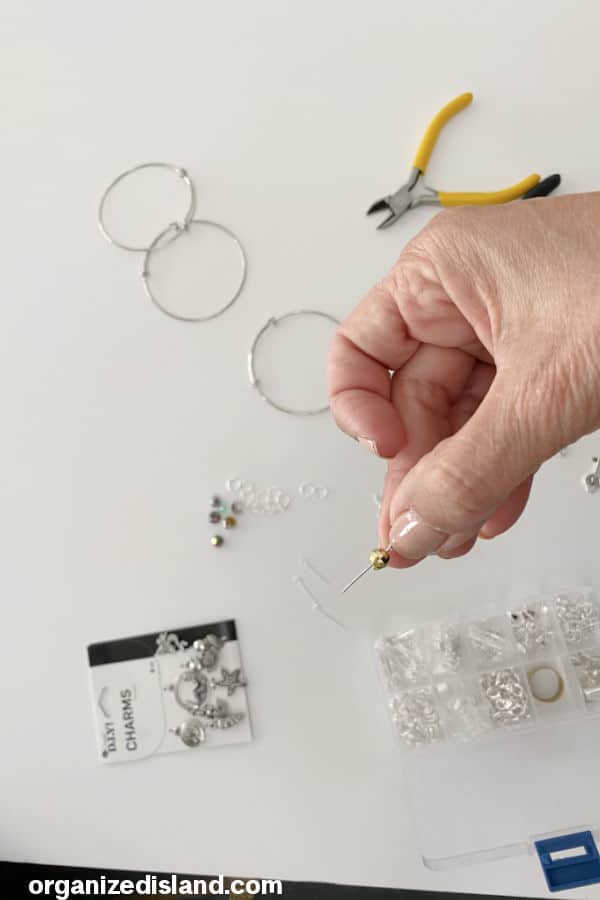
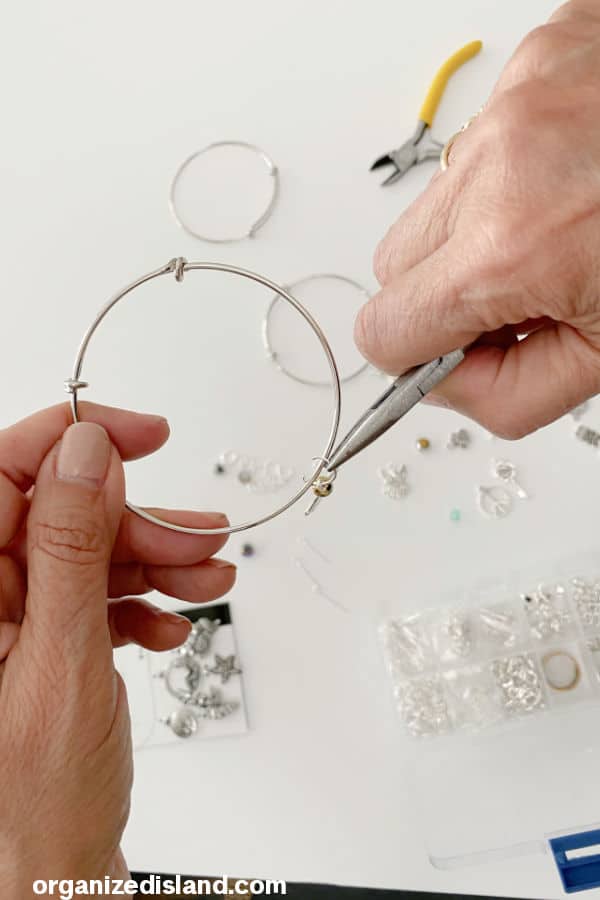
5. Thread a bead on the open eye beading pin. You can add one are a few depending on the length of the pin.
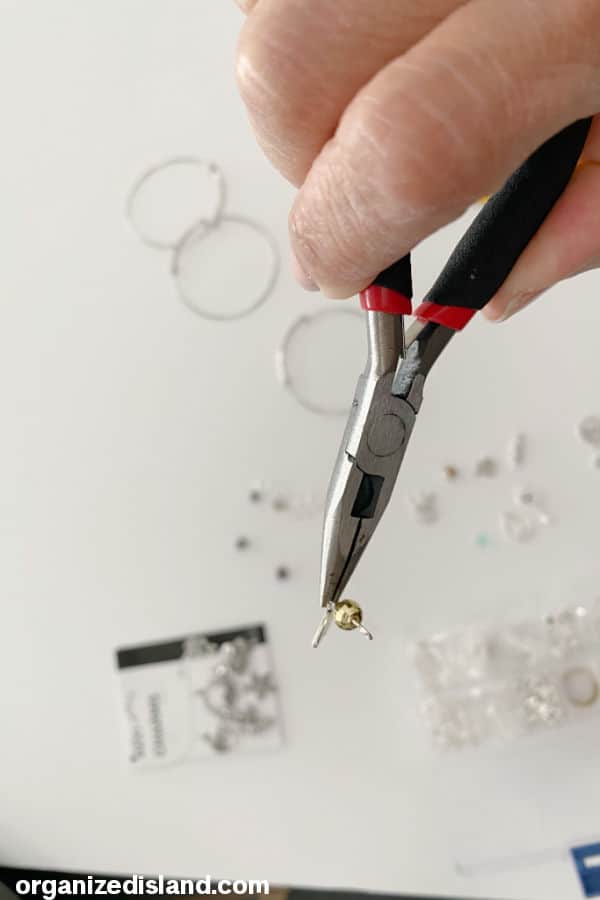
6. Attach to the bracelet using the method above in step 4.
7. Then ensure the ring is closed.
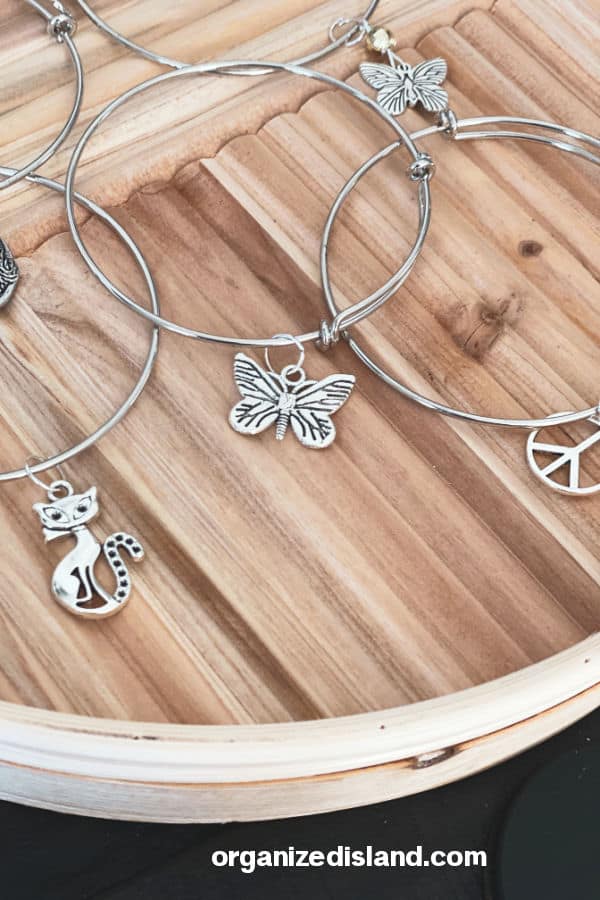
The beads add a nice element to the bracelet and are so simple to add.
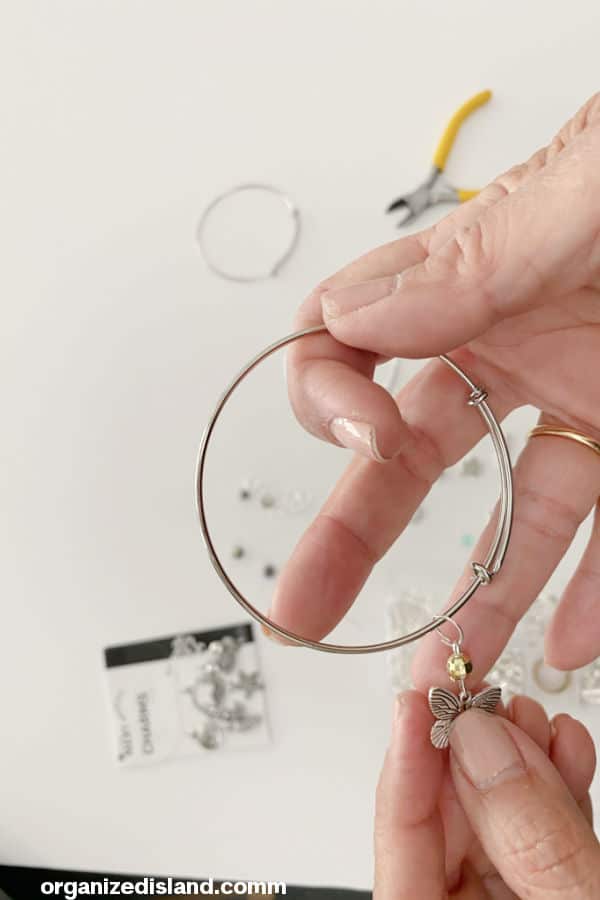
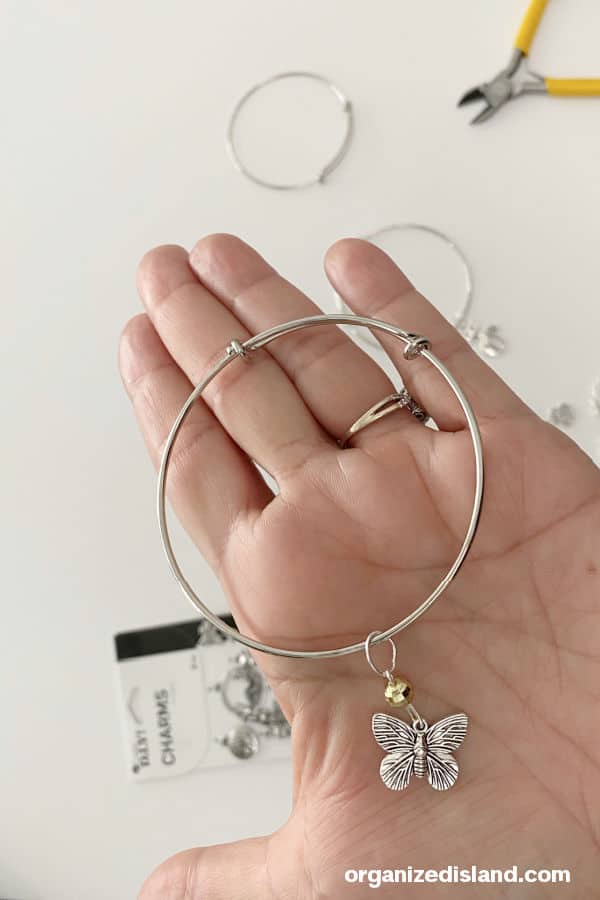
Before you know it, your bracelet will be made!
Please pin this tutorial, it helps us out tremendously! If you make one, please use the tag #organizedisland us on Instagram. We would love to see what you make!
We hope you enjoyed today's DIY Charm Bracelet tutorial. If you are not yet subscribing to my CELEBRATE THE SEASON newsletter, you can subscribe here. I share lots of seasonal recipes, tips and crafts and a few things that I don’t share here. Please know that I email you only once a week. I know how valuable your time is and respect that tremendously!
Want to streamline your weekly meals? Check out my Beginner's Guide to Meal Planning book on Amazon.
We hope you loved this simple dollar store craft idea. How about you - are you fall crafting yet?

Tamara
These are so awesome! Scarlet loves charm bracelets and I do too. So much fun to make them at home.
Ann
What a lovely gift idea! Thank you for sharing at Party In Your PJ's - you are being featured on my blog Tuesday evening.
Raquel
Thank you so much Ann!!
Donna @ Modern on Monticello
These would be such fun to make especially at coffee with some girlfriends. Thanks for sharing the idea and I hope you continue to enjoy making them. #HomeMattersParty