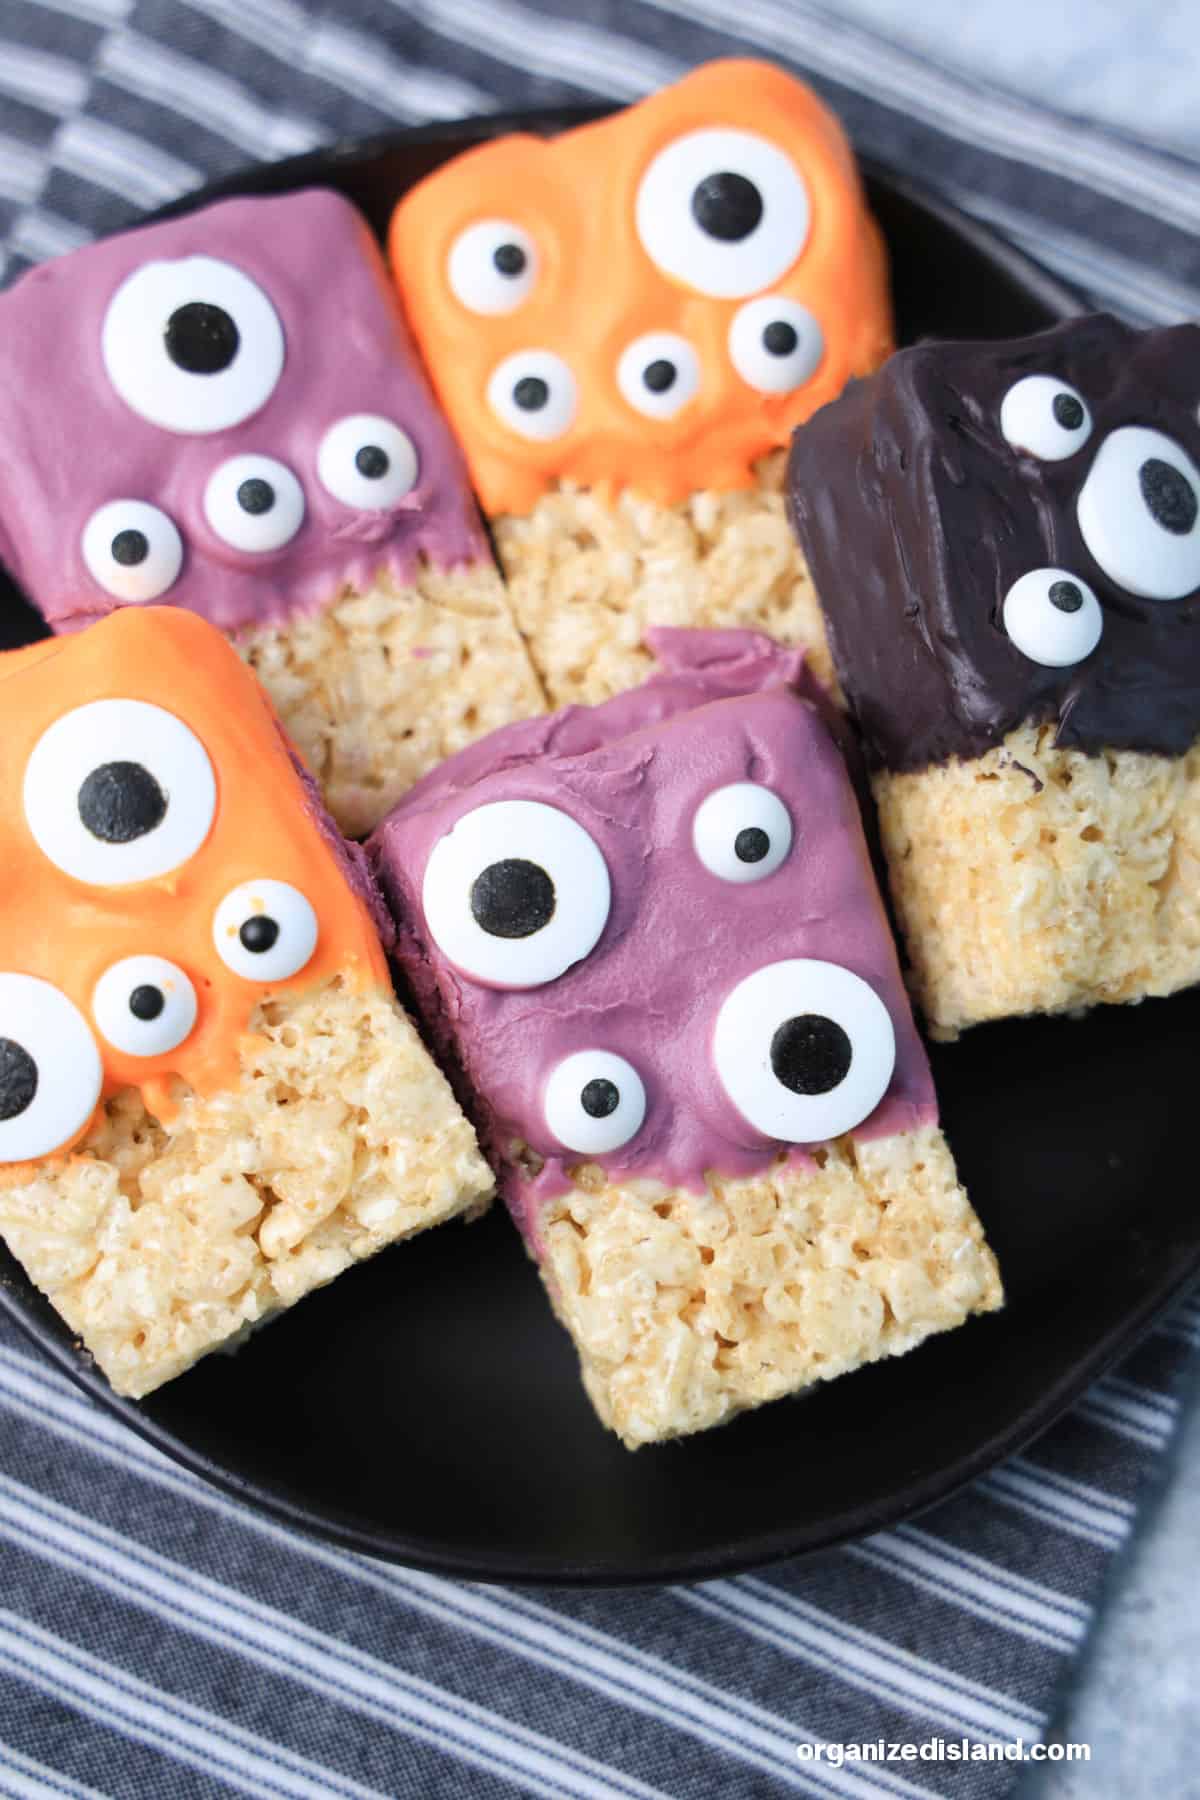
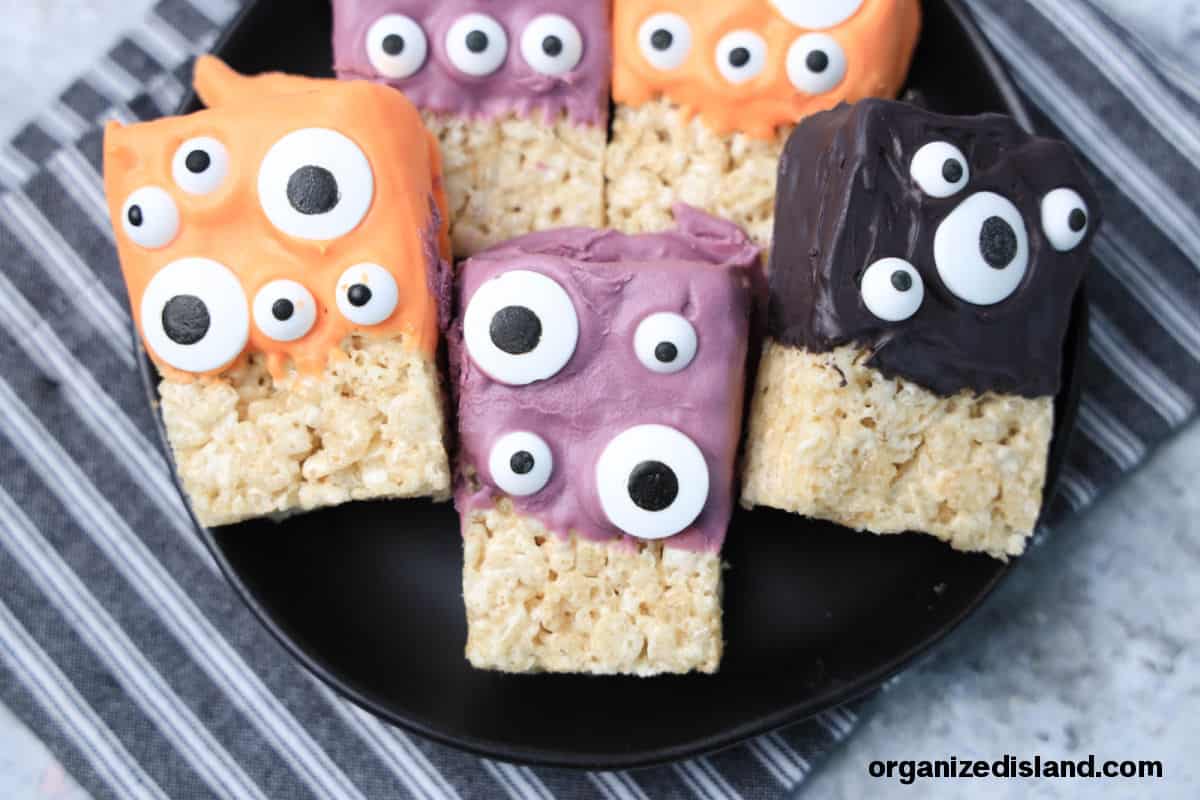
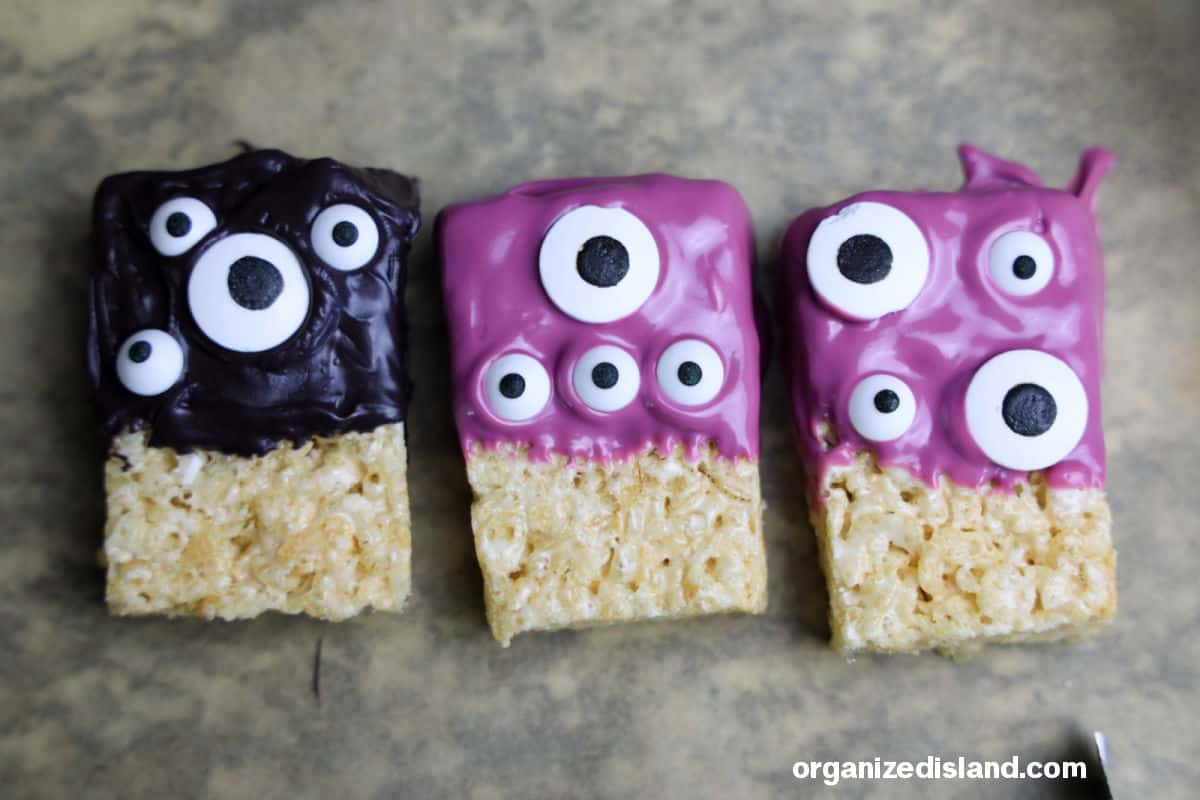
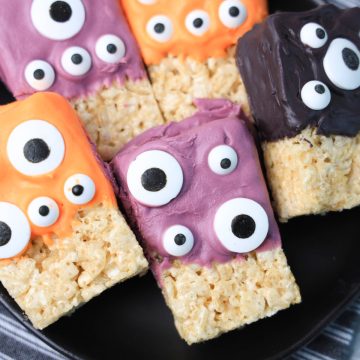
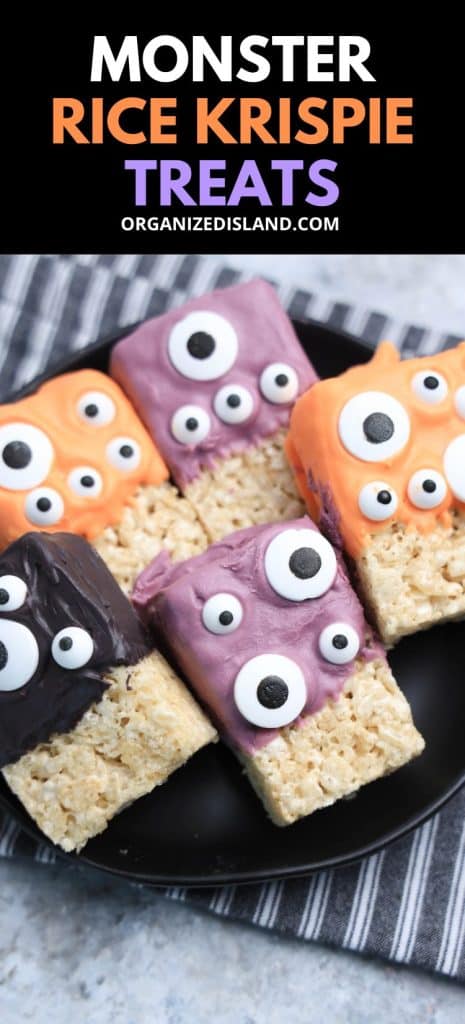
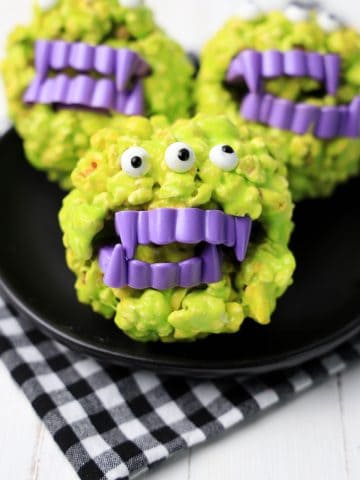
Nothing delights kids more than thematic food for events and holidays. Make these adorable Monster Rice Krispie Treats whenever you have a monster to celebrate in your life, whether its Halloween or a movie premier. What fun!
Simple ingredients like store bought rice Krispy treats and candy melts make this recipe come together fast and still have that crowd-pleasing taste kids love.
This is one of our easy Halloween Treats recipe ideas you will want to bookmark for later.
Why This Recipe
Versatile. Scale up this recipe as much as you need. Change up the colors and decorations to fit any holiday or style!
Fast and Easy. Everything is about convenience with this recipe so you do not have to cook anything. Just melt the candy or chocolate and go!
Fun for Kids. These adorable monster treats are perfect to delight children of all ages with the big eyes and tasty snack -- it's sure to be the hit of the party.
Equipment Needed
- Microwaveable Bowl. A small glass mixing bowl works well.
- Microwave. If you don't have a microwave, you can use a double boiler. You can make your own with a saucepan and a glass or metal mixing bowl that fits on the top without touching the bottom. Put water in the bottom of the pan and set the mixing bowl on top. Then boil the water and place the chocolate in the mixing bowl to melt. Stir.
- Parchment Paper. You can also use wax paper.
Ingredients for Monster Rice Krispie Treats
- Individually Wrapped Rice Krispy Treats. You can also make your own rice Krispie treats if you prefer.
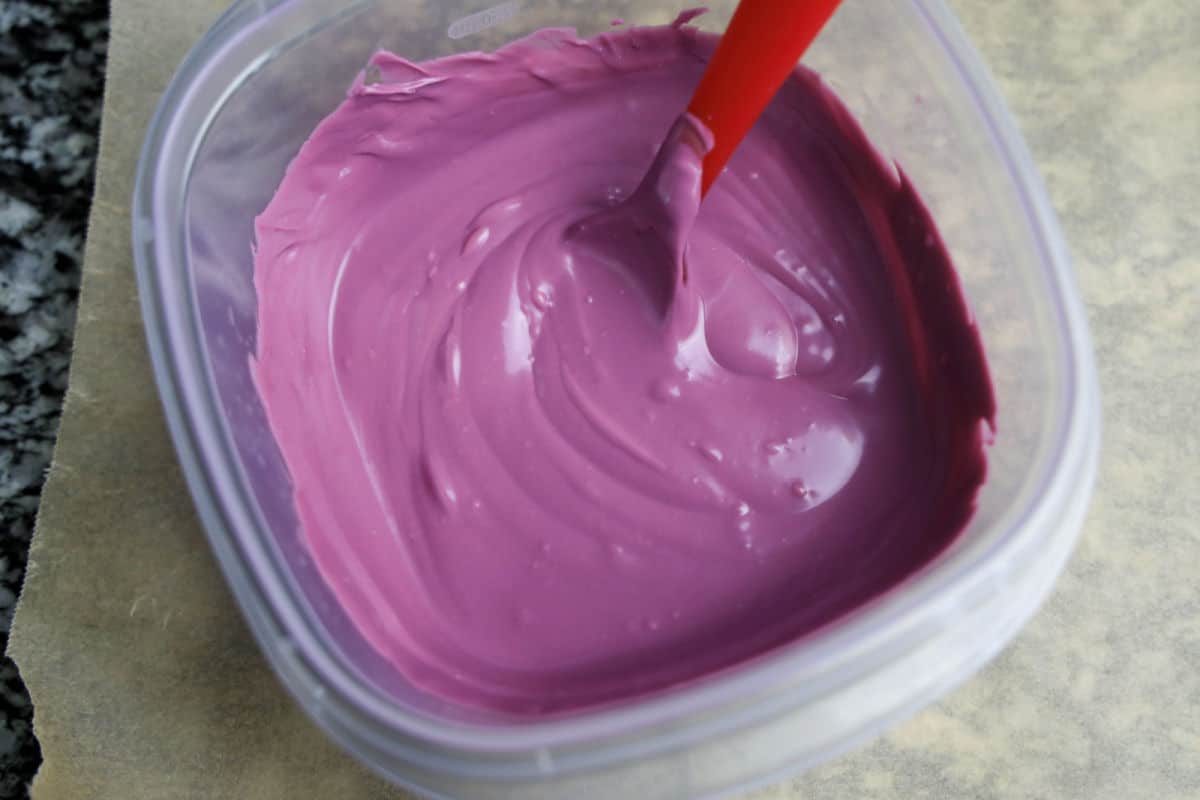
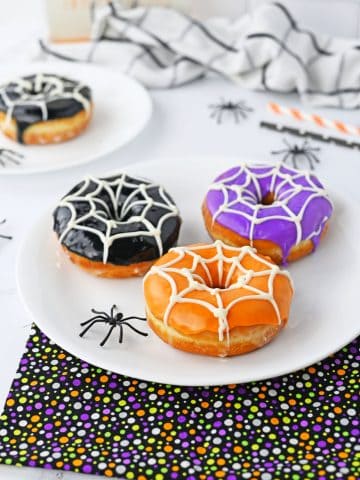
- Candy Melts. Change up the colors based on personal preference! We used black, orange and purple for Halloween colors. You can also use white chocolate chips or brown chocolate chips.
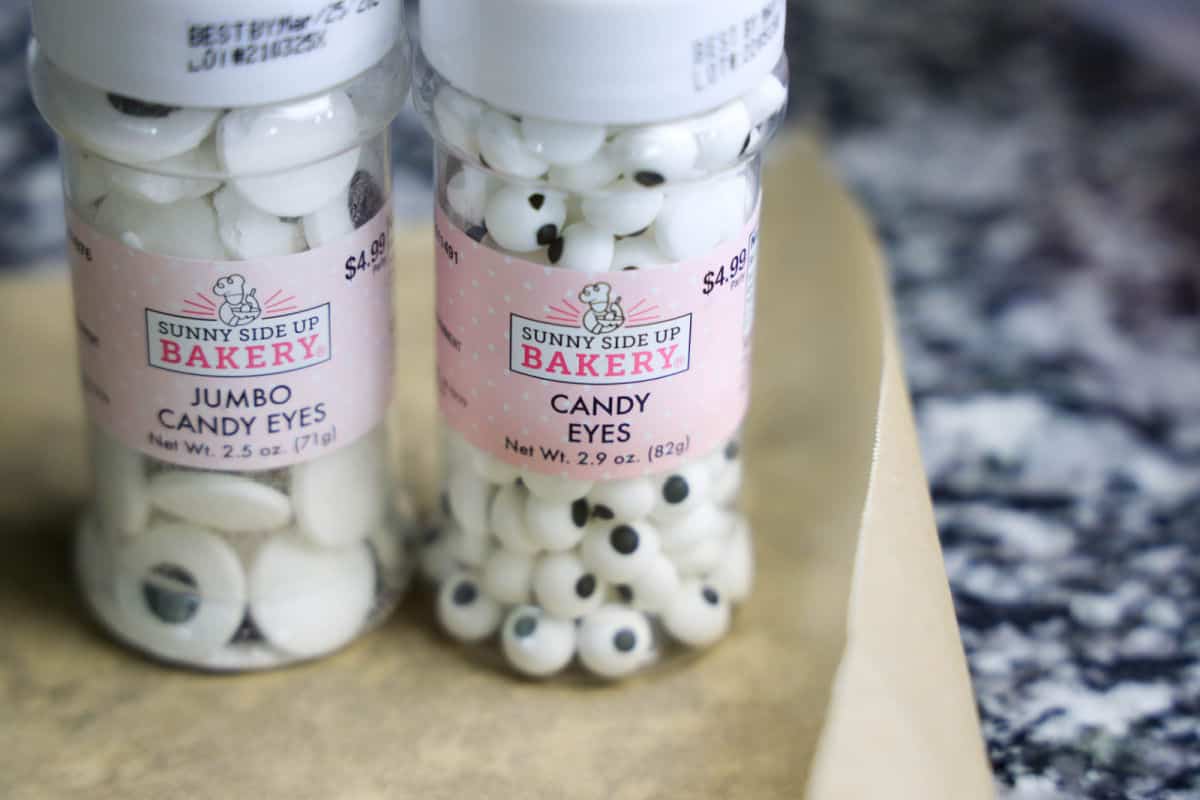
- Large Candy Eye Sprinkles. You can find a package with mixed sizes at your local craft store or grocery store.
- Small Candy Eye Sprinkles.
How to Make Monster Rice Krispie Treats
Melt each color candy melt in the microwave. Stir frequently. You can also use a melting pot or a double boiler.
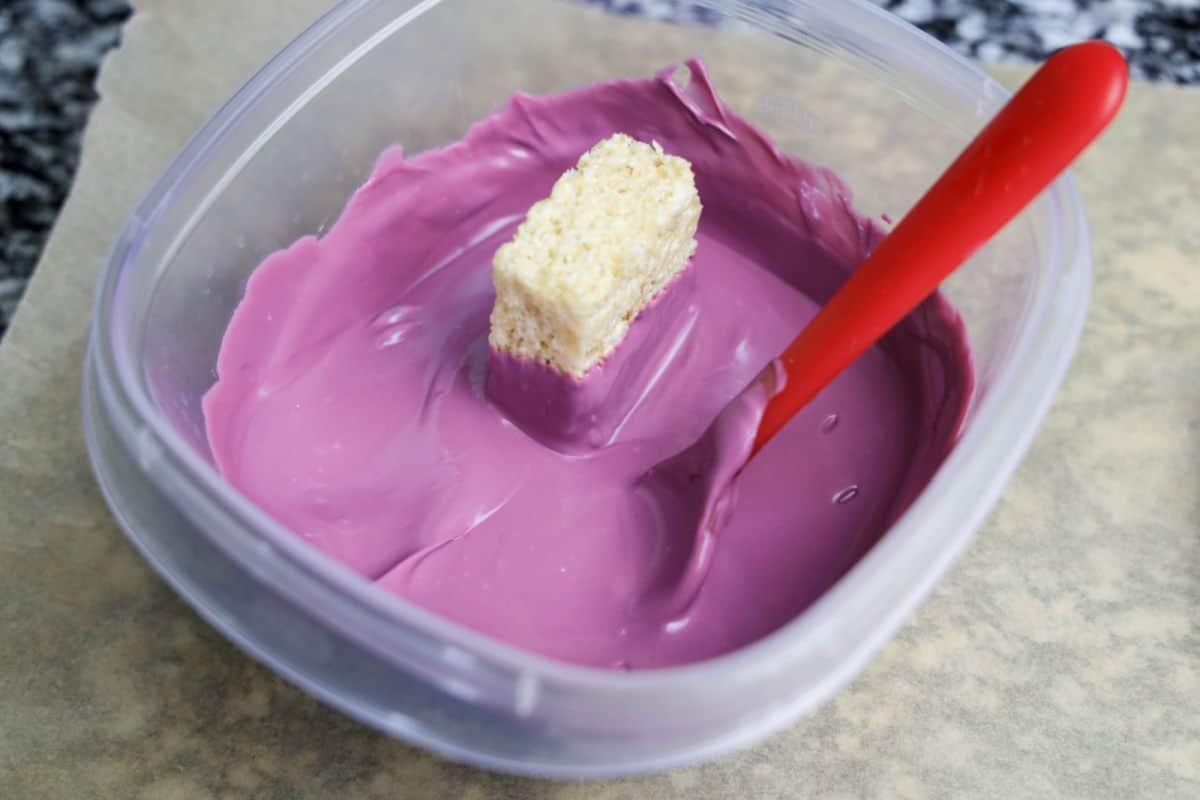
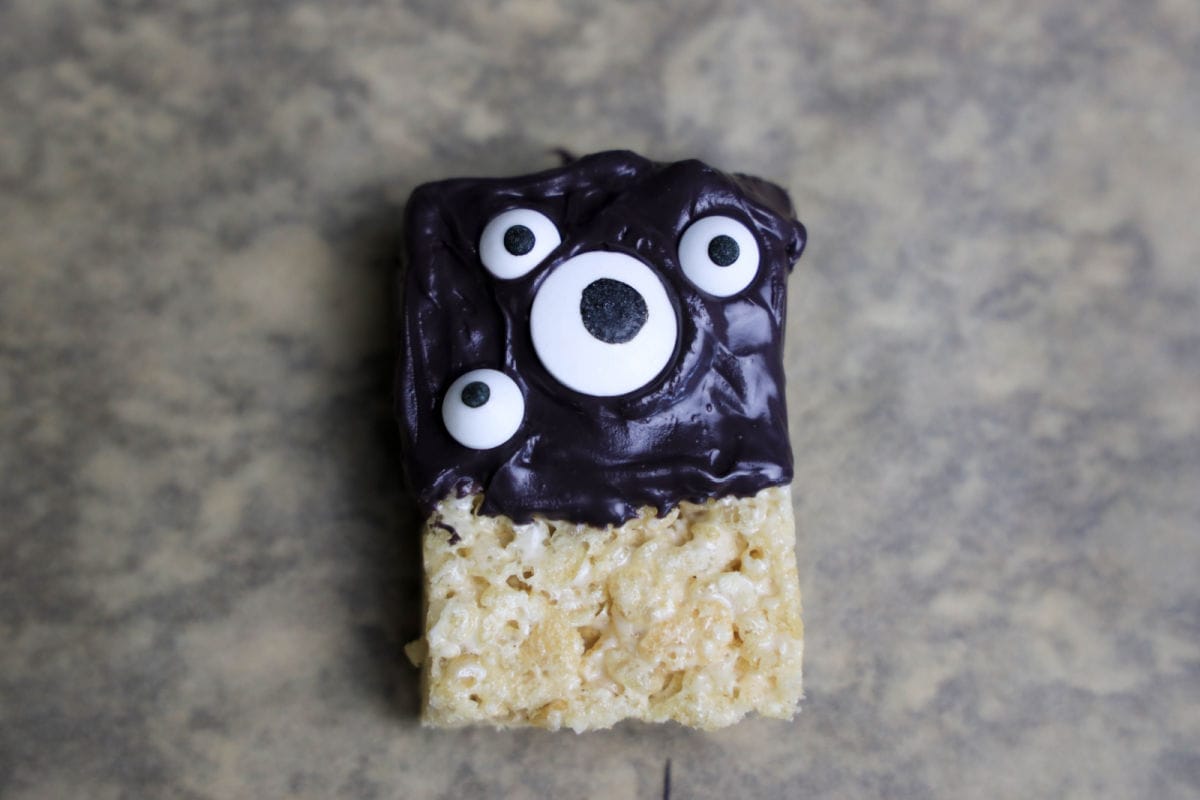
Dip the rice krispy treats into the candy melts and place onto parchment paper or wax paper. Then, place eyes in different patterns into the candy melt area before it dries.
Work with a partner to get those eyes on fast before the candy melts set back up. You want to place the eyes before the candy dries because this is what holds them in place. Its a great way to get your kids involved!
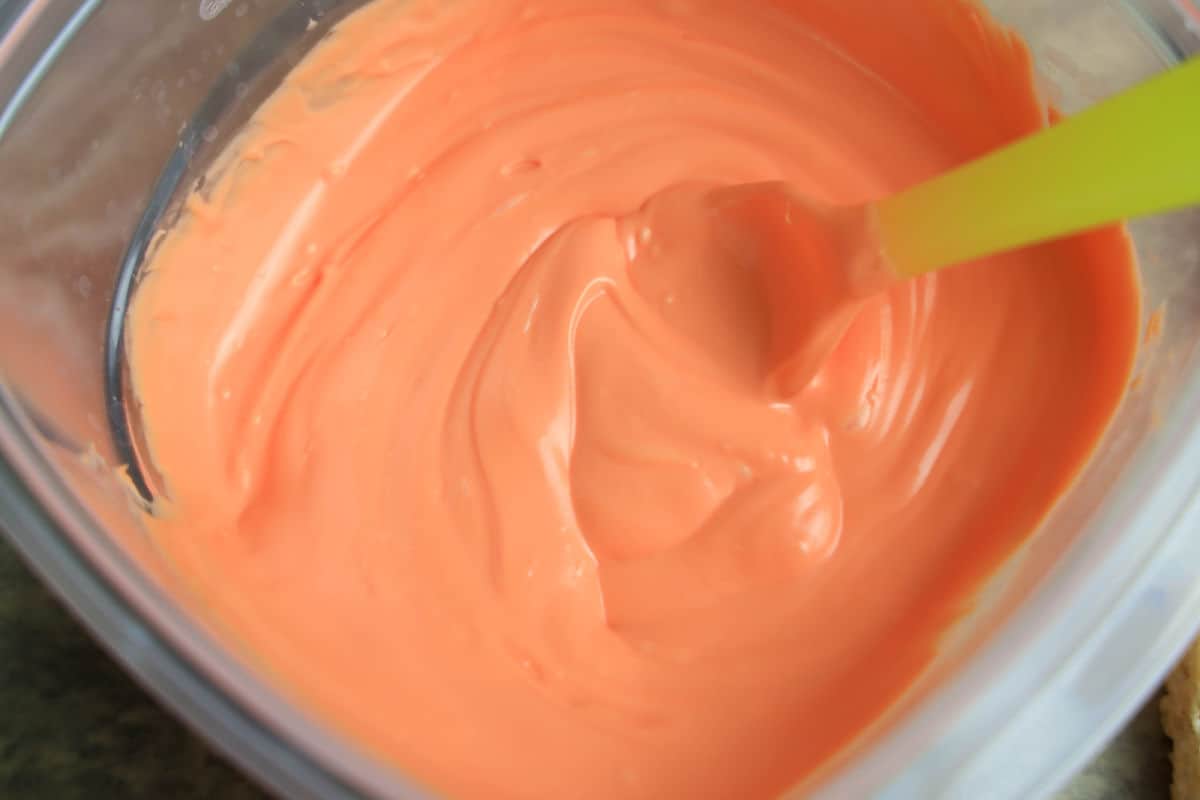
Set out several sheets of wax paper or parchment paper on your counter before you begin so that you can dip and lay out the Rice Krispie treats quickly as your partner places the eyes. Work with one color of candy melt at a time.
Store the Monster Rice Krispie Treats in an airtight container at room temperature for up to six days. The Rice Krispie treats will become stale over time, and the candy coating will start to dry out or collect moisture depending on the environment.
Do not refrigerate or freeze the treats. This will dry out and crack the candy melt coating.
Tips for Best Results
Melting candy melts in the microwave is easy. Start in small increments of time and stir between each increment. At full power, you should start with thirty seconds, and repeat as needed. They hold their shape so be sure to stir between times. If you have the setting, I like to melt them on defrost for 1:30 seconds and then stir and repeat as needed.
Make these up to two days before your party! Just make sure they are stored properly in an airtight container.
More Easy Monster Treats
- Halloween Popcorn Balls
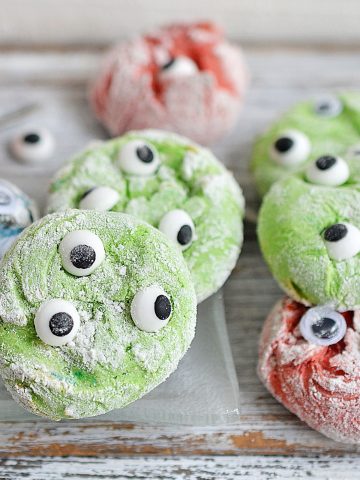
- Monster Cookies
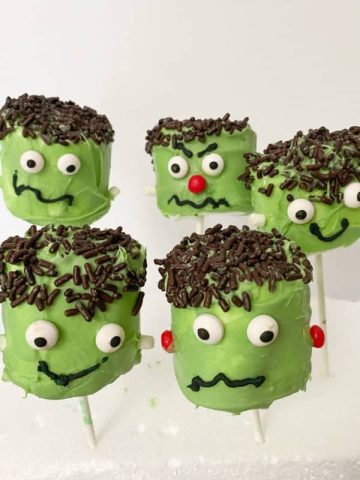
- Frankenstein Monster Halloween Treats
- Mummy Meatballs
- Mummy Cookies
📖 Recipe
Monster Rice Krispie Treats
Ingredients
- 5 rice krispy treats
- 6 oz black candy melts
- 6 oz purple candy melts
- 6 oz orange candy melts
- 7 large candy eye sprinkles
- 16 small candy eye sprinkles
Instructions
- Melt each color candy melt as directed. I do them on defrost for 1:30 second and repeat with strring until it is melted. You can also use a melting pot.
- Dip the rice krispy treats into the candy melts and place onto parchment paper.
- Place eyes in different patterns into the candy melt area before it dries. Let dry and serve!
Notes
If you are not yet subscribing to my CELEBRATE THE SEASON newsletter, you can subscribe here. I share easy recipes for the season that the entire family is sure to love and also a few things that I don’t share here.


Leave a Reply