How to Dye Eggs with Food Coloring
This post may contain affiliate links.
Growing up, we always used to dye eggs with food coloring. It was an inexpensive way to color the eggs for Easter and mom always had vinegar on hand for the coloring process. Today I am sharing my method for dyeing eggs for Easter.
Dying eggs food coloring can be a fun and simple process for everyone involved with a little preparation.

How to Dye Eggs with Food Coloring
In preparation for the process, you will want to assemble a few items.
Items needed to Dye Eggs:
- Table Covering
- Boiling Water
- White Vinegar
- Food Coloring (liquid or gel)
- Plastic Cups or Bowls
- Cooled Hard-Boiled Eggs
- Paper Towels
- Tongs, Egg Dippers or a Slotted spoon
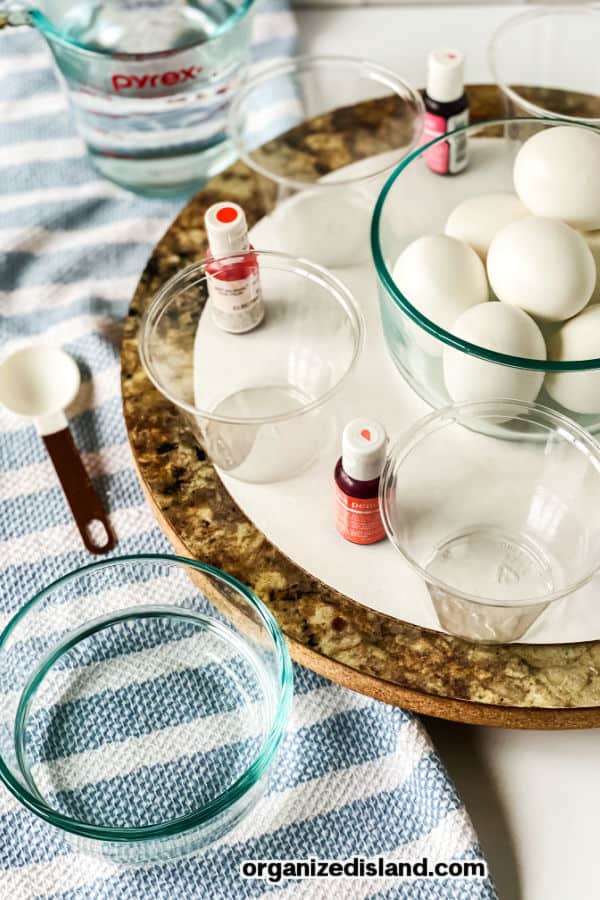
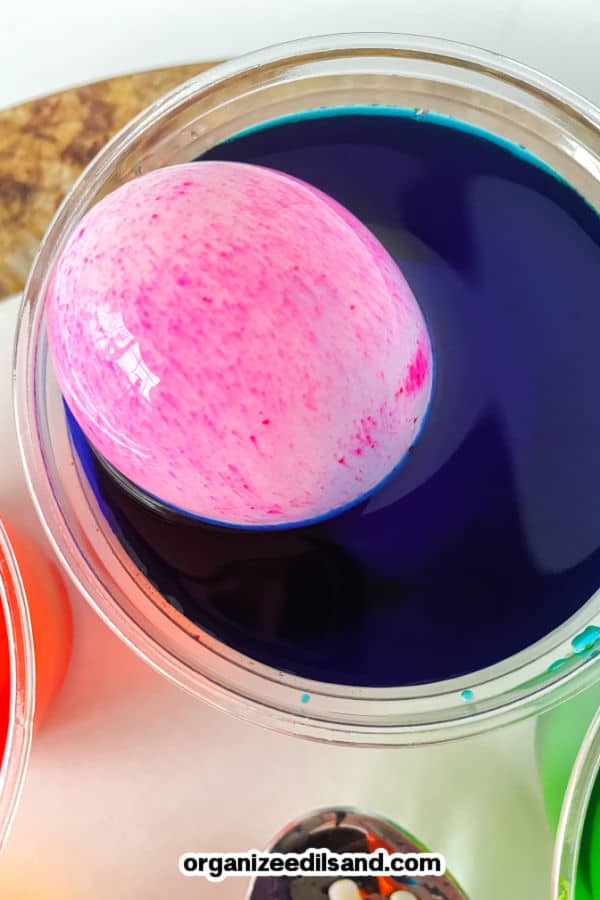
It is best to designate one bowl for each color.
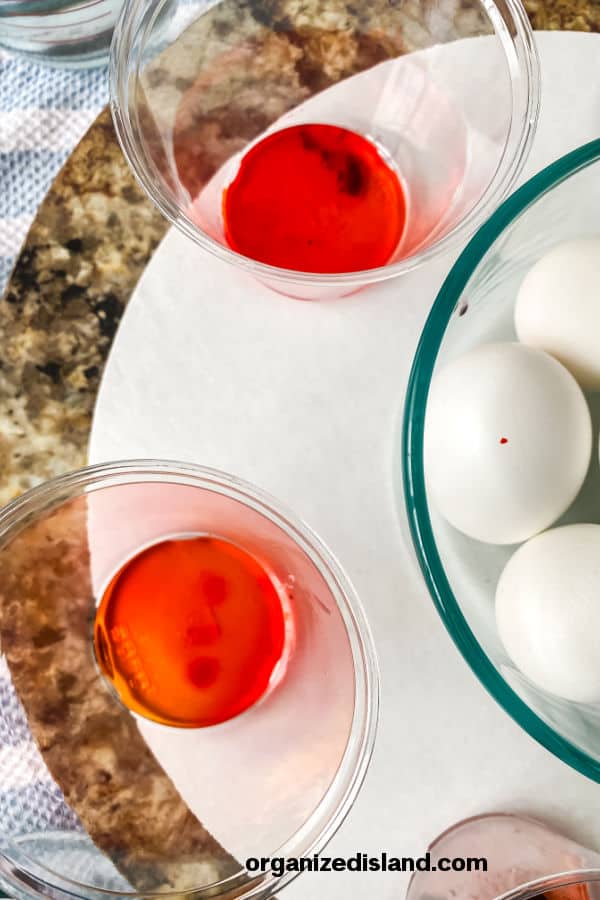
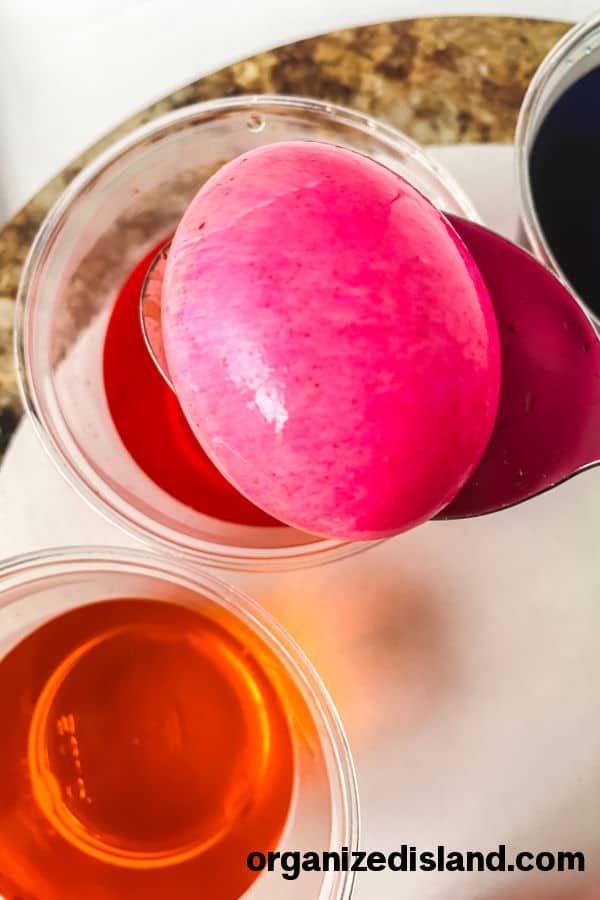
Using a spoon, you will dip the egg and hold it under the food coloring for a few seconds. The longer the egg is in the dye, the darker the color will be.
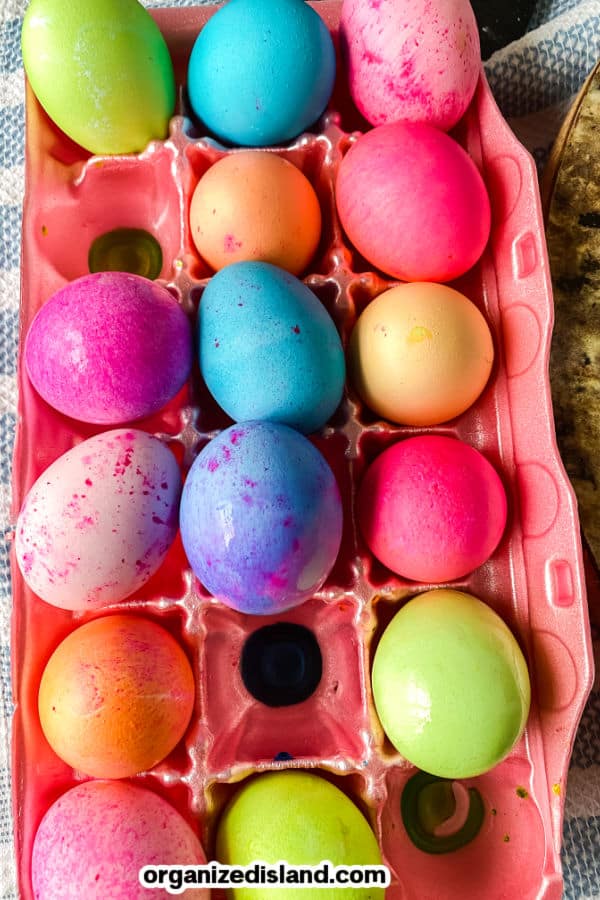
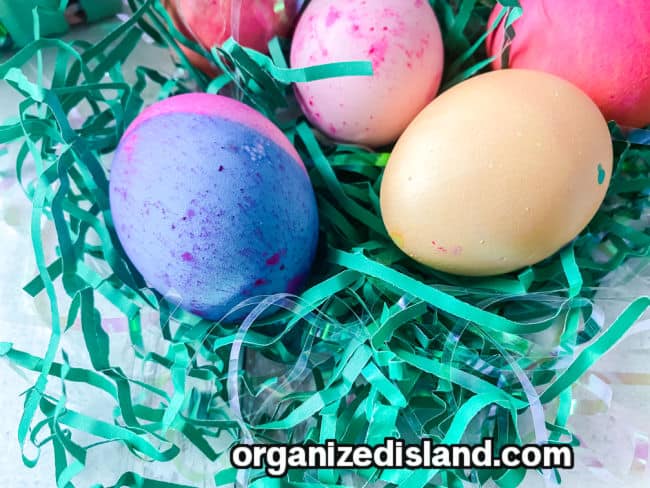
Once the eggs are dyed, you can let them dry in an egg carton.
Tips for Dying Easter Eggs
- The key to properly dyed eggs is taking your time throughout this process.
- Cover your work surface with towels or newspapers to protect them from being stained. This is really important so that you do not stain your tabletop.
- Each color will need enough boiling water to cover the egg completely once submerged.
- Using liquid colors will require up to 20 drops, using gel colors requires 1-3 drops depending on depth of
color.
Save The Recipe!
You can change up the colors and make eggs two-toned too! Just dip half of the egg in one color and then dip the other half in a second color.
Instructions:
- Fill cups, bowls or containers with enough water to cover the egg, along with 1 teaspoon of white vinegar and
food coloring. - Place the egg on a slotted or regular spoon and dunk into the mixture, turning occasionally so both sides
are colored. - Keep in the liquid coloring up to 5 mins or longer for darker colors.
- Carefully remove the egg and set it aside to dry.

How to Make Hard-Boiled Eggs In the Oven:
Preheat the oven to 325 degrees. Place one egg in each cup of a muffin tin, then carefully pour water
into each cup until it is full to the brim.
Cook for 30 mins.
Immediately remove them from the tins, to stop the cooking process.
Place eggs into an ice bath for five minutes.
Some brown spots may appear on the shell, the eggs will be fine.
Peel, Dye or prepare as desired.
On the Stove Top:
See these directions for the perfect hard-boiled eggs on the stove.
Timesaving Tips for Dying Easter Eggs
- Adding salt to the water prior to boiling helps remove the shell without it breaking into a lot of pieces.
- Using an ice bath can help prevent the greenish color around the yolk that overcooked hard-boiled eggs
sometimes present. - Peeled or unpeeled eggs will keep in a fridge for up to 5 days. If unpeeled, keep in an airtight container.
Related Recipes
Chorizo Deviled Eggs – A delicious appetizer or small plate made with a hint of chorizo.
Easy Egg Salad – An easy and tasty classic homemade recipe that is perfect as is or in a sandwich.
Perfect Hard Boiled Eggs The perfect eggs every time!
Egg Decorating Ideas – A befy of egg decorating ideas that re easy!
If you are not yet subscribing to my CELEBRATE THE SEASON newsletter, you can subscribe here. I share a few things that I don’t share here and I email you only once a week. I know how valuable your time is and respect that tremendously!
If you try this recipe or any other recipe on Organized Island, please don’t forget to rate the recipe and let me know where you found it in the comments below, I love hearing from you! To see what I am up to, check out my stories on Instagram and let me know you are following. It would bring me much joy!
Want to streamline your weekly meals? Check out my Beginner’s Guide to Meal Planning book on Amazon.


The slotted spoons come in handy! This is an Easter must do for us!