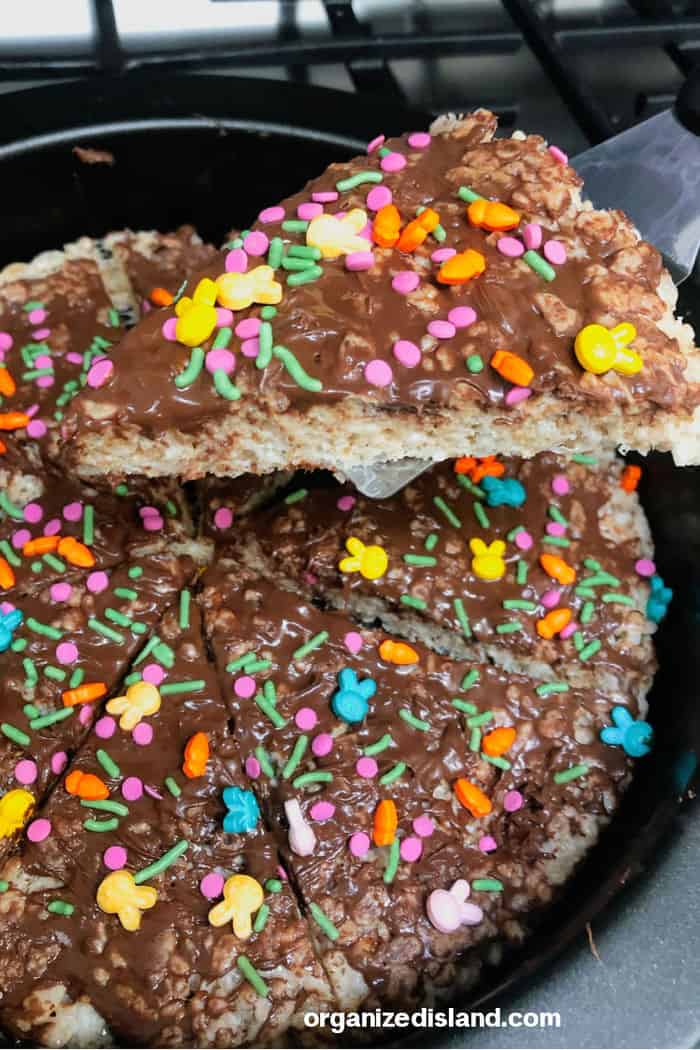
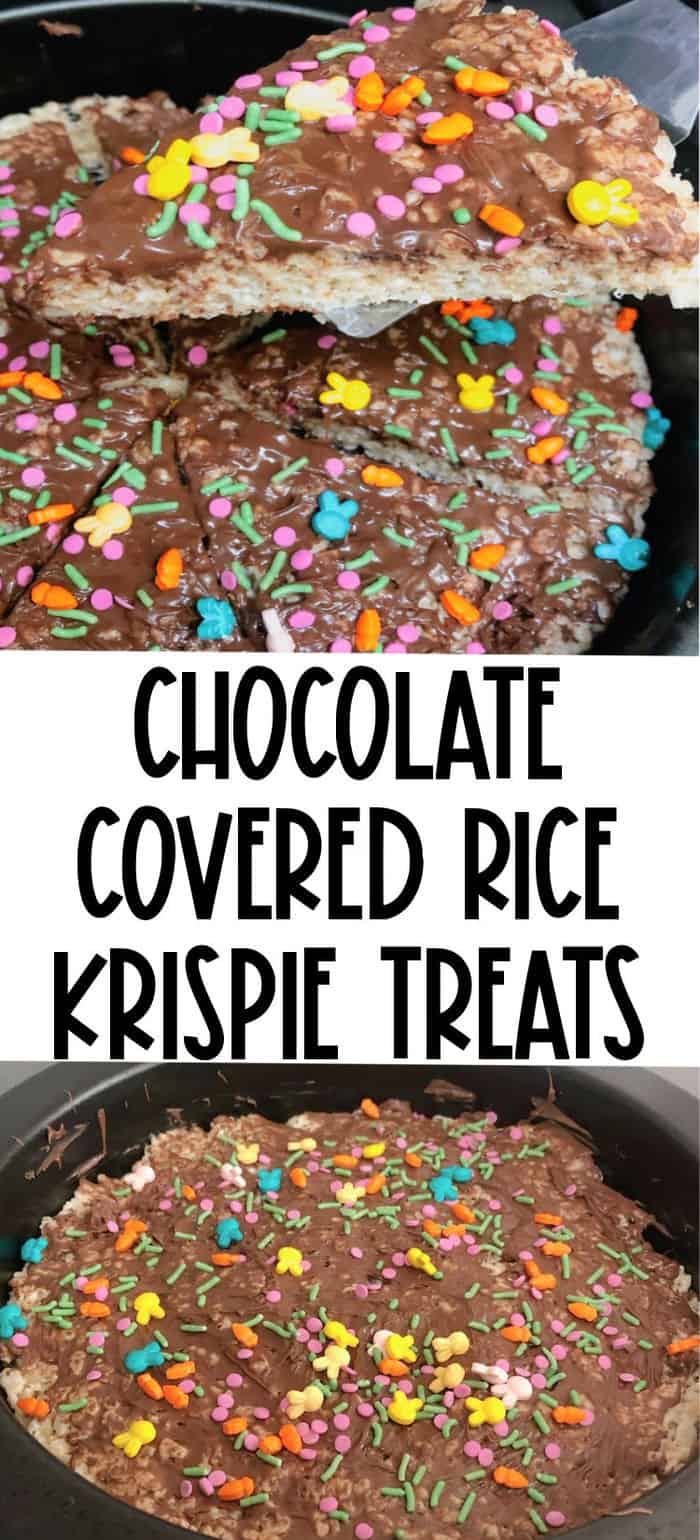
These easy Chocolate Covered Rice Krispie Treats are a fun way to make a quick treat or snack. Sometimes it is fun to change things up and this is a simple and fun twist on traditional rice krispie treats.
We are all about sharing easy dinner & dessert ideas and this version of krispy treats recipe is a fun dessert idea.
Why You Will Love This Recipe
This fun rice krispie treats recipe is super simple, delicious and ready in about 45 minutes
This is a totally versatile and customizable recipe as you can change up the chocolate flavors.
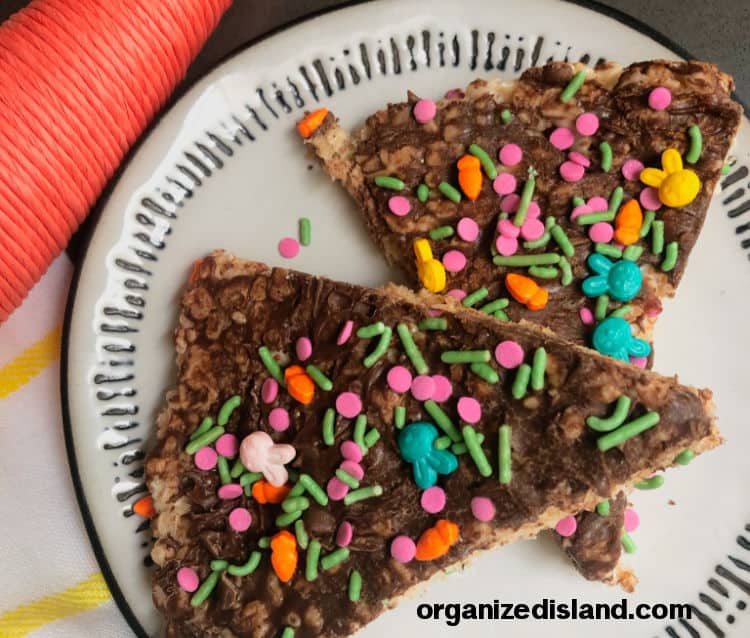
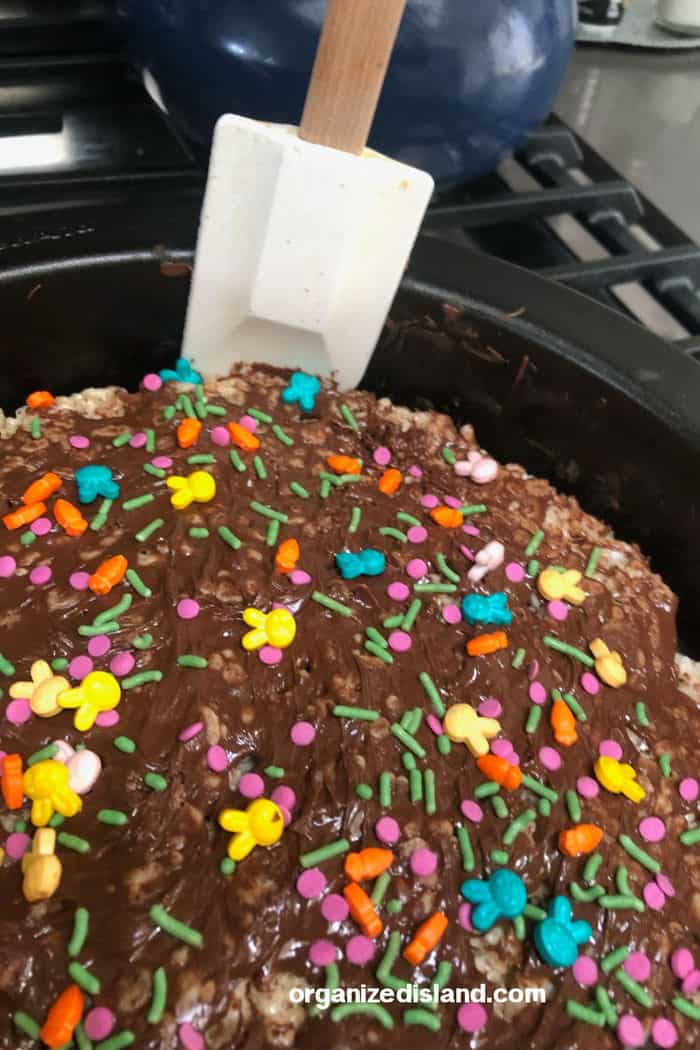
Homemade rice krispie treats are a great way to celebrate the season by changing up the sprinkles. I used Easter sprinkles here but you can change that.
I have also make these for game day by changing up the color of the sprinkles. I made these in a round cake pan to change them up but you can use a square pan if you wish.
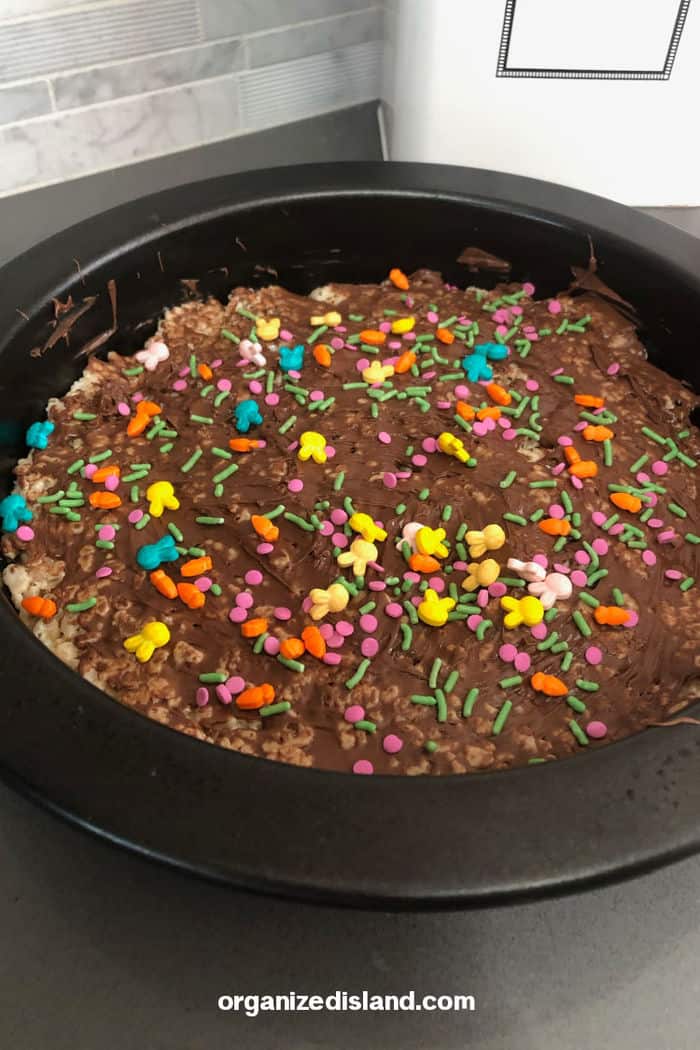
It also makes a fun gift idea for friends. You can wrap them in cellophane bags as a party favor.
Ingredients For Krispy Treats
This recipe only requires 5 ingredients.
Ingredient photo
Butter or margarine
Mini marshmallows - fresh marshmallows are best
Crispy rice cereal
Chocolate Chips - I use milk chocolate chips
Holiday Sprinkles
Equipment and Kitchen Tools Needed
- large saucepan
- rubber or silicone spatula
- wax paper or parchment paper
- knife
- microwave safe bowl
- round cake pan or square baking pan
How to Make Chocolate Covered Rice Krispie Treats
Step By Step Instructions
- Melt butter in a large pan over medium heat, stirring often so it does not burn.
- Fold in mini marshmallows one cup at a time until melted.
- Remove from heat and add cereal one cup at a time.
- Butter mold and hands or use buttered paper.
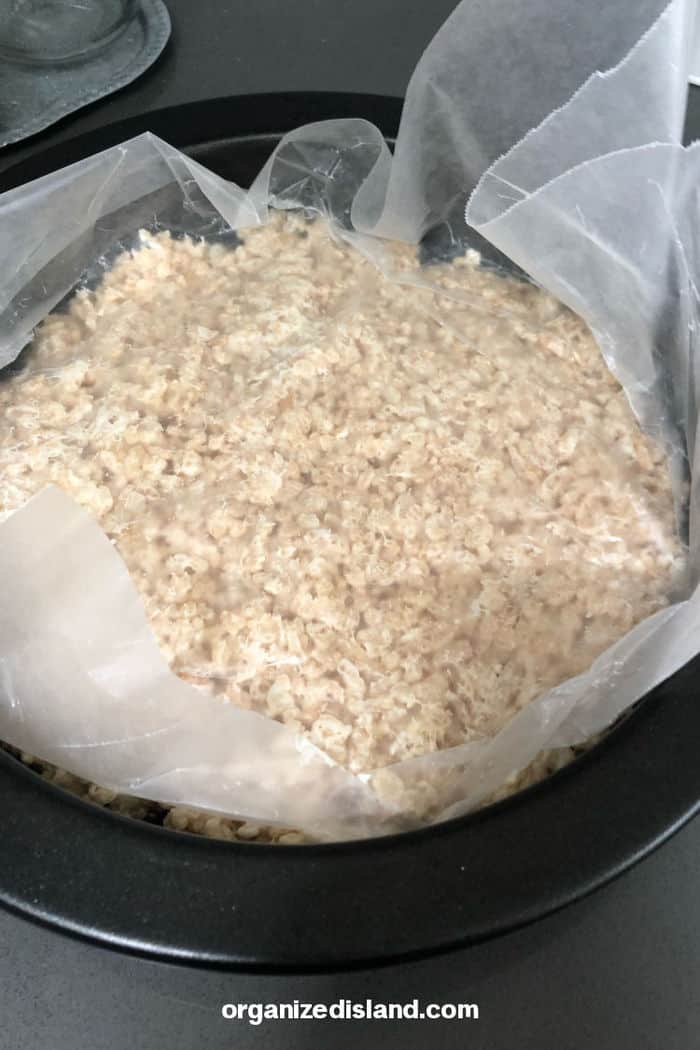
- Press marshmallow mixture into the pan in an even layer.
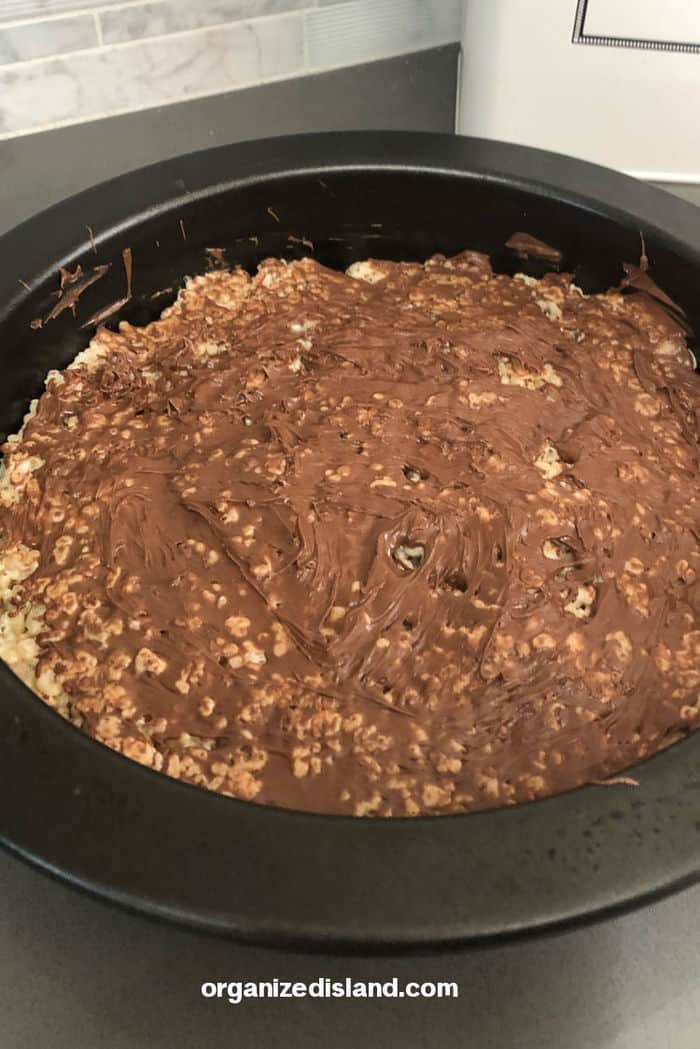
- Melt chocolate chips in 30 second increments in the microwave. until easy to spread.
- Spread melted chocolate over cereal mixture evenly.
- Decorate with candy sprinkles and let set.
Pro Tips and Timesaver Shortcuts
- Use a little bit of butter on you hands to press the cereal in the prepared pan, You can also use wax or parchment paper with butter to press the gooey rice krispie cereal into the pan evenly.
- You can use large marshmallows or marshmallow fluff instead of marshmallows.
- The treats will firm as they cool.
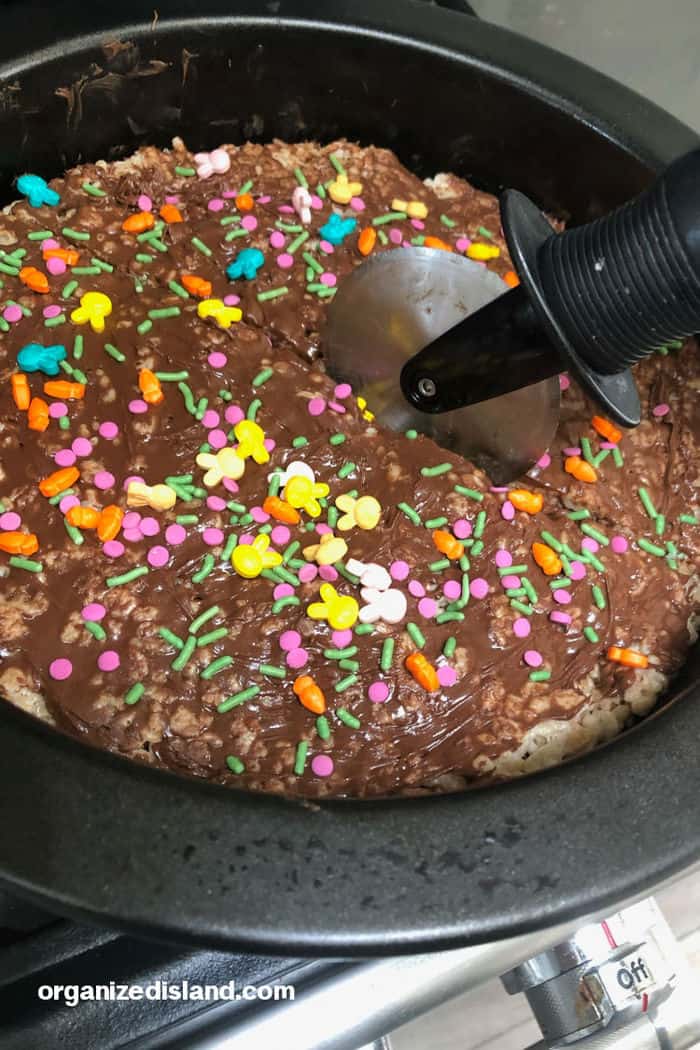
- If using a coated pan, you can use a pizza cutter to make the initial slice. but don't do this on a teflon pan or could possibly scratch your baking pan.
Variations, Notes, and Substitutions
- You can change up the kind of chocolate you use. Some options are white chocolate, dark chocolate or
- You can add a second layer of chocolate or peanut butter after the first layer fully sets.
Serving and Storage Suggestions
- Serve in slices or insert a popsicle stick in each slice.
- Store leftovers in an airtight container. I like to use freezer-safe plastic bags and then I have a meal that is ready to go,
FAQ
Can Rice Krispie Treats Be Frozen?
Yes, you can freeze them in sealed a freezer-safe container, however, they may lose some of their crispiness.
How Long Are Rice Krispie Treats Good For?
Honestly, not long. I would recommend eating within 2 - 3 days.
Rice Krispie Golden Crunch Treats
Homemade Cereal Bars – packed with raisins and fun for lunch boxes.
Fall Rice Krispie Treat Ideas – These treats are perfect for the fall season.
Don't forget to bookmark this recipe.

📖 Recipe

Chocolate Covered Rice Krispie Treats
Equipment
- large saucepan
- rubber or silicone spatula
- wax paper or parchment paper
- knife
- Microwave Safe bowl
- round cake pan or square baking pan
Ingredients
- 3 tablespoons Butter or margarine
- 4 cups Mini marshmallows - fresh marshmallows are best
- 6 cups Crispy rice cereal
- ¾ cup Chocolate Chips - I use milk chocolate chips
- Holiday Sprinkles
Instructions
- Melt butter in a large pot or pan over medium-low on the stove, stirring often so it does not burn.
- Fold in mini marshmallows one cup at a time until melted.
- Remove from heat and add cereal one cup at a time.
- Prepare the sides and bottom of the pan with a light coating butter or nonstick spray
- Butter mold and hands or use buttered paper.
- Press marshmallow mixture into the pan in an even layer.
- Melt chocolate chips in 30-second increments in the microwave. until easy to spread.
- Spread melted chocolate over cereal mixture evenly.
- Decorate with candy sprinkles and let set.
Nutrition
We hope you enjoyed this fun no bake recipe recipe. If you are not yet subscribing to my CELEBRATE THE SEASON newsletter, you can subscribe here.
I share easy recipes to celebrate the season and a few things that I don’t share here. I email you only once a week, as I know how valuable your time is and respect that tremendously!
If you try this recipe or any other recipe on Organized Island, please don’t forget to rate the recipe and let me know where you found it in the comments below, I love hearing from you! To see what I am up to, check out my stories on Instagram and let me know you are following. It would bring me much joy!
Want to streamline your weekly meals? Check out my Beginner's Guide to Meal Planning book on Amazon.



Tamara Bowman
Ohh! I love how you made it like.. pie shaped. I am TOTALLY IN.