Easy Halloween Witch Hat Cupcakes Recipe
This post may contain affiliate links.
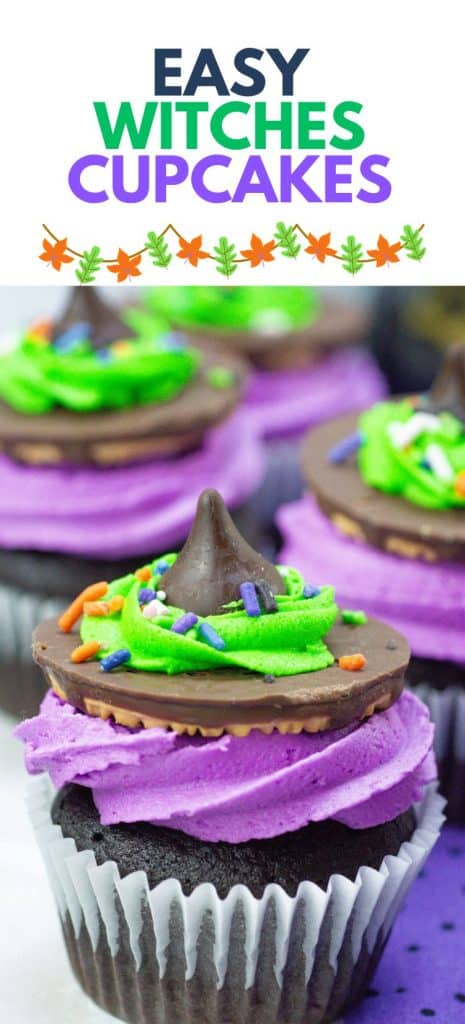
Calling all Sanderson Sisters fans! Are you ready to conjure up some wickedly adorable witches cupcakes that will cast a spell on your taste buds and your guests?
These cute witch hat cupcakes are the perfect treat to bring a touch of Halloween spirit to your next Halloween party or any fun Halloween-themed gathering.
This is one of our fun and easy Halloween treat recipes you will want to bookmark for later.
They are surprisingly easy to make, and with a bit of time and a dash of creativity, you’ll have a batch of adorable witch hat cupcakes that are sure to be the star of your Halloween celebration. With these cute cupcakes, you’ll have everyone saying hocus pocus!
Why You’ll Love This Recipe
Easy Halloween Treat: This recipe is simple enough for even first-time bakers to create. You don’t need to be a culinary witch to whip up these delightful cupcakes.
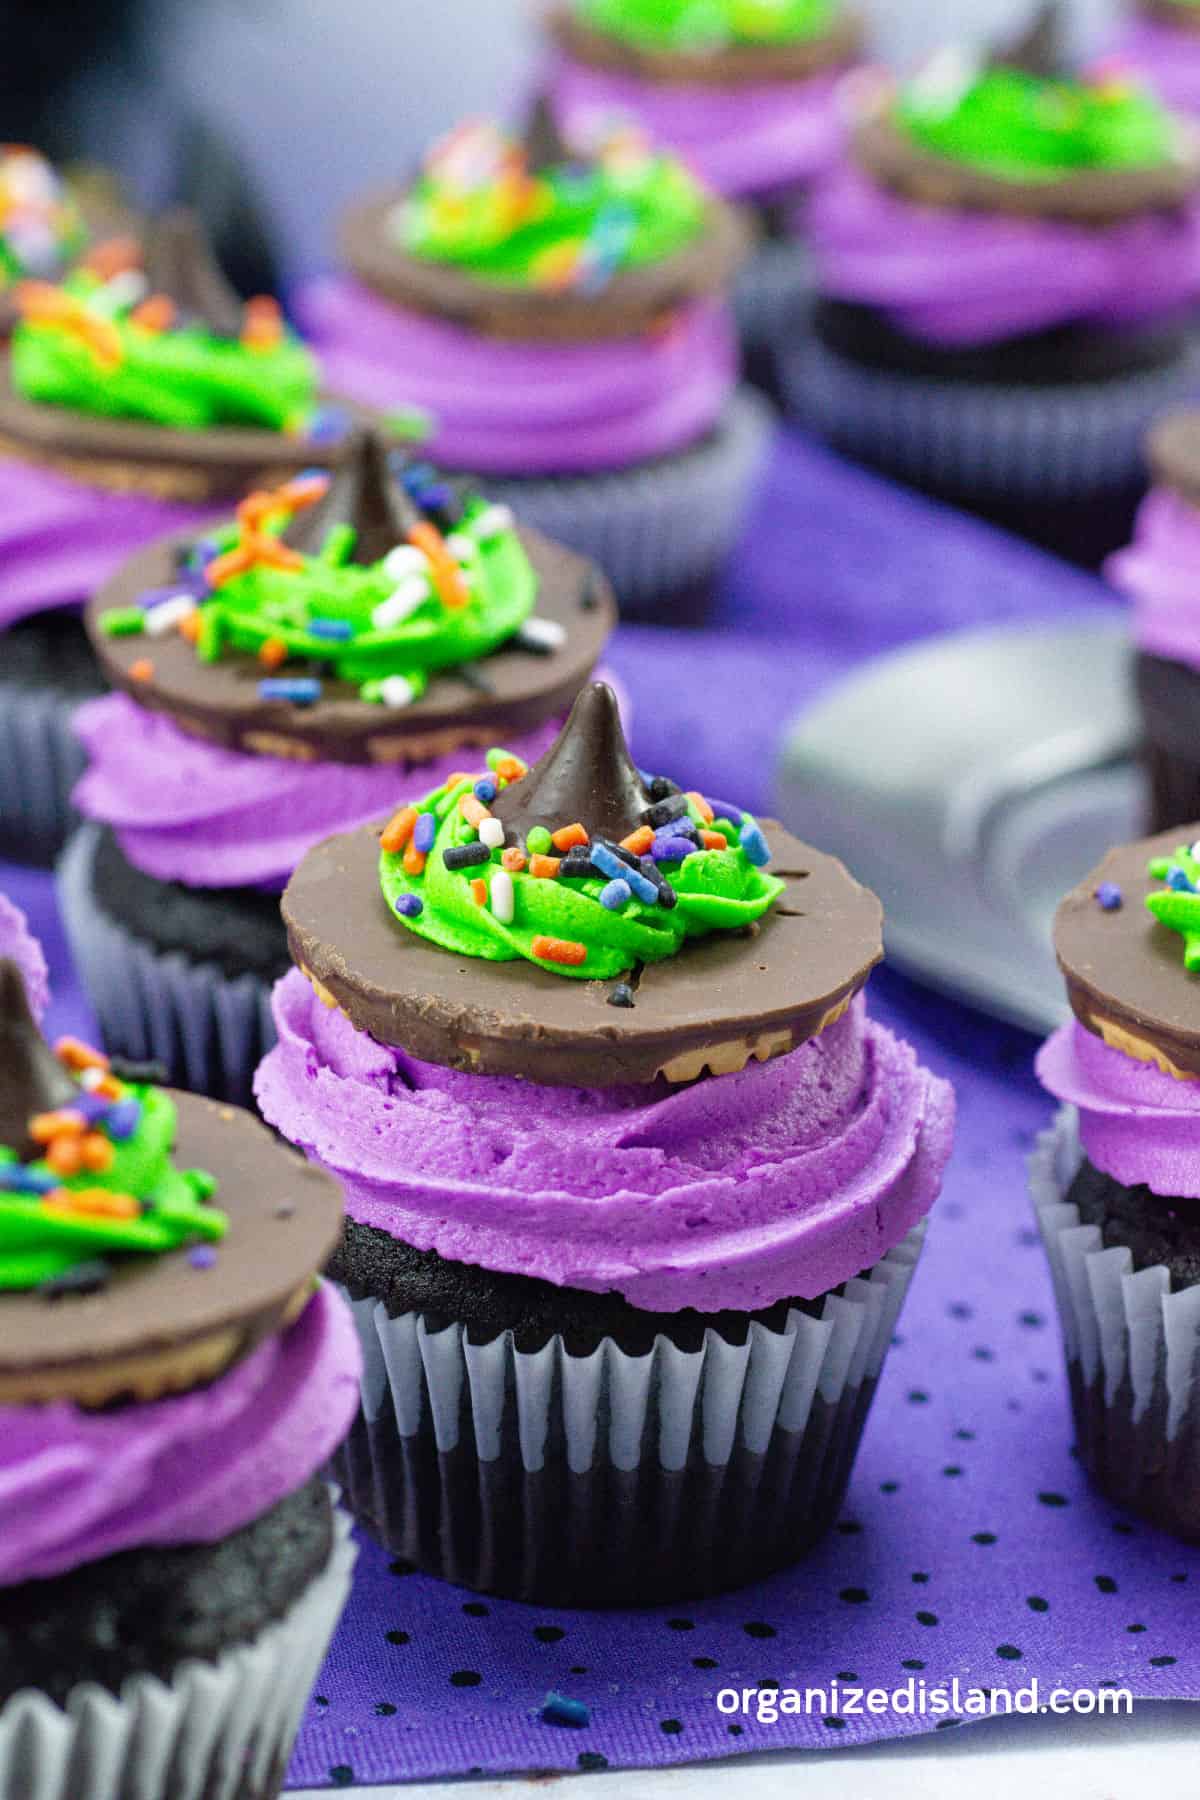
Perfect Halloween Treat: Whether you’re hosting a Halloween party, attending a spooky gathering, or just getting into the Halloween spirit, these cupcakes will fit the occasion perfectly.
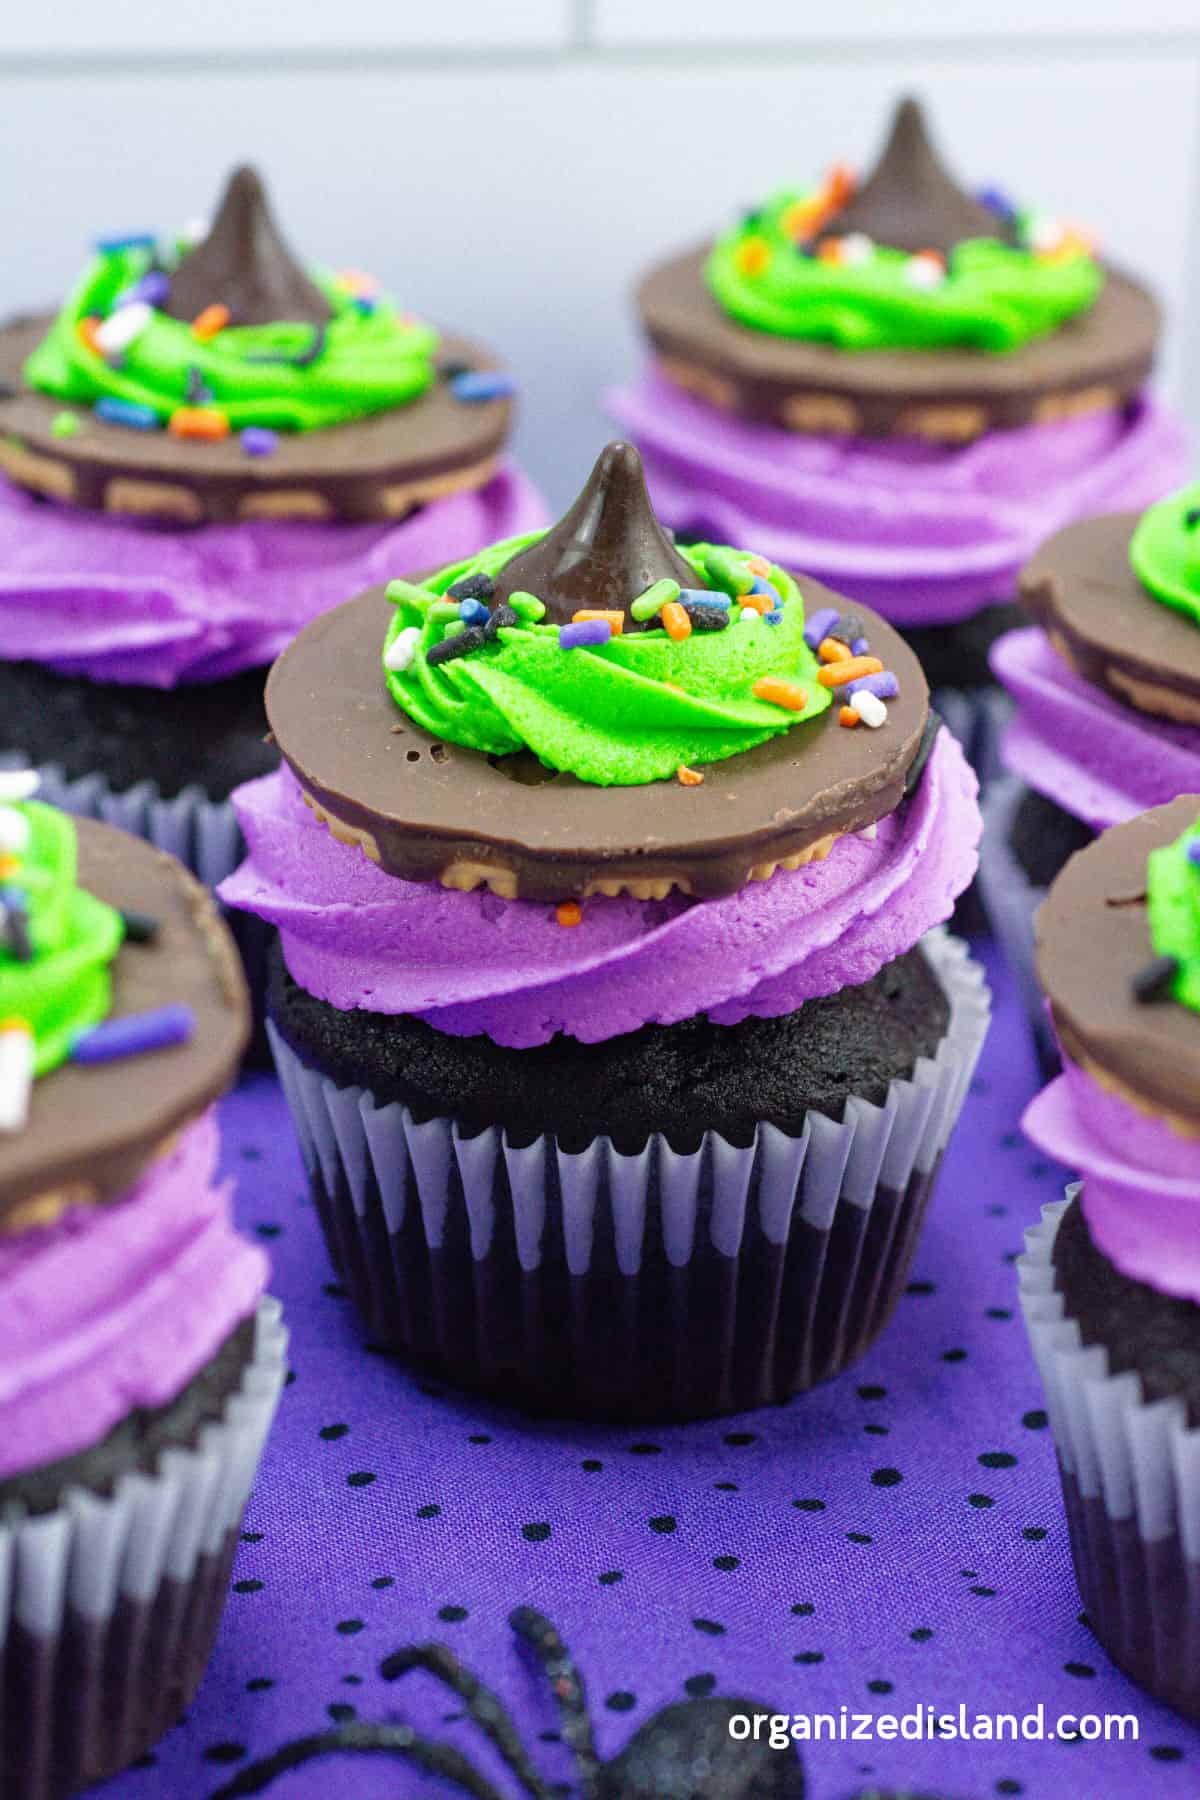
Adorable Witch Hat Cupcakes: These cupcakes are not only delicious but also look like miniature witch hats, making them a fun and festive addition to your Halloween spread.
Versatile: You can customize the colors and decorations to match your Halloween theme, from classic witchy colors like purple and green to orange frosting for a twist.
Ingredients for Halloween witch hat cupcakes
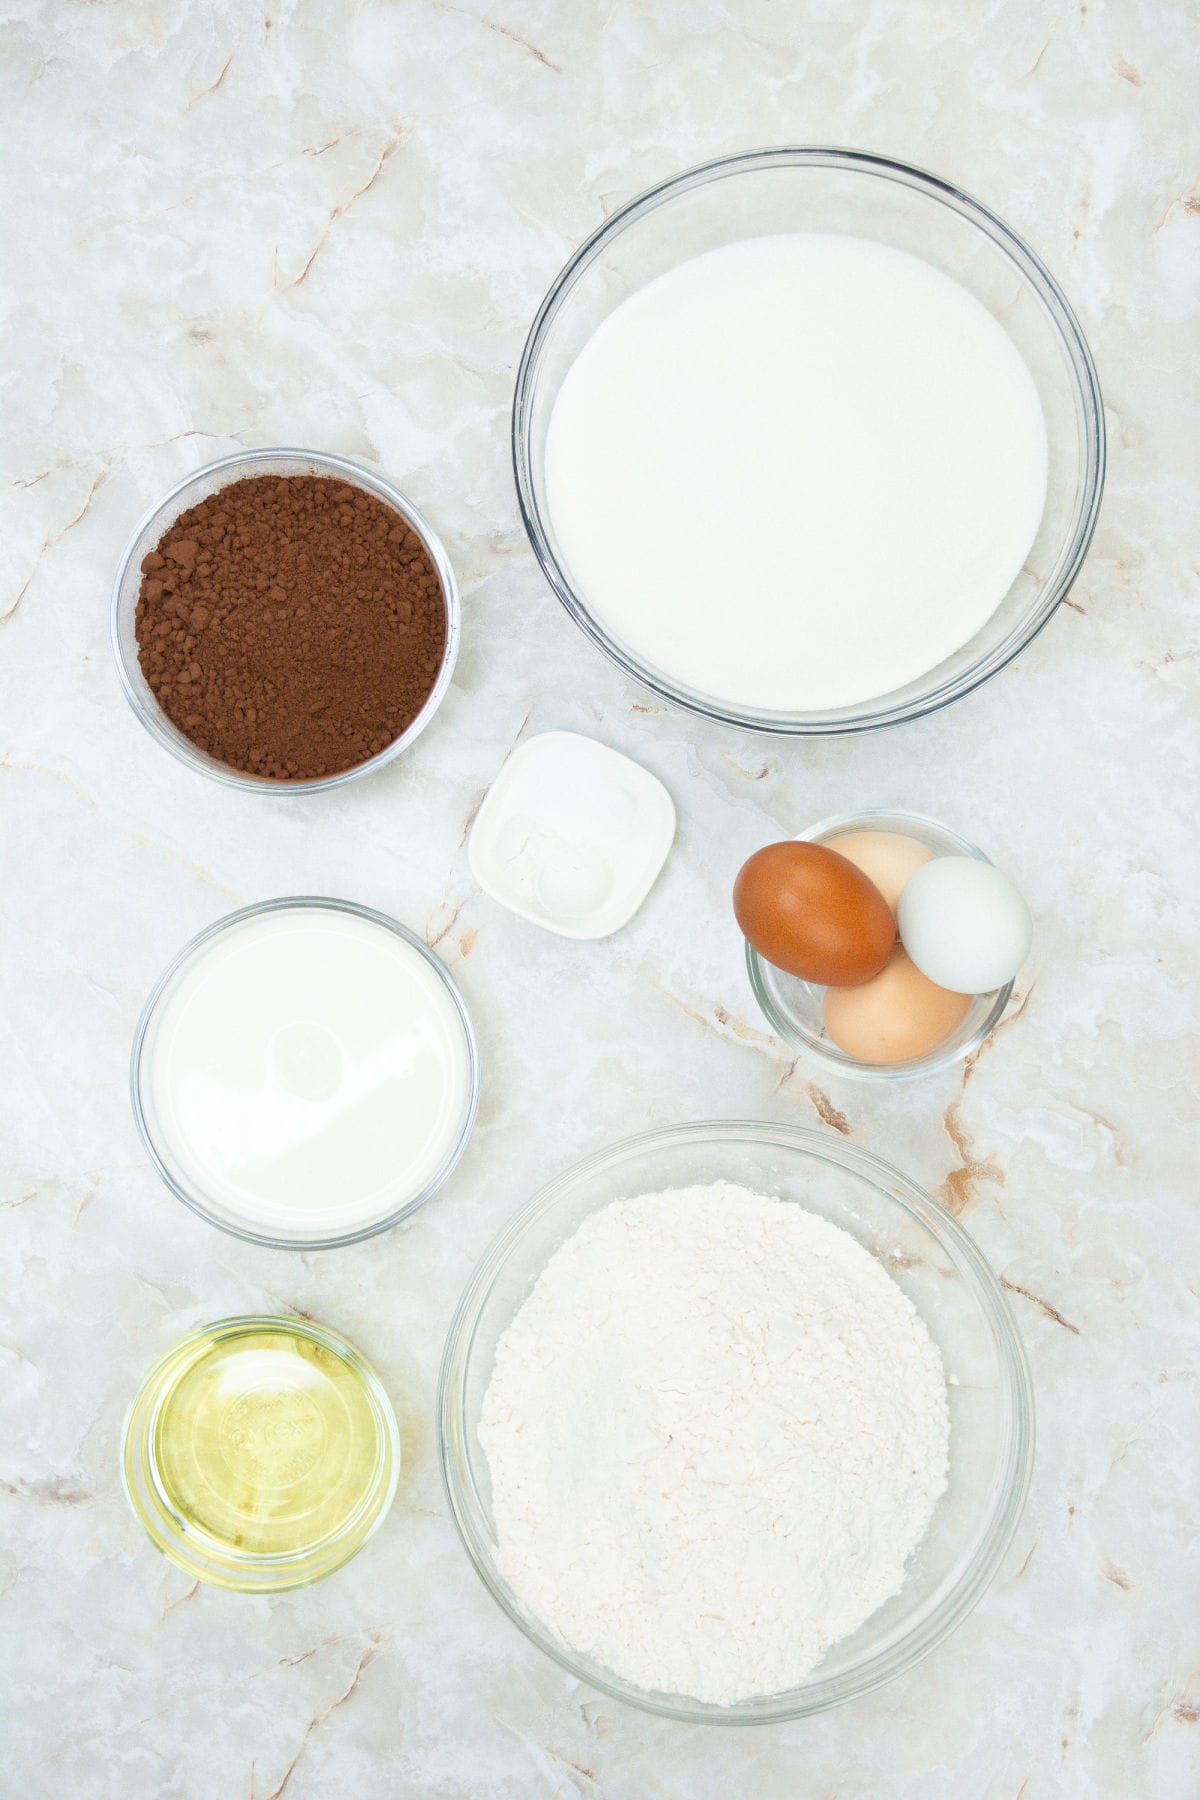
Cupcakes
- Sugar
- Flour
- Cocoa powder
- Eggs
- Baking powder
- Salt
- Milk
- Warm water
- Oil
- Vanilla extract
Frosting
- Unsalted butter – softened
- Salt
- Vanilla extract
- Powdered sugar
- Milk
- Green food coloring
- Purple food coloring
- Lime green food coloring
- Yellow food coloring
Topping
- Fudge striped cookies
- Hershey’s kisses, unwrapped
Sprinkles of choice
Equipment and kitchen tools
- Stand mixer
- Cupcake tin
- Cupcake liners
How to make easy Halloween cupcakes
- Preheat the oven to 350 degrees. Line cupcake pans with liners or spray with non—stick spray. Set aside.
- In the bowl of a stand mixer, combine all the dry ingredients. Whisk to combine.
- Add in all the liquid ingredients and combine well — mix for about 2 minutes at medium speed to ensure there are minimal clumps.
- Fill each cupcake cavity approximately ⅔ — ¾ full.
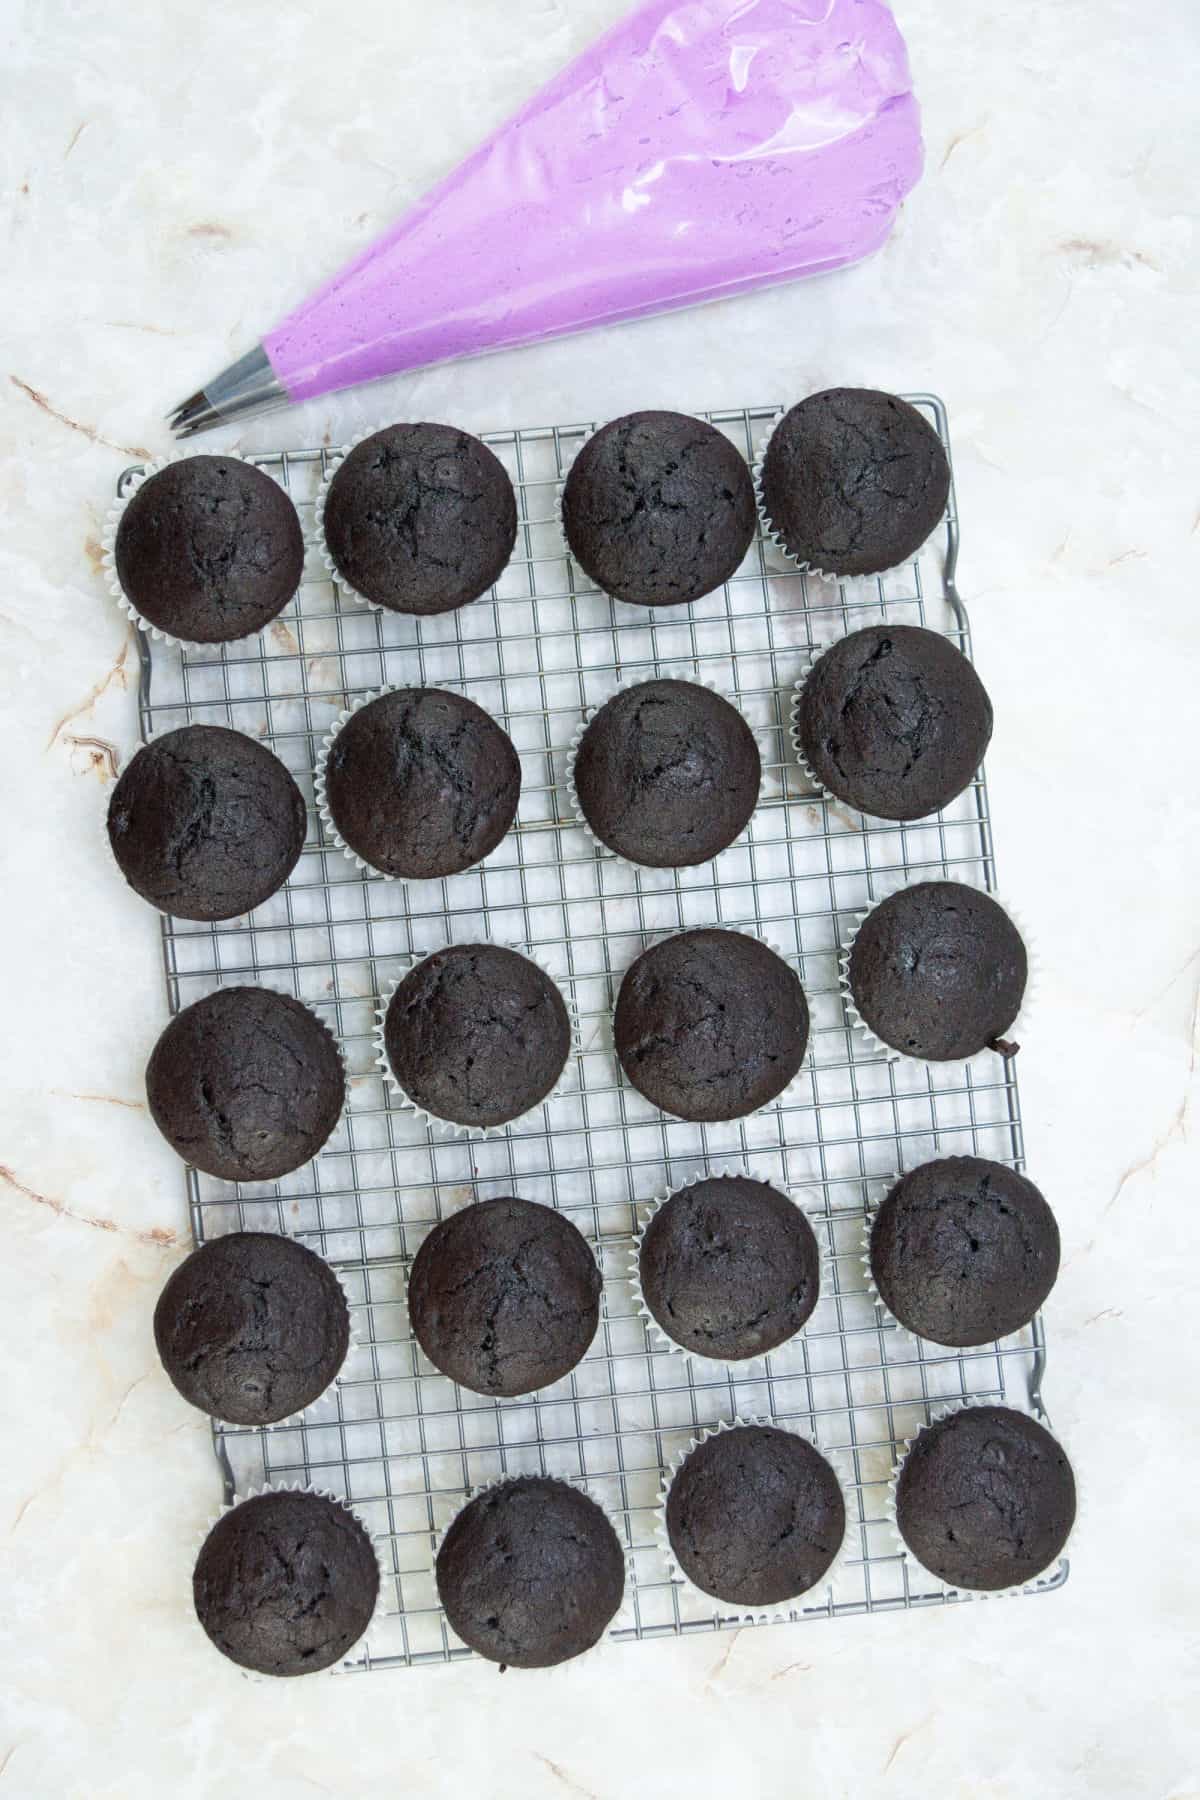
- Bake for approximately 14—16 minutes or until a toothpick inserted into the center of a cupcake comes out clean. Allow to cool completely on a wire rack before decorating.
- To make the buttercream frosting — in the bowl of a stand mixer, combine the softened butter, salt, vanilla, and half of the powdered sugar. Mix on low speed until combined.
- Add in the remaining powdered sugar and about half of the milk. Mix on low until combined. Bump up the speed to high for an additional minute or until the frosting is light and fluffy. Only add the remaining milk if the mixture appears dry and crumbly and then mix again.
- Divide the frosting between two bowls — ¾ of the frosting to be tinted purple and the remaining ¼ to be tinted lime green.
- Once mixed, transfer the frosting to a piping bag fitted with a star tip. We used a large 2D tip for the purple and a smaller star tip for the green.
Save The Recipe!
How To Make Witches Hats for Cupcakes
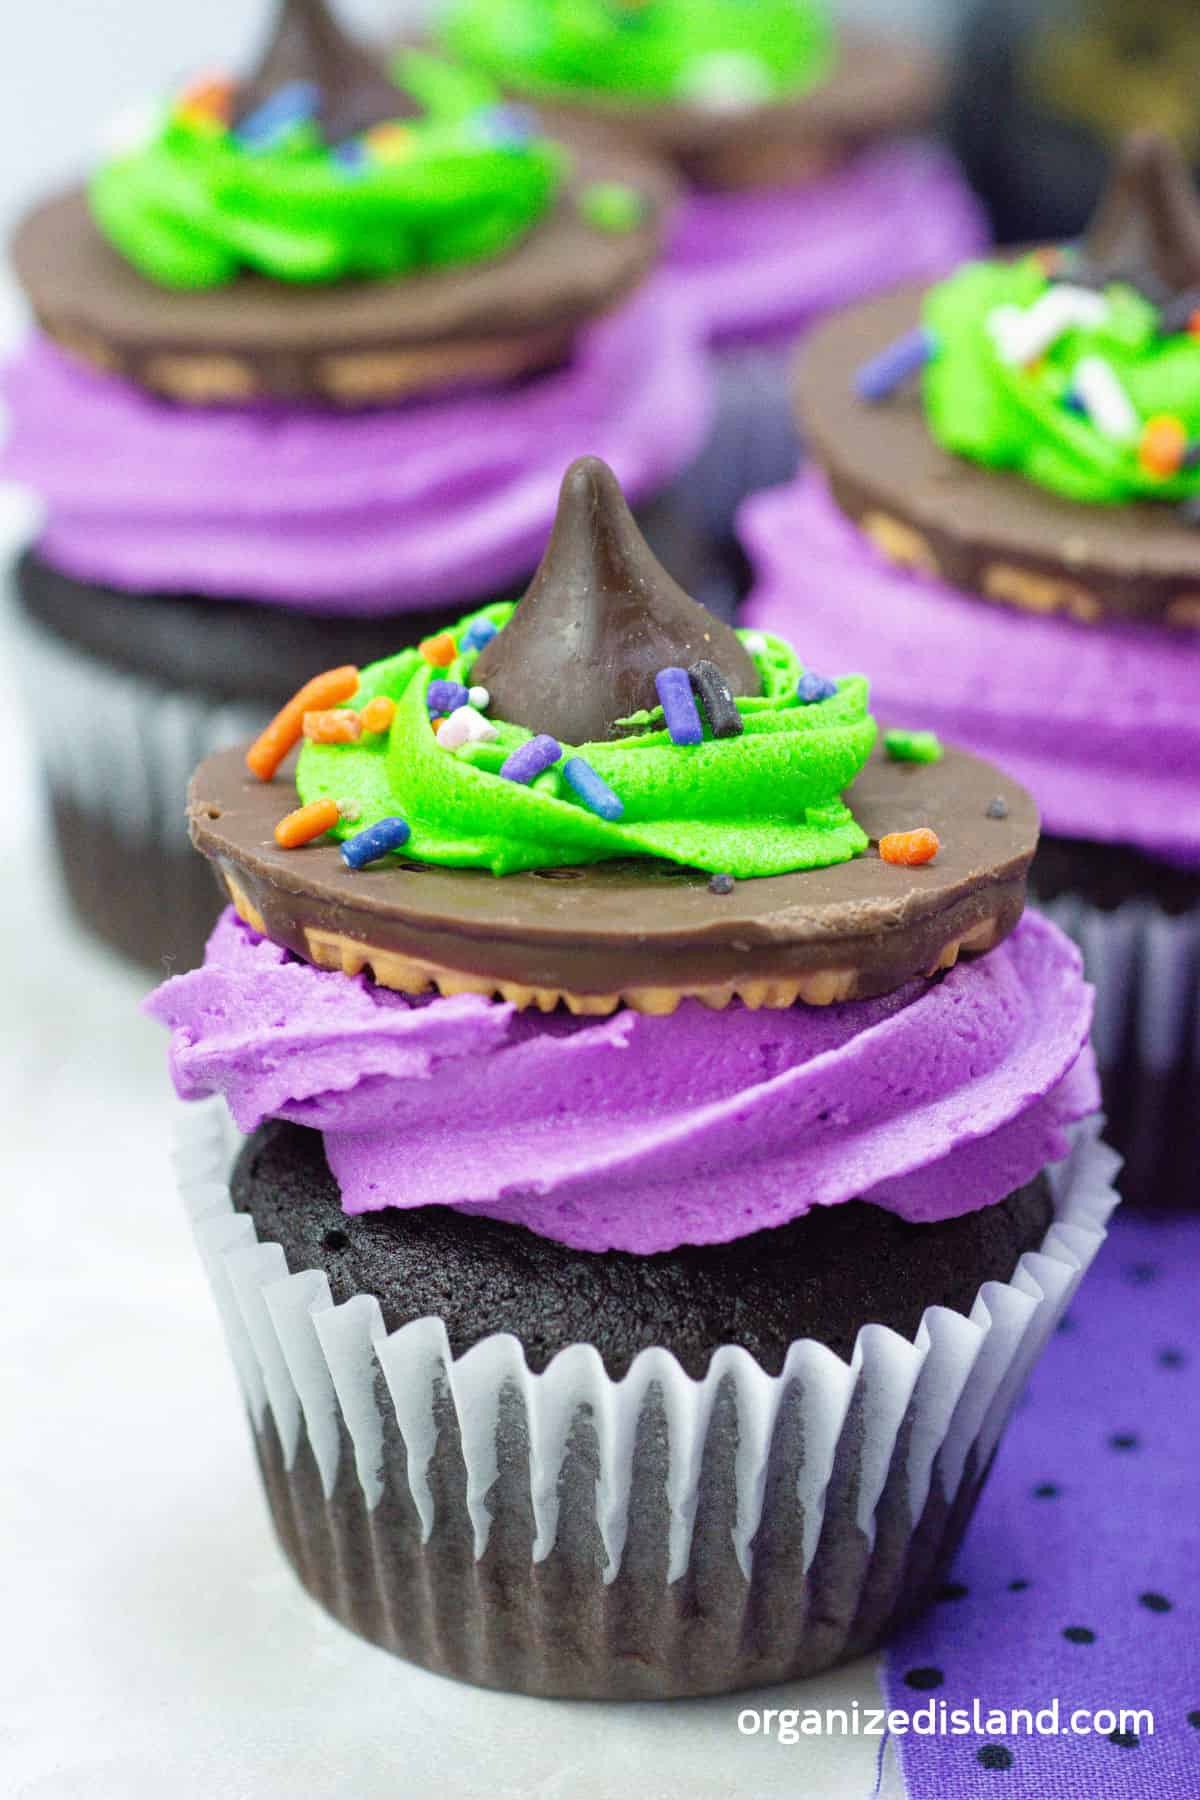
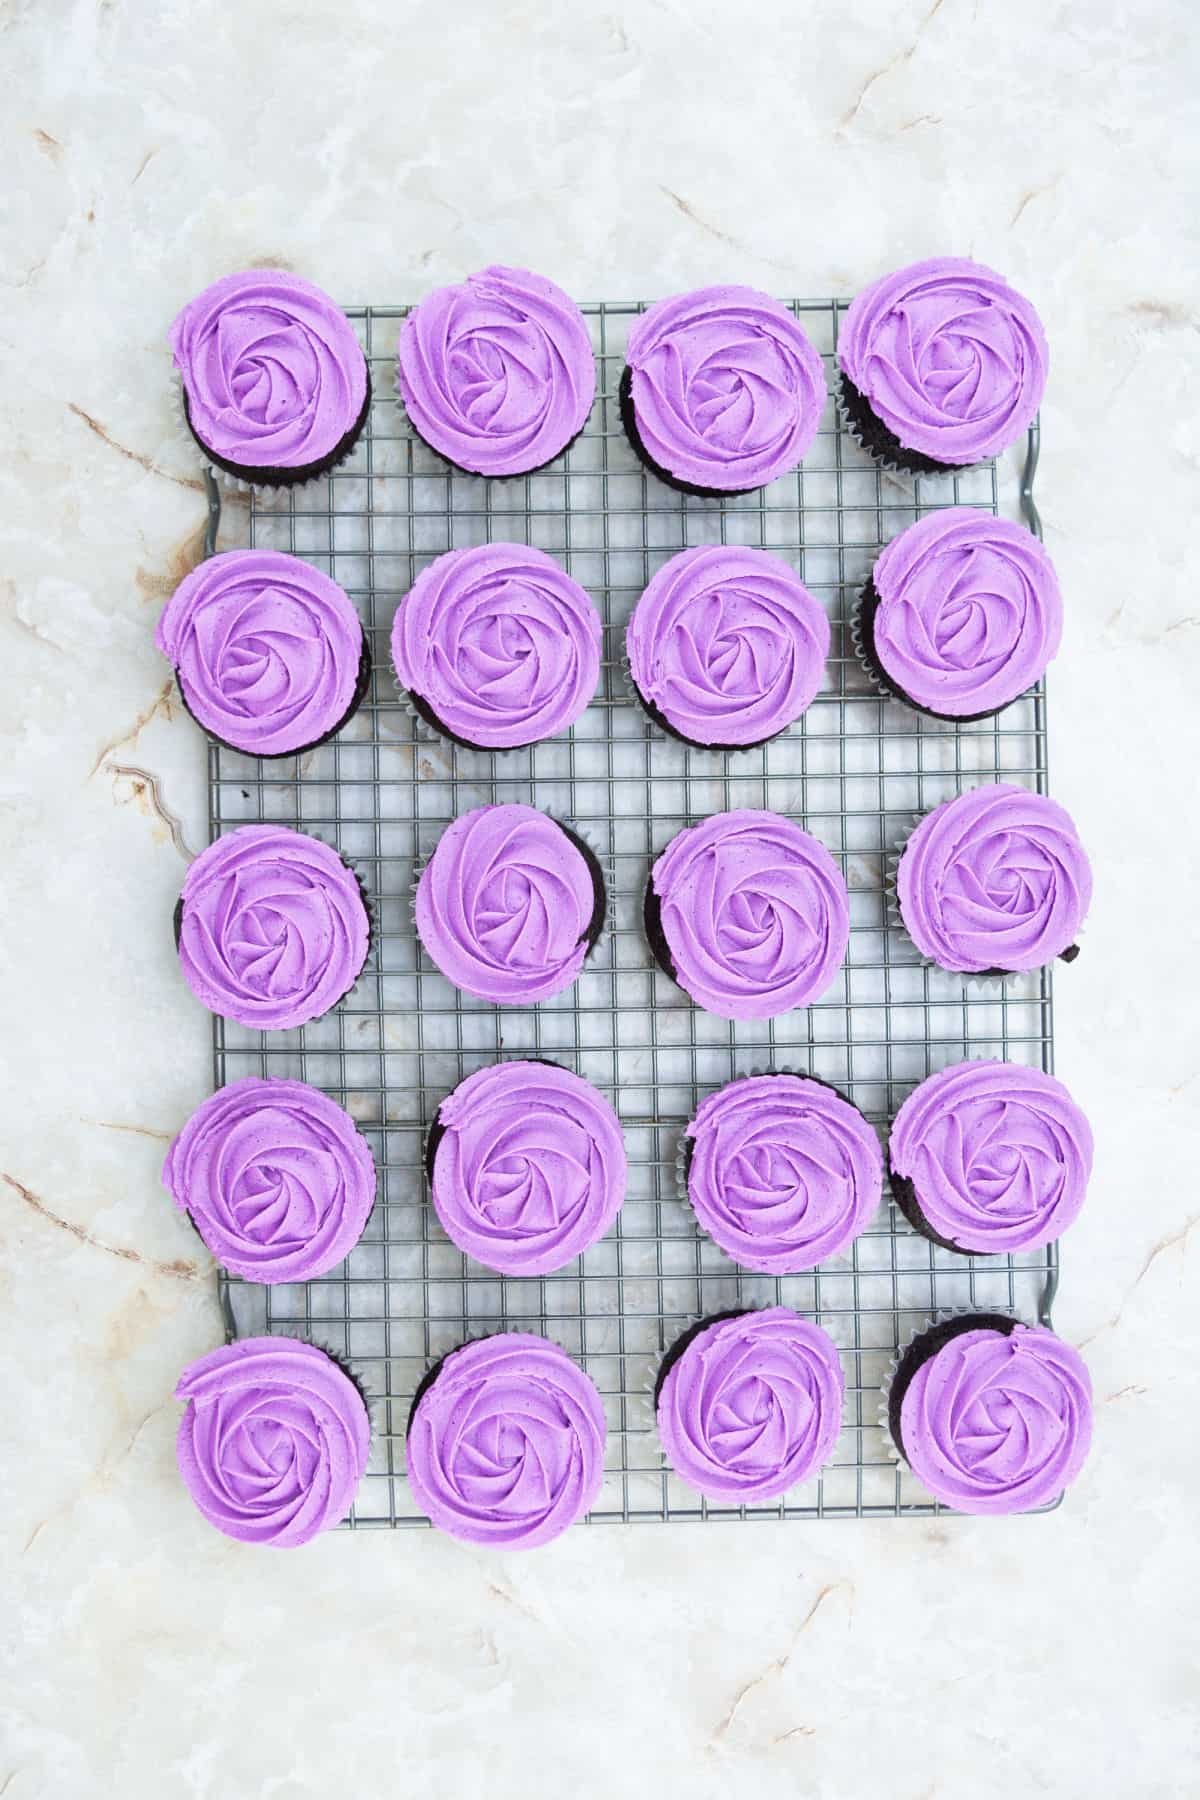
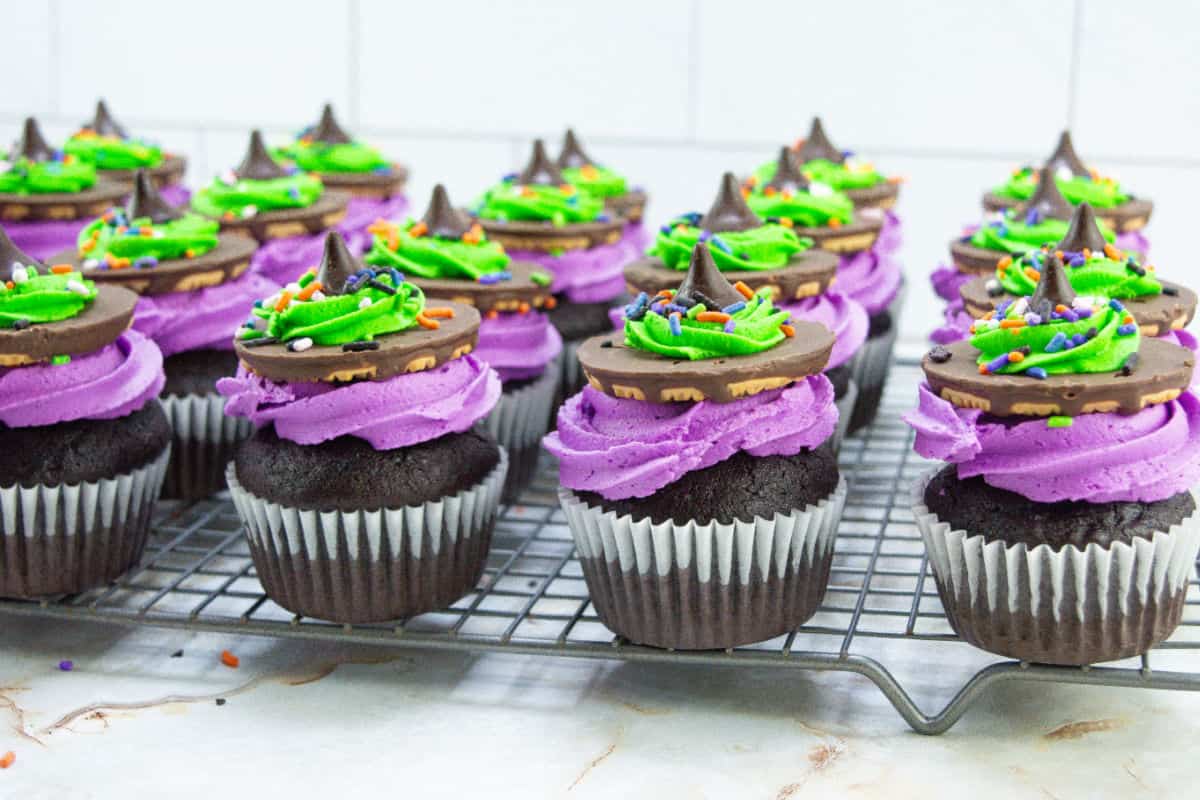
With the purple frosting, pipe a flat spiral (or rosette) on each cupcake. Start in the center and use steady, even, and gentle pressure to squeeze just enough frosting to cover the surface of the cupcake. Top with the cookie hat and gently press into place.
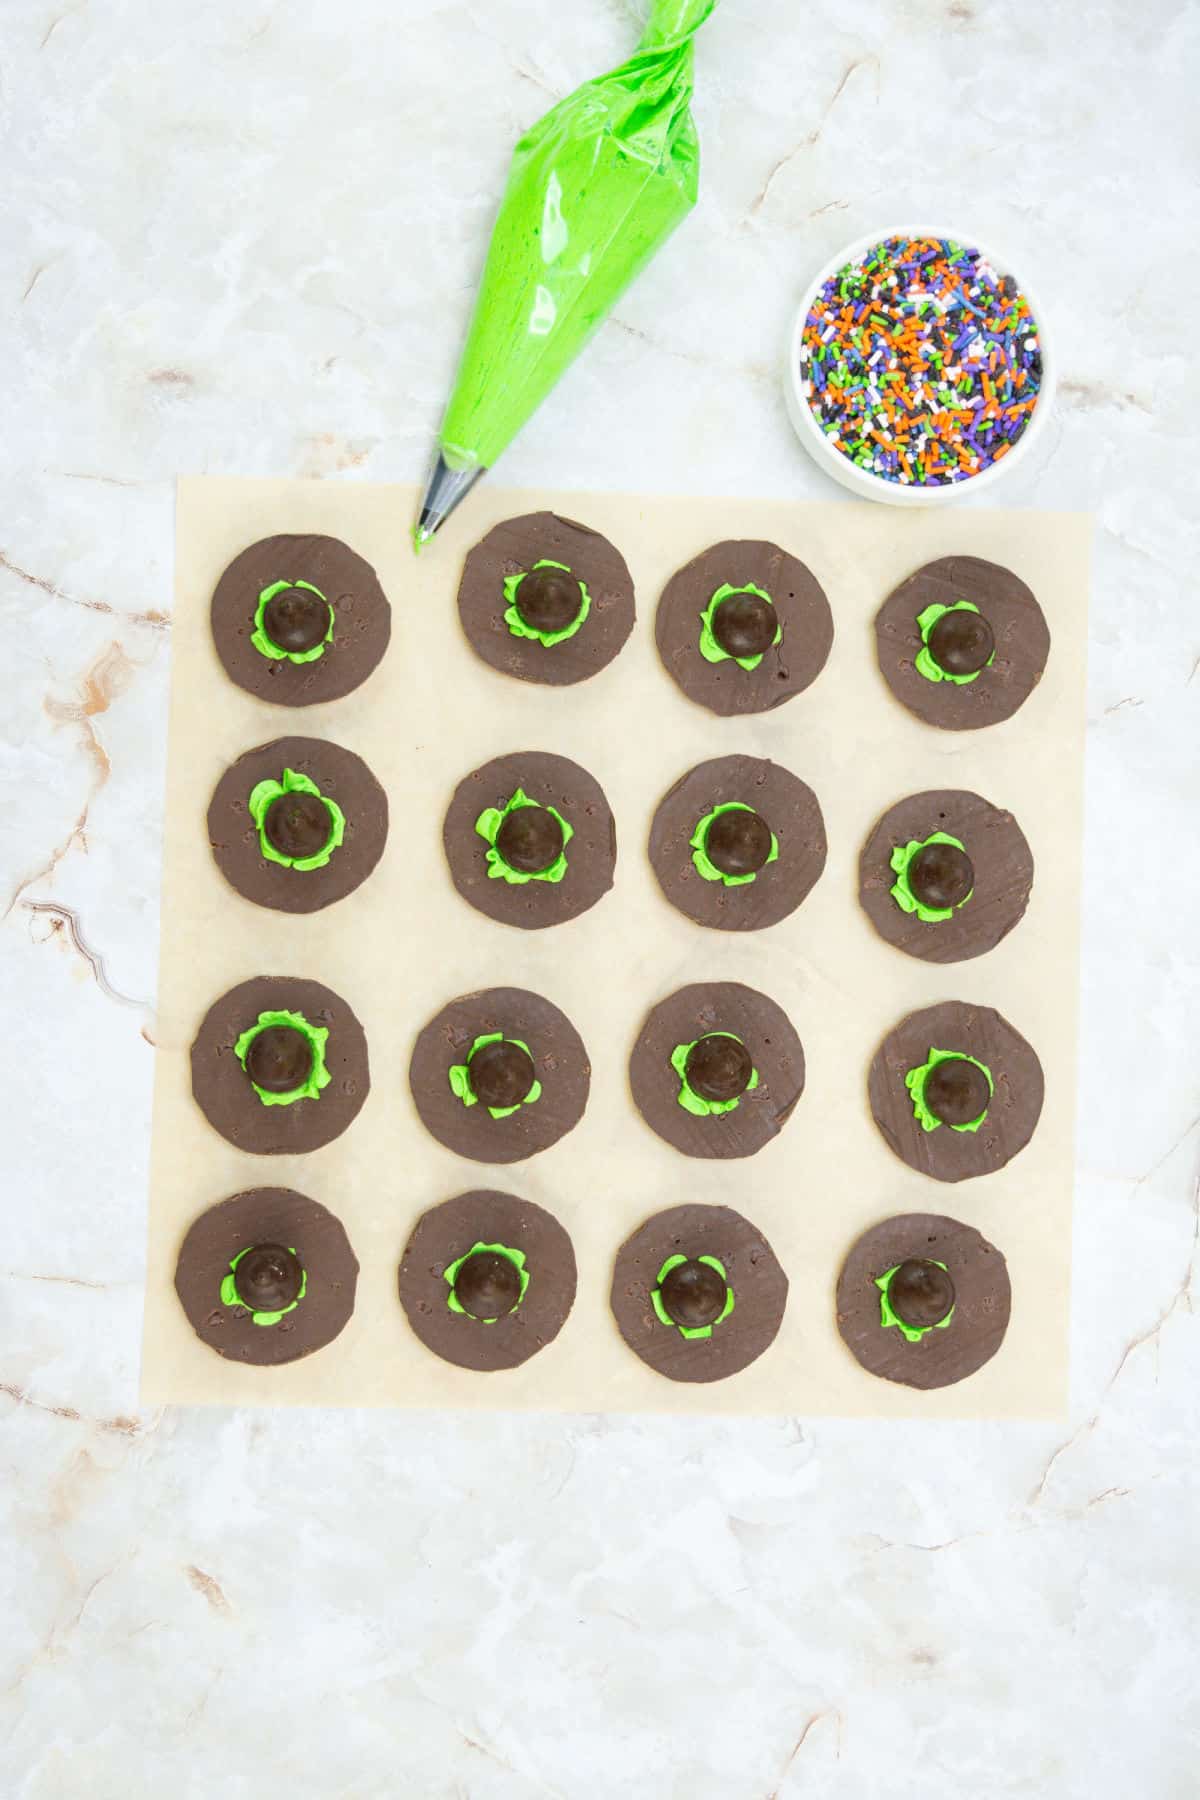
- Lay out all the striped cookies so that the solid chocolate (underside of the cookie) is facing upwards.
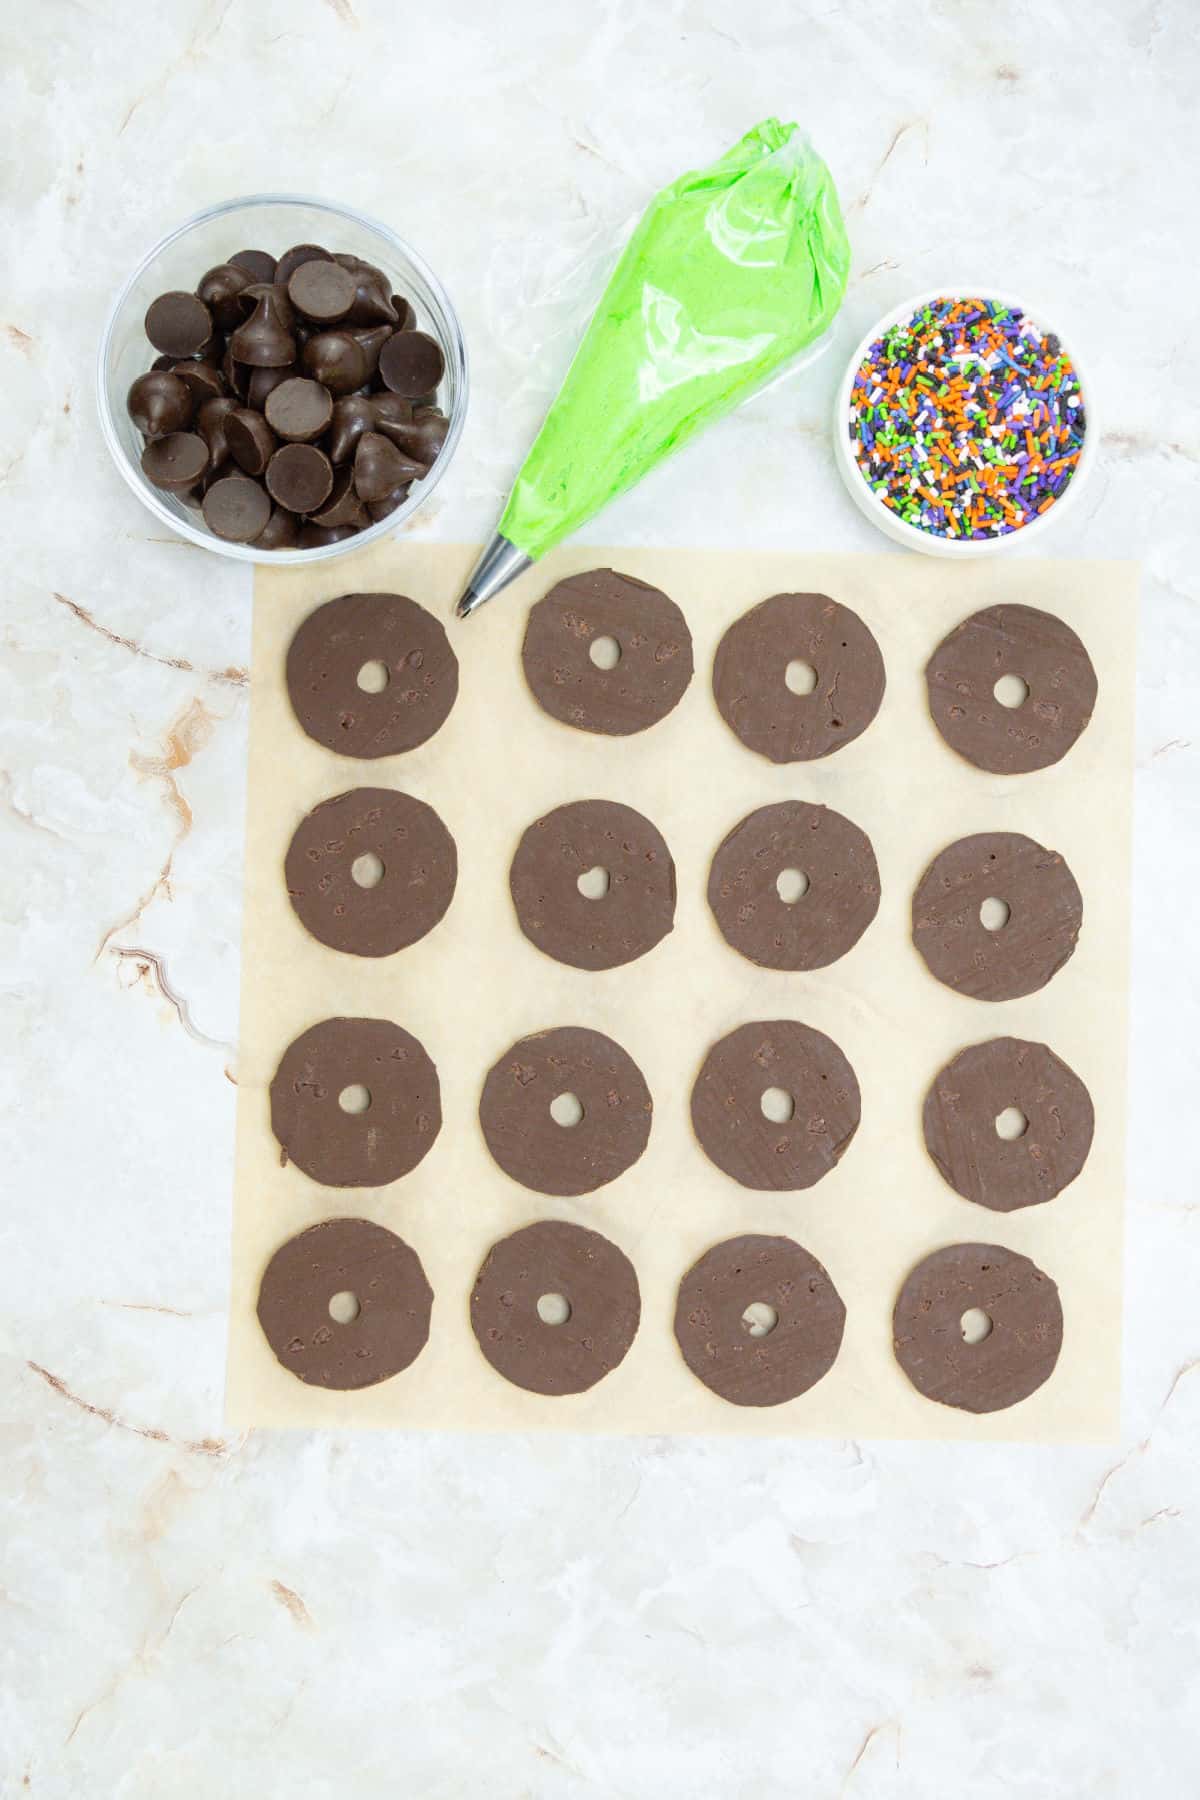
2. Pipe a small dollop of green frosting on the bottom of each Hershey’s Kiss and press onto the striped cookie right in the center to cover the hole. Some will ooze out the sides — that’s okay. Repeat until you have made enough hats for each of the cupcakes (24—36—ish).
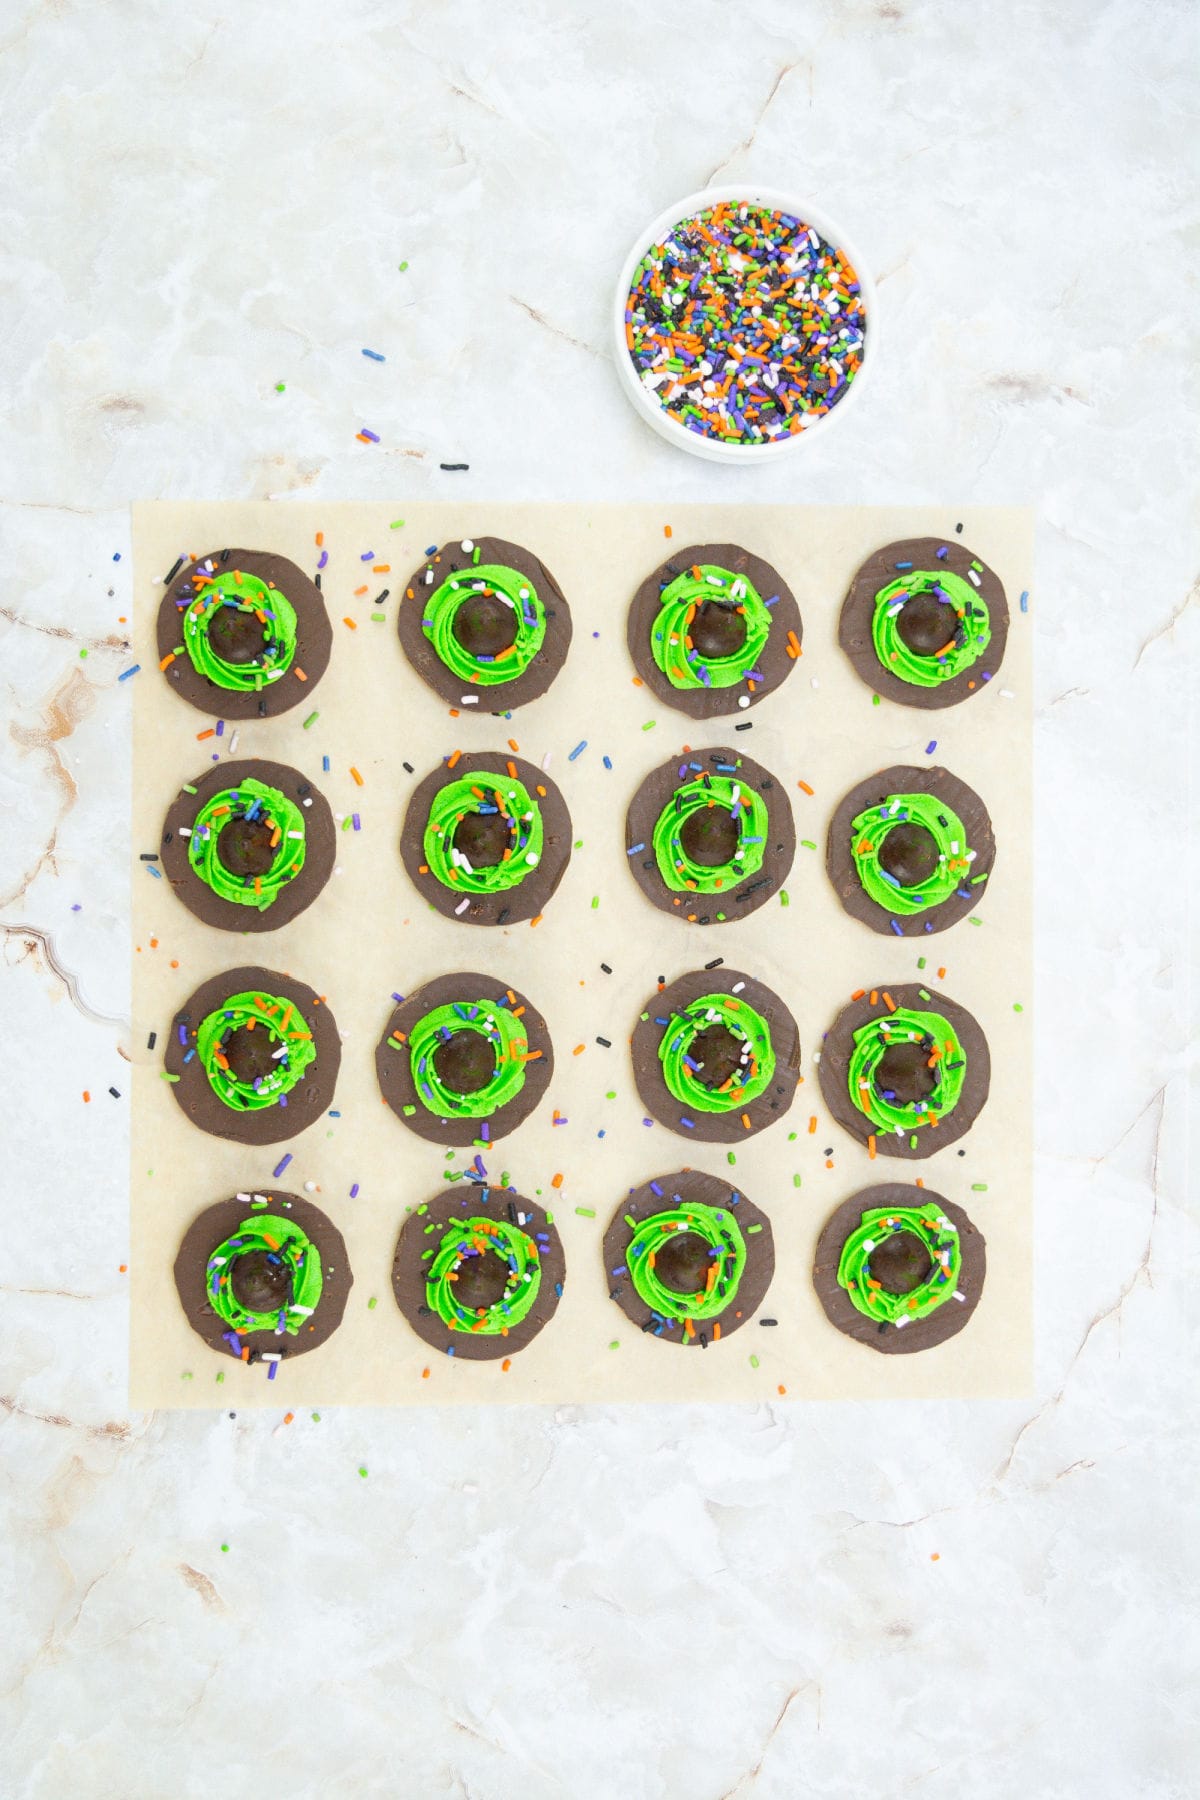
3. With the small green frosting bag, pipe around the base of the Hershey’s Kiss to create a “ribbon” that you’d see on a hat — immediately follow up with the sprinkles so they stick in place. Repeat with all the remaining “hats”.
For more fun recipes try these Pretzel Spider Webs, these Halloween Cookies, and these Monster Halloween Marshmallows.
Tips for the Best Results
- Ensure all ingredients are at room temperature for the best cake texture.
- You can experiment with different colors and decorations to match your Halloween theme.
- Only fill the cupcake liners about ⅔ — ¾ full to prevent overflowing.
- We like Hershey’s dark chocolate cocoa, but any variety will work here.
- This chocolate cake recipe is very versatile and pairs well with tons of different frosting flavors and toppings.
- Piping bags with a 2D (large star) tip are used, but any would work here. A Ziploc bag could be substituted as well.
Substitutions and Variations
- Experiment with different flavors of cupcakes, like chocolate orange, by adding orange extract or zest to the batter.
- Try different types of witch hat cookies on top of the cupcakes, like pizzelle cookies or Oreo cookies, for a unique twist.
- Try different fun colors of icing. Orange icing and black icing with a bit of edible glitter would make for a fun treat!
FAQs about this Recipe
Yes, you can use your favorite chocolate cake mix as a time-saving alternative.
Leftover witch hat Halloween cupcakes can be stored in an airtight container for 3 days in the fridge or frozen for 3 months.
Absolutely, store-bought frosting can save time if you’re in a hurry.
Be sure to check out our other Halloween treats, like these Monster Rice Krispie Treats, these Halloween Witch Cookies, and this easy Halloween Hot Chocolate.
More easy Halloween treats
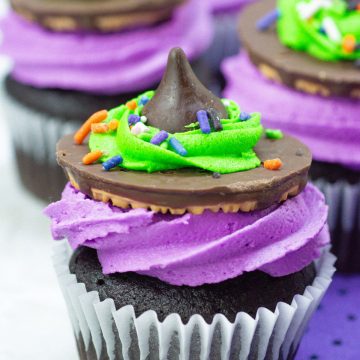
Witches Cupcakes with Witch Hats
Ingredients
Cupcakes
- 3 cups sugar
- 3 cups flour
- 1 ½ cups cocoa powder
- 4 eggs
- 2 teaspoons Baking powder
- 1 teaspoon Salt
- 1 ½ cups milk
- 1 ½ cups warm water
- ½ cup oil
- 2 teaspoons Vanilla
Buttercream Frosting
- 1 cup unsalted butter softened
- 1 teaspoont salt
- 1 teaspoon vanilla
- 4 cups powdered sugar
- 3-4 tablespoons milk
- Food coloring – purple and lime green we used some yellow to create a bright lime green
- Fudge striped cookies
- Hershey’s kisses unwrapped
- Sprinkles of choice
Instructions
- irections:
- Preheat the oven to 350 degrees. Line cupcake pans with liners or spray with non-stick spray. Set aside.
- In the bowl of a stand mixer, combine all the dry ingredients. Whisk to combine.
- Add in all the liquid ingredients and combine well – mix for about 2 minutes at medium speed to ensure there are minimal clumps.
- Fill each cupcake cavity approximately ⅔ – ¾ full.
- Bake for approximately 14-16 minutes or until a toothpick inserted into the center of a cupcake comes out clean. Allow to cool completely before decorating.
- To make the frosting – in the bowl of a stand mixer, combine the softened butter, salt, vanilla and half of the powdered sugar. Mix on low speed until combined.
- Add in the remaining powdered sugar and about half of the milk. Mix on low until combined. Bump up the speed to high for an additional minute or until frosting is light and fluffy. Only add the remaining milk if the mixture appears dry and crumbly and then mix again.
- Divide the frosting between two bowls – ¾ of the frosting to be tinted purple and the remaining ¼ to be tinted lime green.
- Once mixed, transfer the frosting to a piping bag fitted with a star tip. We used a large 2D tip for the purple and a smaller star tip for the green.
- Lay out all the striped cookies so that the solid chocolate (underside of the cookie) is facing upwards.
- Pipe a small dollop of green frosting on the bottom of each Hershey’s kiss and press onto the striped cookie right in the center to cover the hole. Some will ooze out the sides – that’s okay. Repeat until you have made enough hats for each of the cupcakes (24-36-ish).
- With the small green frosting bag, pipe around the base of the Hershey’s kiss to create a “ribbon” that you’d see on a hat – immediately follow up with the sprinkles so they stick in place. Repeat with all the remaining “hats”.
- With the purple frosting, pipe a flat spiral (or rosette) on each cupcake. Start in the center and use steady, even and gentle pressure to squeeze just enough frosting to cover the surface of the cupcake. Top with the cookie hat and gently press into place.
- Storage – cupcakes can be stored in an airtight container for 3 days in the fridge or frozen for 3 months.
Notes
We like Hershey’s dark chocolate cocoa, but any variety will work here.
This chocolate cake recipe is very versatile and pairs well with tons of different frosting flavors and toppings.
Piping bags with a 2D (large star) tip is used, but any would work here. A ziploc could be substituted as well.
Nutrition
If you are not yet subscribing to my CELEBRATE THE SEASON newsletter, you can subscribe here. I share easy recipes for the season that the entire family is sure to love and also a few things that I don’t share here.