Repurposed Coffee Can
This post may contain affiliate links.
A repurposed coffee can is perfect for kitchen storage, as well as storage around the house. Check out this 5-minute tutorial to repurpose old coffee cans. Save money by repurposing plastic and metal coffee containers.
While growing up, my parents always taught me to reuse things I had when I could. That being said, my dad had a workshop area filled with old peanut cans, coffee cans, milk bottles, and mayonnaise jars. I often used these containers for hair ties, makeup and other things over the years.
![]()
Fast forward to today and one of the best uses for metal coffee cans has been a fun project and has helped me organize my kitchen.
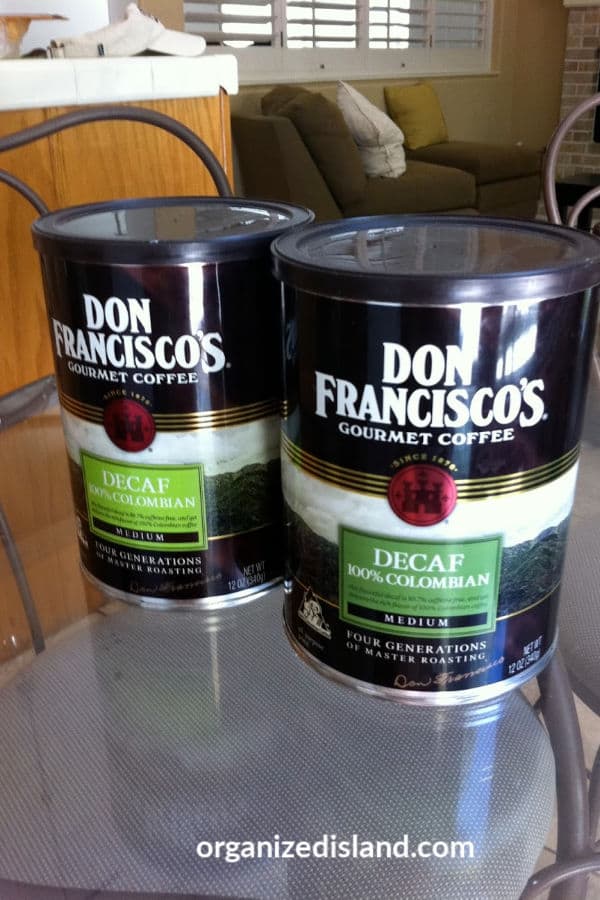
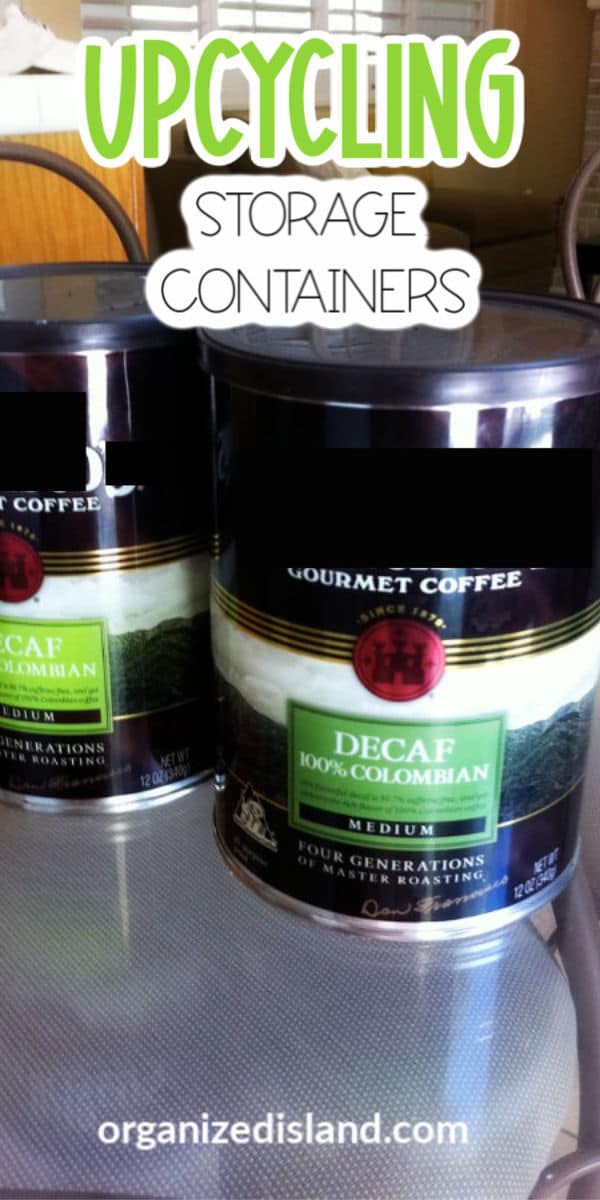
I have been saving empty coffee cans for a while and decided to turn them into storage jars. The cans have sealable lids which makes them great for food, spice or tea storage. They are also great for homemade snacks, and seasoning mixes.

I love using them for what I call, final call storage. I store things that are taking room in my pantry, but due to their low quantity, they could be stored in smaller containers. These are also nice for rice, cereal, and crackers.
First, I emptied the cans of the remaining coffee and washed them out. The empty coffee cans had plastic lids which were washed as well.
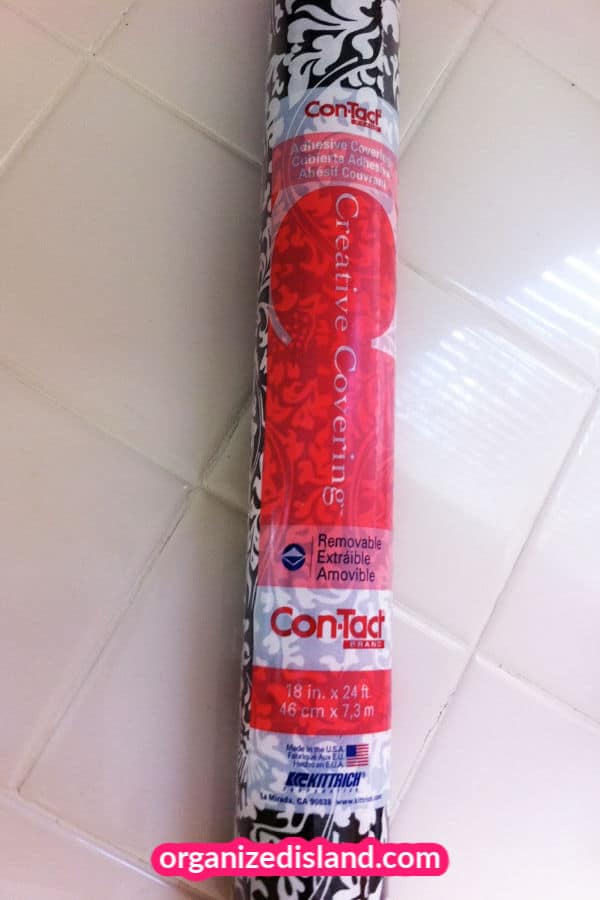
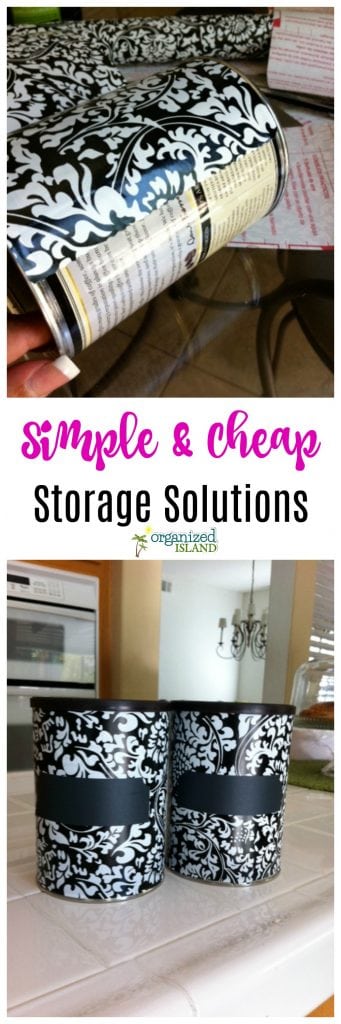
Then I measured out decorative adhesive paper to cover the sides of the can and covered the sides
Then I covered the cans by lining up the top of the contact paper to the top of the can, just under the lip.
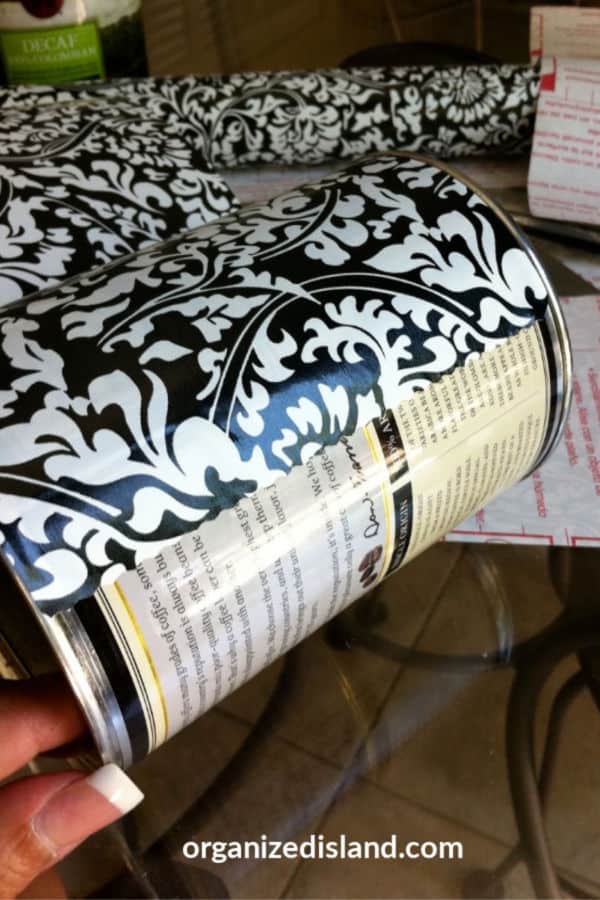
I wrapped each can completely so that the can was entirely covered by the paper.
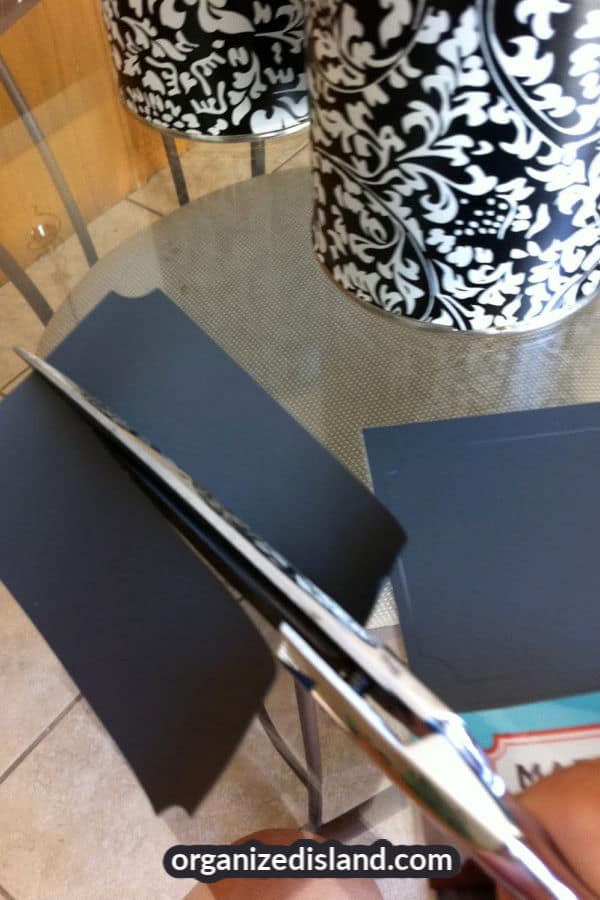
Then I cut some labels using some chalkboard sticker paper
Save The Recipe!
This is how they came out. I loved how the repurposed old coffee cans came out.
![]()
I used chalkboard labels so that I could change the label from time to time. These are also a nice way to change up your kitchen decor simply (and inexpensively)! Remember, you can use other types of food cans and decorate them too!
Supplies for Repurposing Coffee Containers
Adhesive paper – This paper is available in many different prints and styles.
Clean coffee cans – Coffee cans work well because their edges are usually suitable for repurposing.
Scissors
Labels – I like these waterproof labels for this project.
For additional cheap storage solutions, check out these dollar store organizing solutions.
If you are not yet subscribing to my newsletter, you can subscribe here. I share a few things that I don’t share here and I email you only once a week. I know how valuable your time is and respect that tremendously!\
Please help us spread the word about our site by sharing this on social media.

This is so smart..what a perfect idea for reuse/recycle..and so beautiful as well 🙂
Thank you so much!
A great repurpose. And they look good too! Thanks for linking up to the All Star Block Party.
adorable love the paper 😉
Those are great!! They look like something from Target or even better!
Thanks Kristi! They were simple to do too!
A craft that even I can do! And I just so happen to have an empty coffee can lol
Yay! Let me know if you do it – I would love to see it!
What a cool idea! I’m visiting from SITS 🙂
Thanks for stopping by!
My kind of craft! Easy, creative and … COFFEE! 😉 LOL! … Very good idea!
Yes! I thought of you when I did this 😉
Awesome job! Very crafty and beautiful! I can’t wait to try!
Thanks Ashley!
So cute! I’m still getting a hang of the whole DIY thing (read: how many times can I hot glue my hand to the carpet?), but this makes me want to try!
LOL I know what you mean Tori. I hope you try this.
Wow, those look really nice! Since they were coffee cans already, you know for sure they’re safe for food storage, which is definitely a plus! 🙂
Yes, thank you for stopping by Rachel 🙂
Cute idea! I’ve never seen the chalkboard labels before did you get them at a craft store?
My sister painted a few jars but have to try it out. Wonder if it’d work with pickle jars because I have a ton of those!
Found you through SITS forum. Night.
I found them at Staples – they are the Avery brand and are peel and stick. I think pickle jars would be perfect!
Ok. This is awesome. I LOVE that contact paper. This is SO much cheaper than buying expensive Pottery Barn like containers. However, honestly, we aren’t a coffee family :O
Stopping over from SITS!
Very pretty and practical. Wish you didn’t have to drink coffee to get the cans!
Visiting from SITS.
{Melinda} Love this idea! So cute — and functional! I’m not a coffee drinker, though. Gotta be something else that will substitute ..hmmmm. Maybe Quaker Oats canisters?
Very cute blog … subscribing. 😉
Yes, I think oatmeal canisters or peanut cans would work. Thank you for visiting 🙂
What a great idea. They are beautiful. Thanks for sharing.
Stopping by from SITS. Have a great weekend.
What a lovey idea, this looks so cute! Thanks Raquel for visiting me and for your sweet words 🙂
Super cute! Love how they turned out! Thanks for sharing at the Pomp Party! Pinning to our Pomp Party board!
So simple and they turned out really cute!
Love this idea!
I like these a LOT!
Thanks Carolyn!
Oh my gosh I love this idea! I love the contact paper you used too. Thanks so much for linking up to Creative Thursday last week. I can’t wait to see what you link up this week. Have a wonderful weekend.
Michelle
Thanks Michelle! You have a wonderful weekend too!
Such a cute tutorial! I’m your newest follower from Aloha Hop!
Thank you for your sweet comment Elizabeth!
How to make nice cans out of boring ones, nice job!
Thanks Frank, might I say they do not even come close to the cans you turn into art! Those are great pieces. Thank you for stopping by.
That’s a great upcycling idea! I have an old coffee can on my desk to hold all my pens and pencils and ruler and stuff, but it isn’t decorated or anything, just boring silver right now 🙂 Thanks so much for sharing this at The Fun In Functional!
Thank you for stopping by Jessi! I loved the link party!
I did the same thing but I used empty formula cans! I have the same paper too… They look great and can be used for so many different things, I used mine as a cake pop holder centerpiece for my birthday 🙂
What a great idea! I have been meaning to try cake pops. Thank you for stopping by!
Such a cute idea! Looks super easy to do too. I’ve been finding ways to reuse my old coffee cans so I’m glad I found this idea!
How cool is this?? I was thinking of repurposing some for banks for my kids. I love the idea.
Thanks, I love how easy they are to upcycle!
Super cute idea! Thank you for sharing on Merry Monday! We hope you will join us again next week!
Kim
Thank you! I will be there!
Such a practical idea, I love a good upcycle.
Your coffee can upcycle (recycle?) is gorgeous! And prettier than most containers you could buy for this purpose. Lovely!
Thank you!
What an inspiring idea to repurpose this. I love when items get a second chance to be beautiful. I’ll be featuring it tonight at Merry Monday. Hope to see you at the party.