You may remember that I recently started to reorganize my hall closet. Things got a little out of hand over the years and it became difficult to find things.
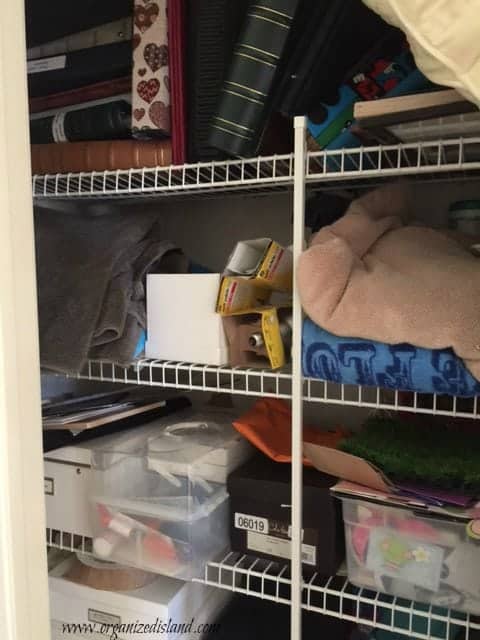
While I had some stuff in boxes, it really was not very well-organized and because some of the containers were shoe boxes, you could not see through them. Not sure how this got out of hand, but over the years it did. So I implemented a three-step process to organizing anything - Edit, Delete and Save!
Editing Process
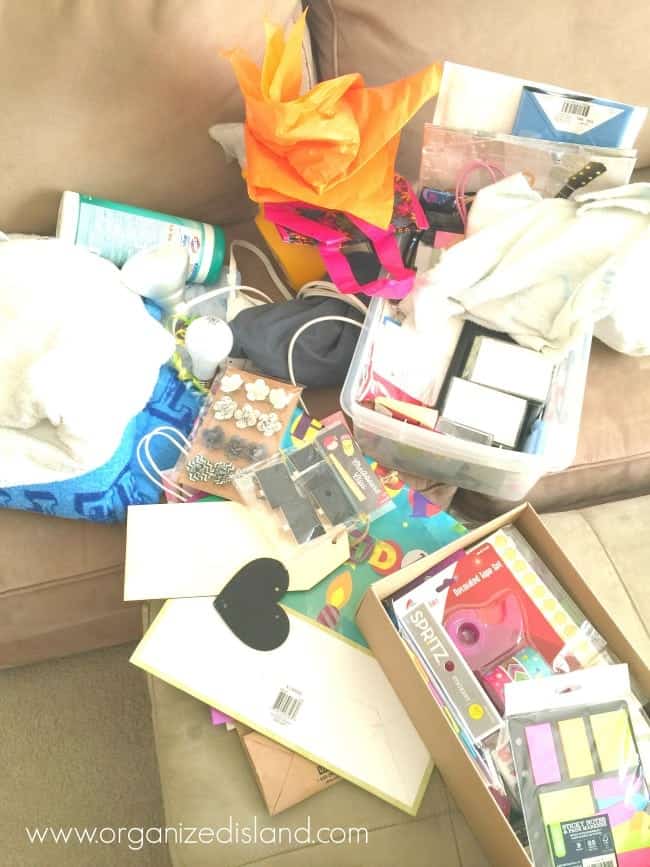
The editing process involves taking the contents out and looking at what I have. I first determine what the purpose of the storage area relevant to its location. Then I determine what should be stored there. This closet housed things I did not need every day such as craft supplies, photo albums, household items and beach towels. When I pulled everything out I realized I had so many beach towels, tissue paper packages, miscellaneous crafts supplies, video camera tapes, gift wrap and office supplies.
Delete Process
Wow! So much stuff. The next thing I did was to delete items that either I do not use anymore, don't need anymore or just are not going to add the value they once added to my life. I mean, how many gift bags do I really need? Sometimes it is hard to let go of things, but in reality, these excess items just make life more complicated. From this closet I filled up two bags of excess craft supplies, beach towels, and books and donated them to charity.
Saving Process
Then came the fun part, storing and saving what I am going to keep in a manner that is organized. I wanted to improve my storage system for the items that I elected to save and reduce the chance of it becoming cluttered again. I began by putting like items together and storing them in containers and labeled them.
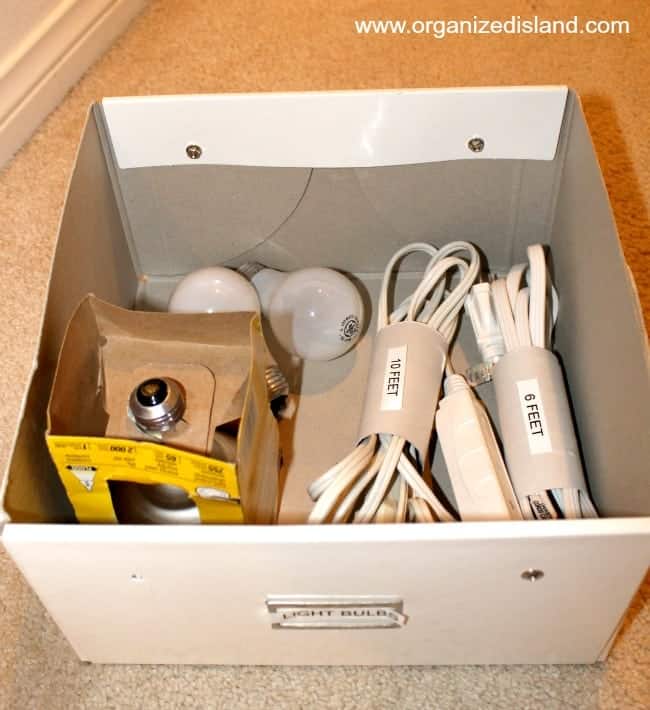
Notice, I even used the labeler to corral those extension cords. I just used paper towel rolls to keep them from getting tangled. I love repurposing things for the sake of organization and those towel rolls are actually very useful!
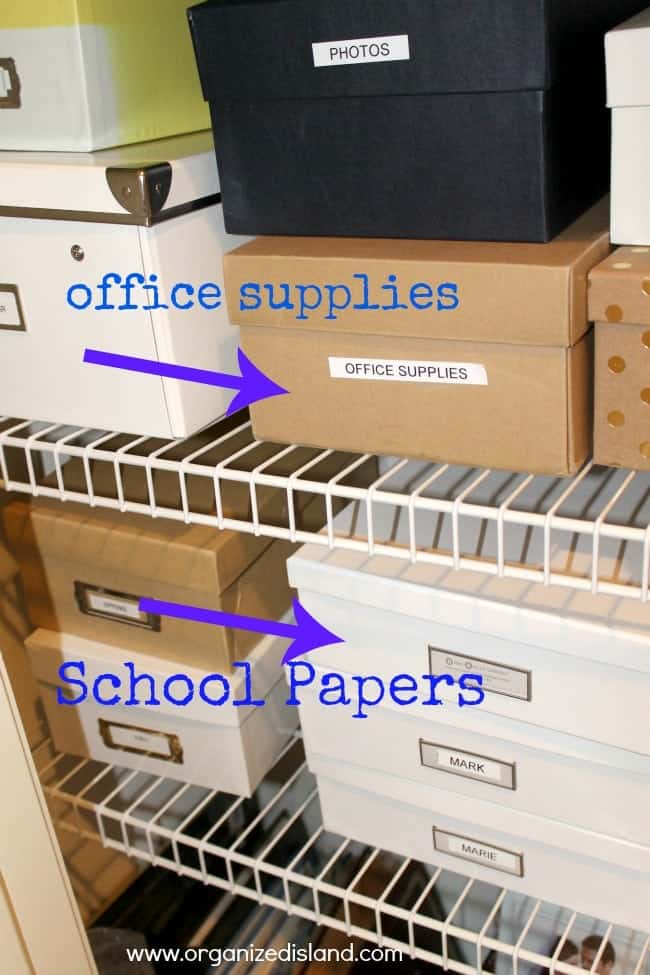
Next, I labeled all the other boxes. Thanks to the helpful Dymo labeler, this was the best part about the task. Putting things in order feels so good!
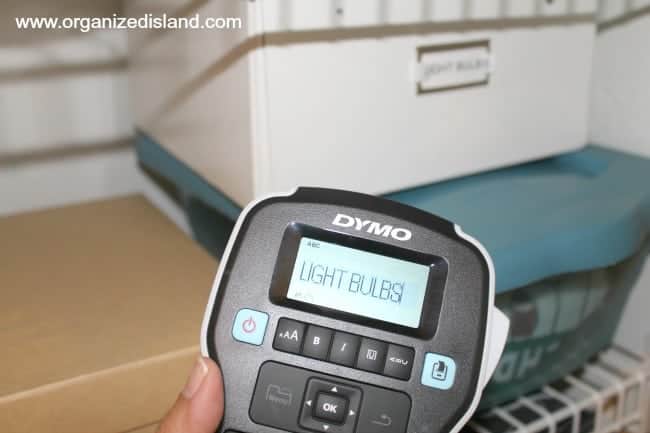
This was my first time using a DYMO Labeler and I loved how easy it was to use! The DYMO LabelManager 160 pictured above is so easy to hold in one hand and it allows you to change text styles and font sizes easily! I have used other labelers before, and none were as easy to switch font sizes as this one! Just a click of a button. See the buttons just below the display in the photo? So easy to use!
I used shoe and photo boxes to store my stuff like photos, office supplies and school papers.
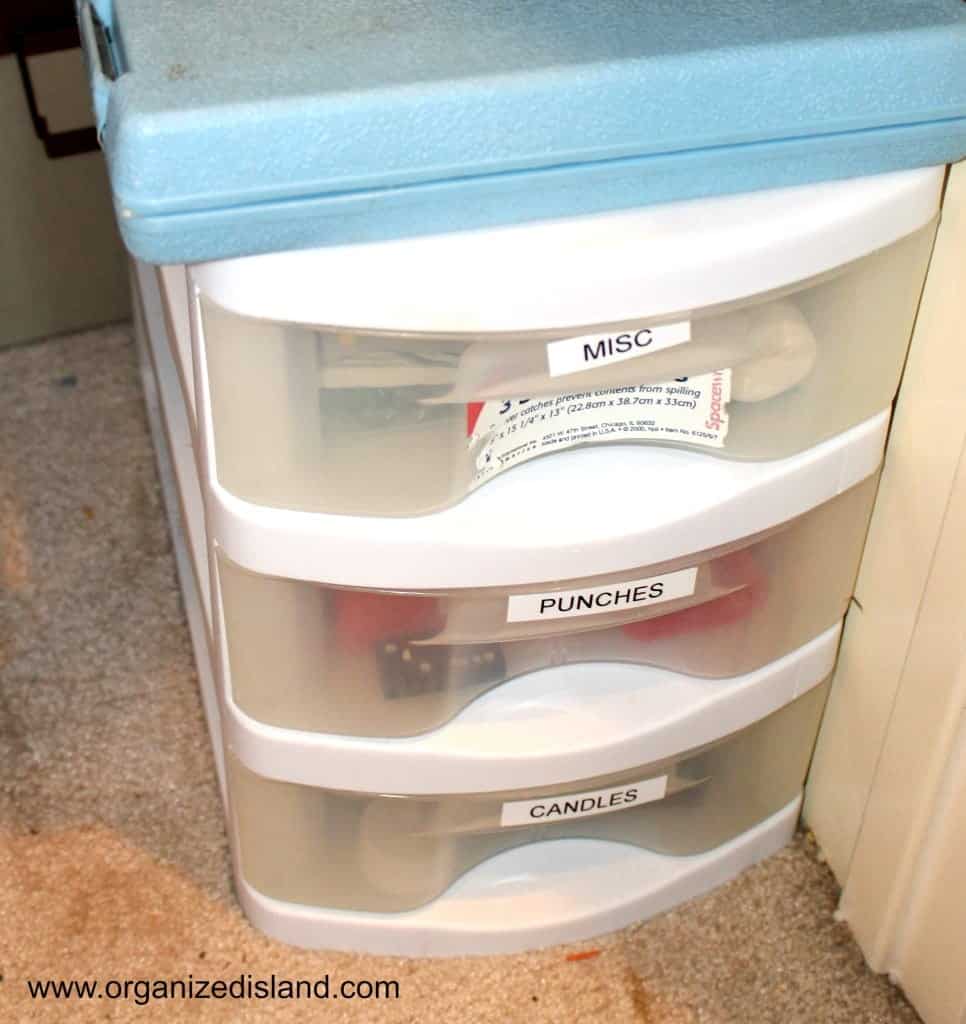
Then I used my handy labeler to label the sliding drawer storage I have.
So I present to you, my organized hall closet! It was so fun and now my closet is so organized and I actually have extra space!! This also makes a great gift or stocking stuffer for someone who could use a little organizing love.

It feels so good to open the closet and know what is in it and where it is. Do you have a closet that needs organizing? I have another organizing project coming up soon so be sure to subscribe to our email list so you do not miss a post.
Disclosure: This post is sponsored by DYMO - Makers of the DYMO LabelManager 160 and more great labeling products. All opinions and photos are my own. This post includes affiliate links at no additional cost to you.


Rose @ Rose Bakes
Raquel - could you just drop by my house one day... or probably more like one month and work your magic? 😉 I need your kind of skills in every corner of my house!
Raquel
I would be happy to Rose! Just bake me some cupcakes or some of those delicious cakes and you have a deal!
Akaleistar
I love an organized closet! The labeled boxes look great 🙂
Tamara
You're my twin because I'm writing about the DYMO LabelWriter 450 later today. And it's AMAZING!!
We need this with our closets.
Raquel
I love that Tamara! First oil changes and now labels haha. Isn't it the best for organizing? Can't wait to see your post!