DIY Wall Art
This post may contain affiliate links.
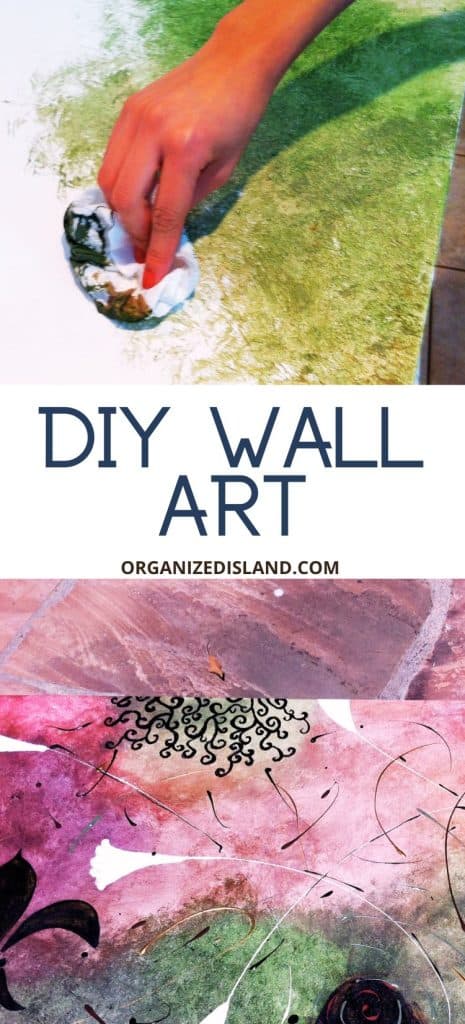
DIY Wall art is so easy to make and we had fun making it. It is an easy and inexpensive way to decorate your home. No need to be an artist as Easy Canvas DIY is easy and cheap.
A few weeks ago, after searching for artwork for her apartment, my daughter could not find the right painting at a reasonable price. So she decided to make her own using a Dry sponge painting method.
Benefits of Dry Sponging Art
Texture and Depth: Dry sponging creates unique textures and adds depth to your artwork. Using a sponge creates interesting patterns and variations in the paint application, resulting in a visually appealing and unique surface.
Quick and Efficient: Dry sponging is a relatively quick technique compared to other painting methods. It allows you to cover larger areas with paint in a short amount of time, making it ideal for creating backgrounds or under paintings It is also pretty inexpensive to do.
Versatility: Dry sponging can be used with various types of paint, such as acrylics, oils, and even watercolors. It works well on a variety of surfaces, including canvas, paper, wood, and textured materials, making it a versatile technique for different art projects. We used acrylics for our project. but you could easily make a DIY textured canvas by adding other elements.
Inexpensive. Let’s face it, sometimes we want to make some DIY cheap wall art. This project is so inexpensive and easy to do. You can find smaller canvas supplies at the dollar store. It is also super quick to do – just a few hours to make and most of it is for drying time.
DIY Wall Art Supplies
- Canvas
- Acrylic paint (at least three colors and black and white)
- Sponge
- paint brush
- frame
How To Create Your Wall Art
- Decide on color Scheme. Once the colors were decided we bought some white canvas and some acrylic paint at the craft store. The paint colors were chosen to match the apartment decor.
- Determine Canvas Size. What size will look best on the wall.
- Purchase Supplies. Purchase paints, sponges and canvas from local craft store or discount store.
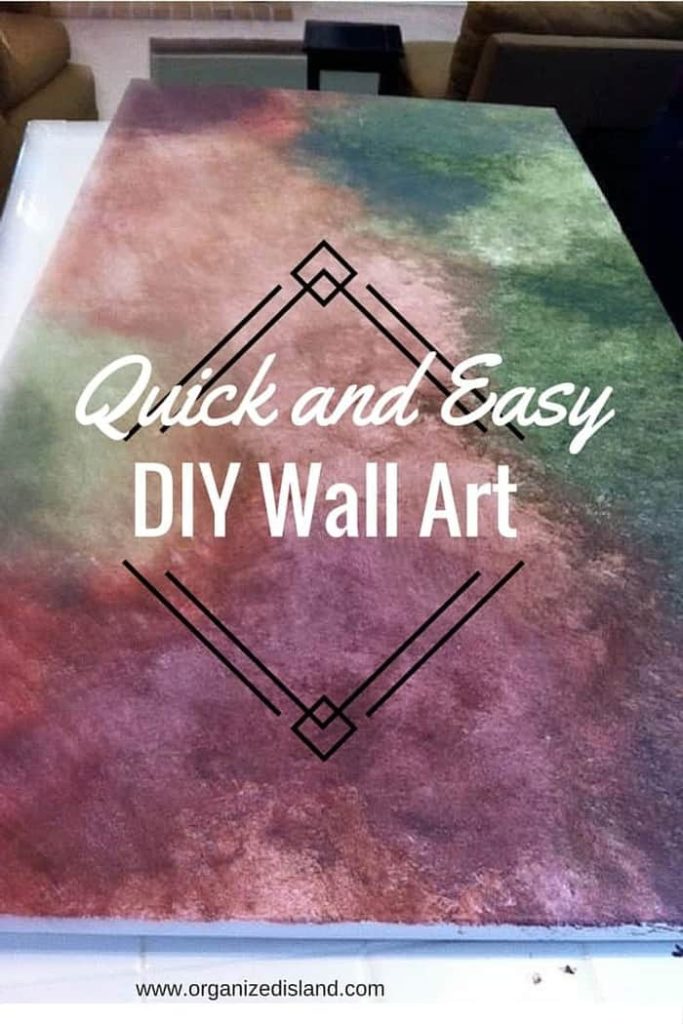
- Begin Painting. Start on the corner of a blank canvas and begin sponging the first color.
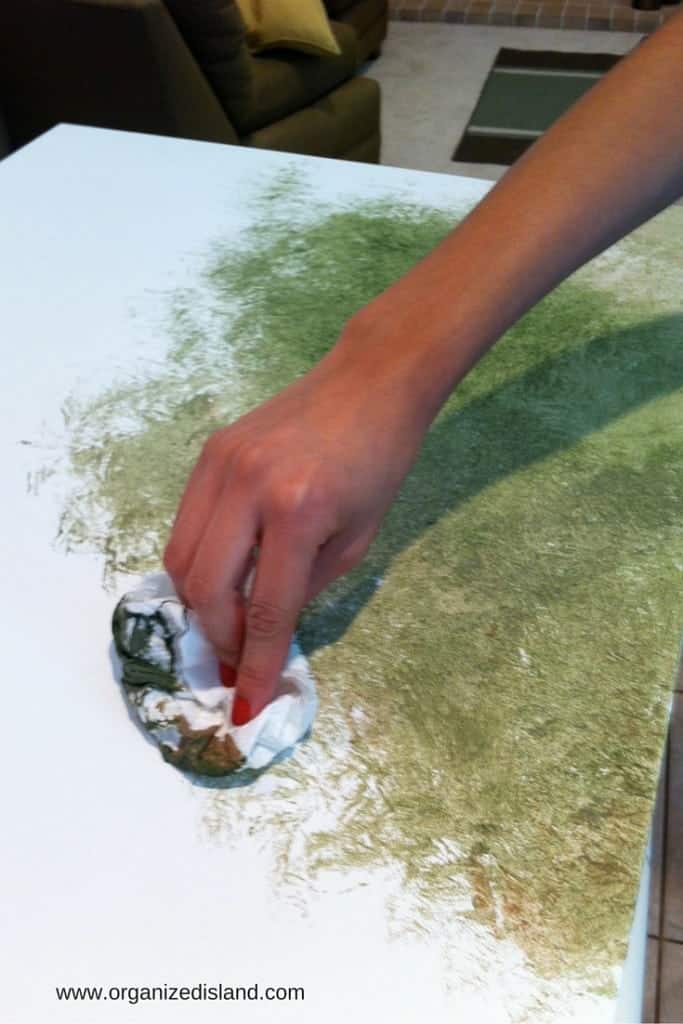
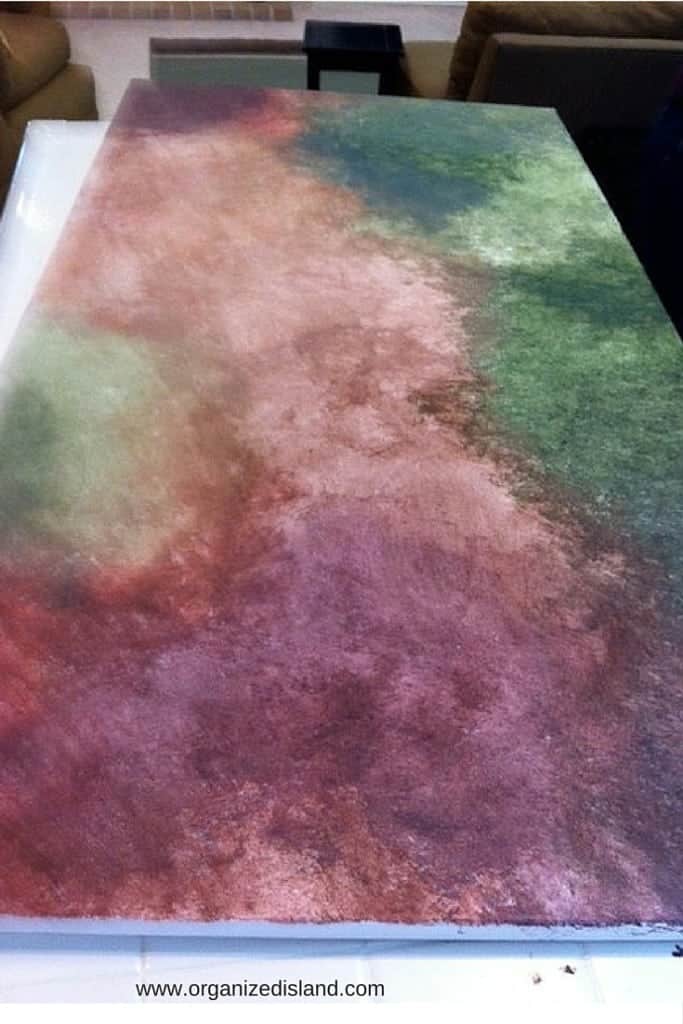
5. Continue with Dry Sponging. Repeat the dry sponging for the other colors until the entire canvas was covered. We let it dry for about an hour
Save The Recipe!
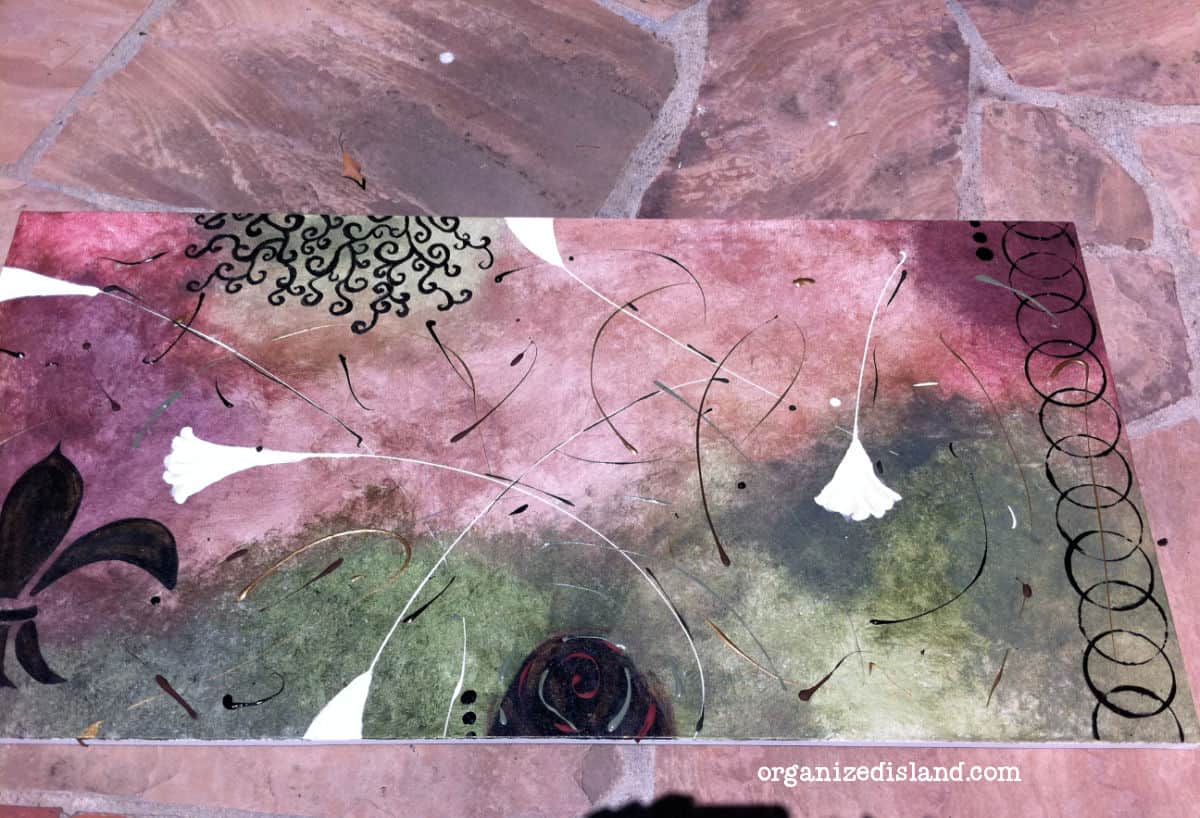
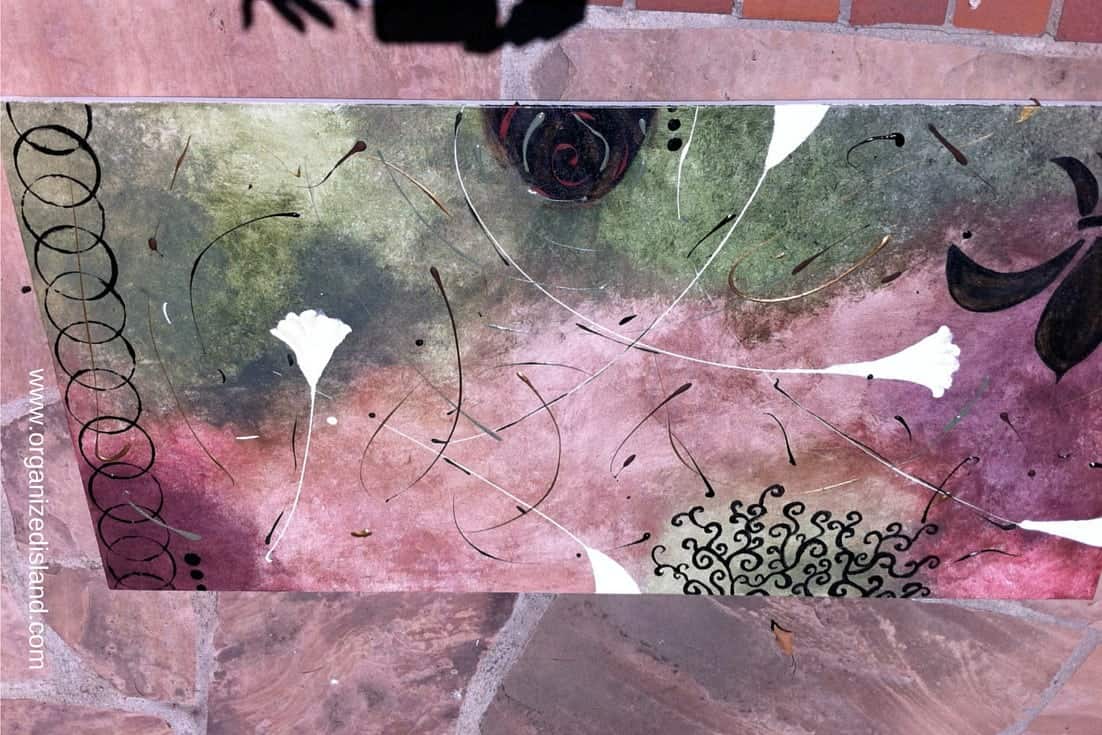
6. Add contrasting components. We took some black and white paint for contrast, and added some features. In this case, a fleur-de-lis and some flowers. Swirls, spatter and rings also look good. You can really use your imagination here and add anything.
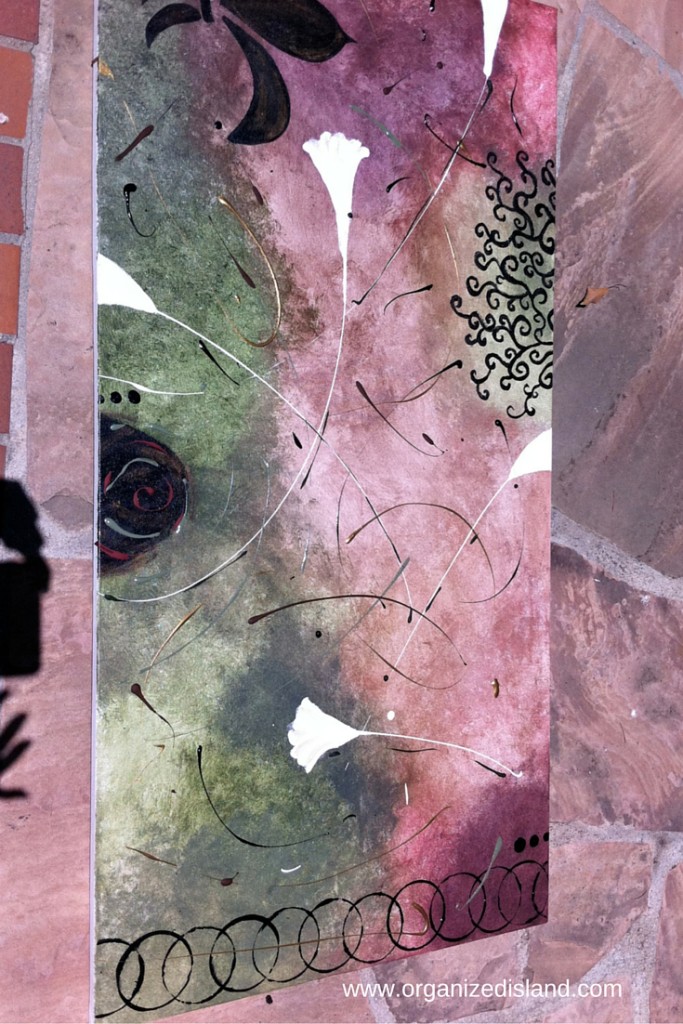
7. Let Art Dry. If possible, set the painting outside to dry thoroughly. Hang up when dry.
This is the finished product:
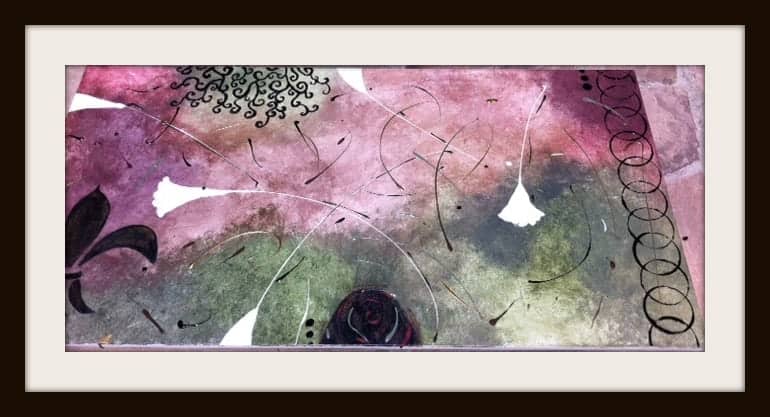
In a frame it looks even better don’t you think? Be sure to allow paint to dry overnight before framing.
The project came out so quickly and our wall painting took only about 2 hours to do.
More Textured Art DIY Ideas
We have since made a few other Textured Art DIY projects. It is easy to add other mixed media elements to art, here is a list of a few ideas.
- feathers
- yarn
- string
- fabric
- shells
What do you think? Don’t forget to bookmark this easy craft idea.

Oh, it’s beautiful! I have never tried painting before. Maybe some day! 🙂
Thank you Ginny!
That looks great. Your daughter is talented!
Thanks Melanie!
She is very talented! I used to do some oil painting with my mom years ago but I don’t think I would be able to produce anything that was wall worthy.
I am so impressed that you did oil painting! Very cool!
Hi from Tuesday Tango!! Love this idea!! Following you on BlogLovin!! Feel free to follow back!! Hope you have a great week!!
https://www.bloglovin.com/en/blog/3811068/bohemian-treehouse/follow
Raquel,
This looks amazing! I love the color scheme she used. Thanks so much for linking up to Creative Thursday. Can’t wait to see what you share this week! Have a wonderful weekend
Michelle
Looks delicious…and easy. This might have to be added to one of my favorite apple recipes…next to apple pie, of course 🙂
Thanks for the very cool idea here–It turned out so great that I’ll have to file this one away for future reference!
Thanks for stopping by Jen!