


No Bake Biscoff Cheesecake Bars
This post may contain affiliate links.
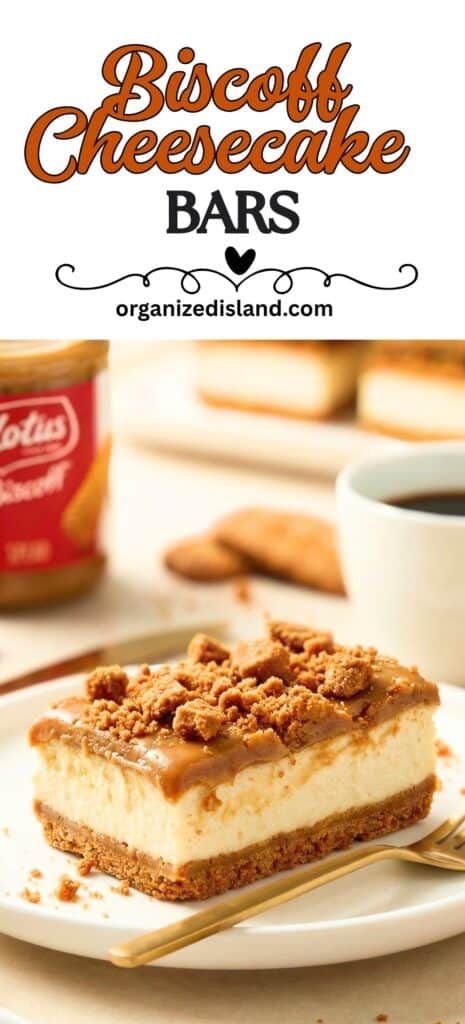
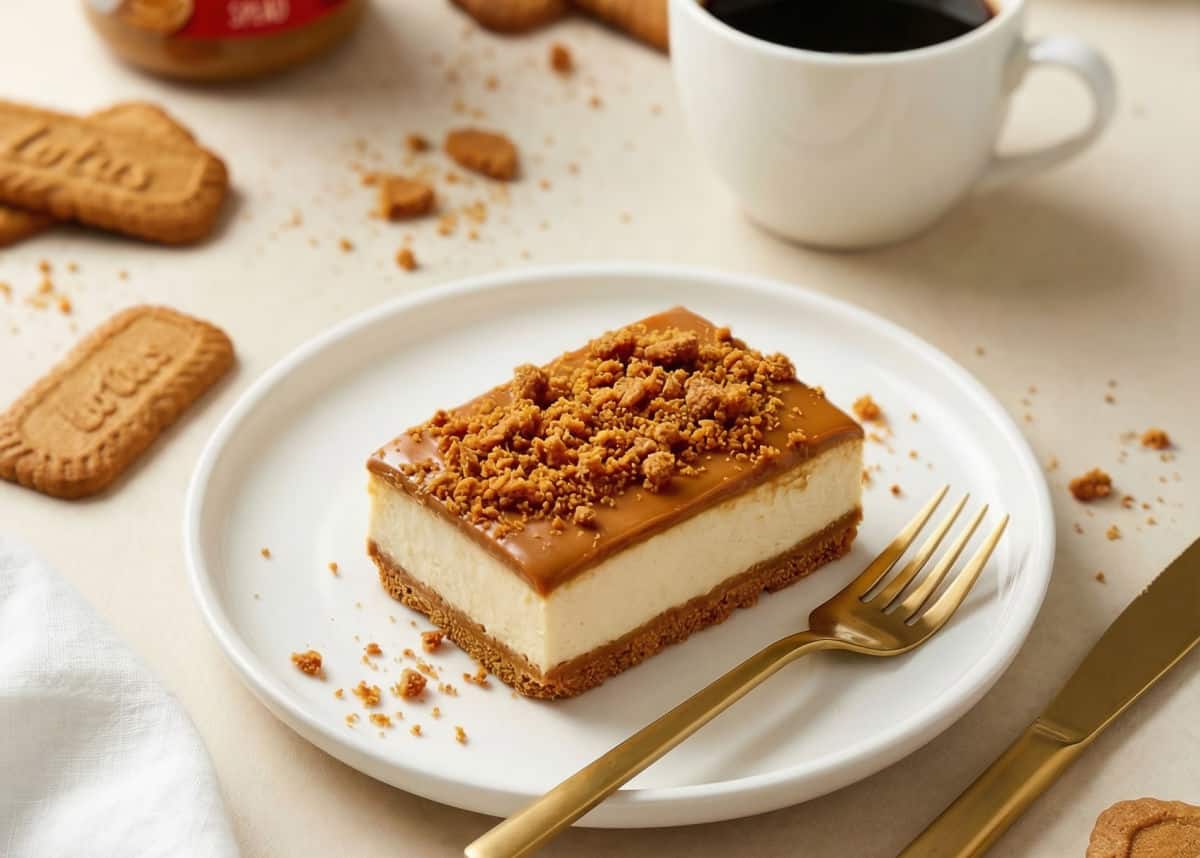
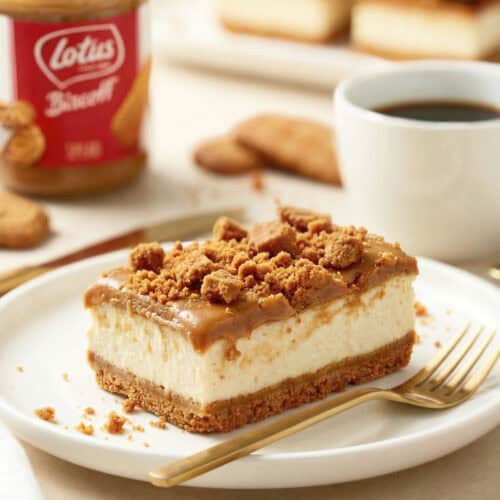
If you’re a fan of those scalloped Lotus Biscoff cookies, these Biscoff Cheesecake Bars are about to become your new favorite dessert! These No Bake Biscoff cheesecake bars have a buttery Biscoff cookie crust, a smooth and creamy cheesecake filling, and lots of sweet cookie butter flavor in every bite
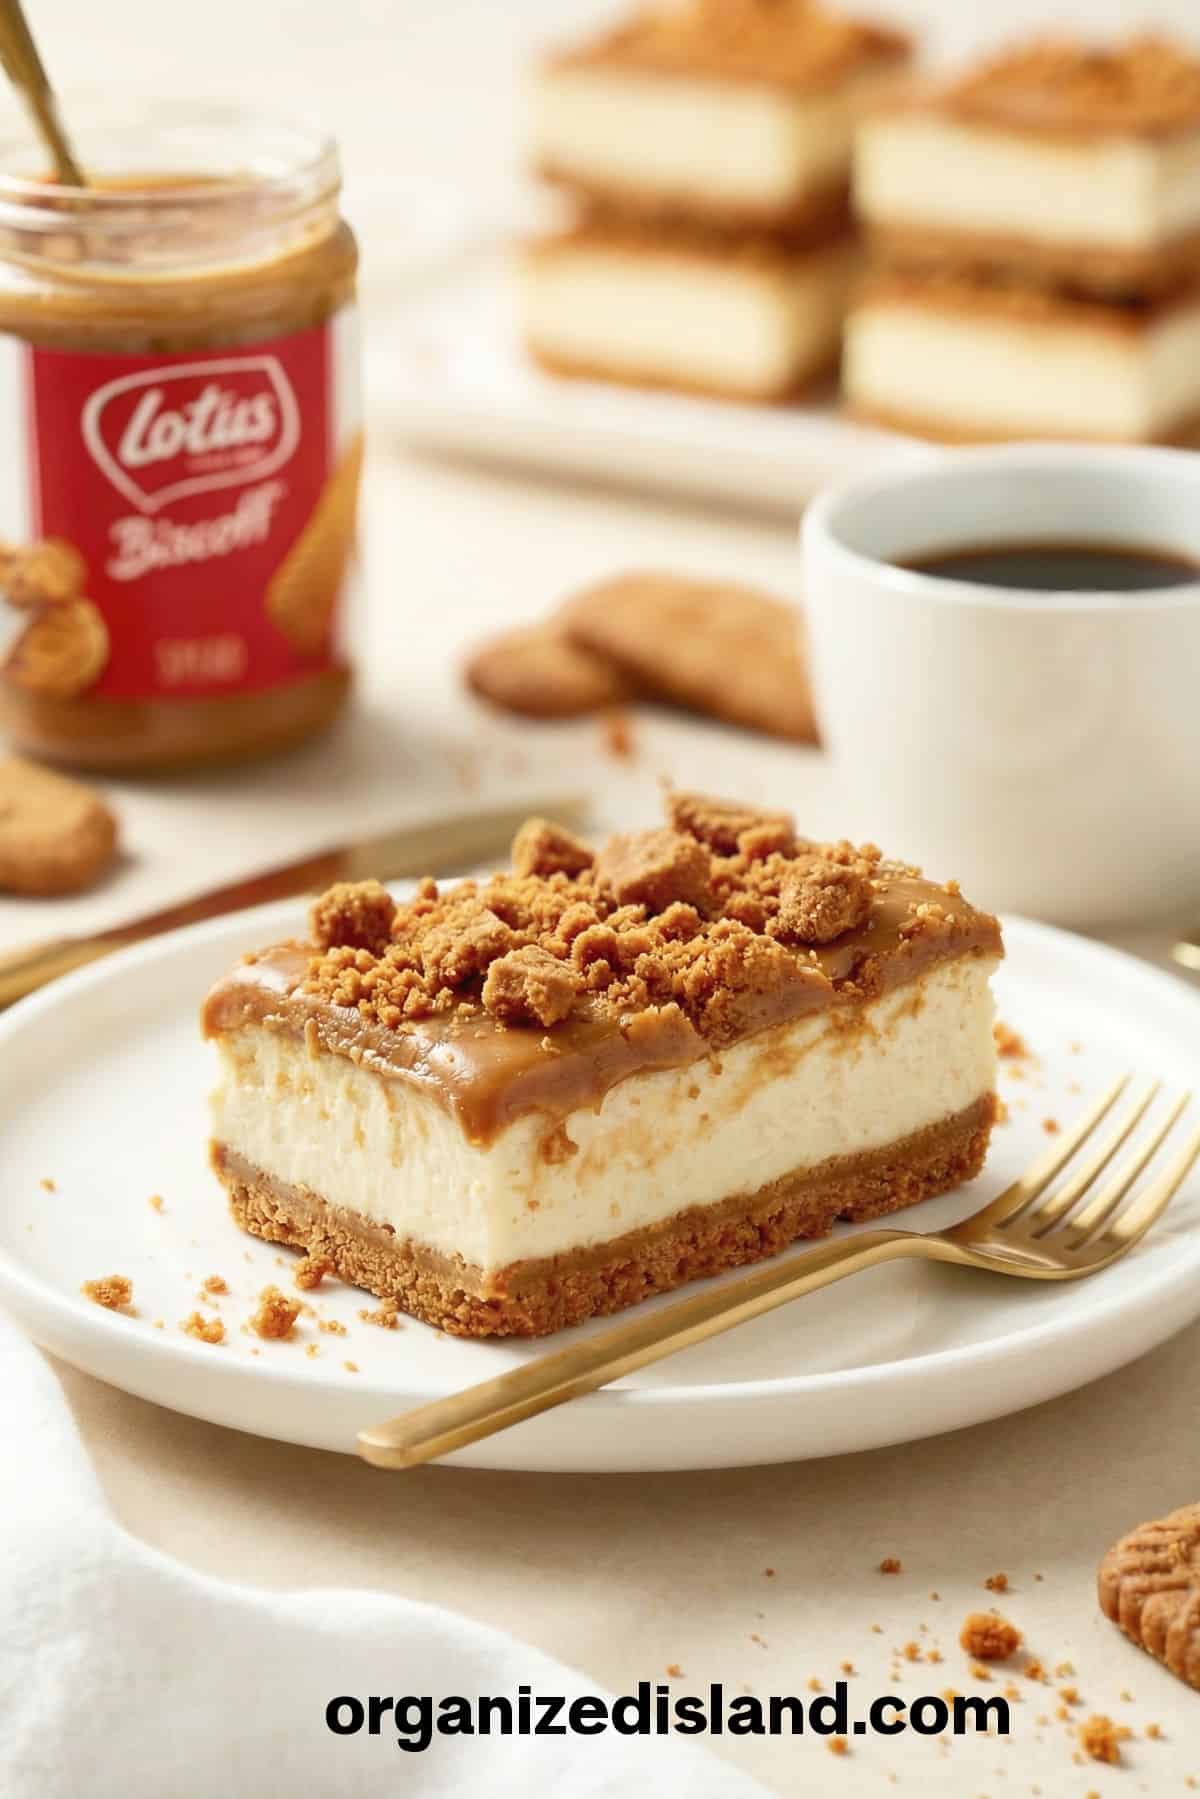
They’re elegant enough for holidays and celebrations but simple enough to make anytime you’re craving an easy homemade dessert. Like my Easy Biscoff Pudding and my Mini Biscoff Cheesecakes, these bard make a wonderful treat for Lotus Biscoff lovers!
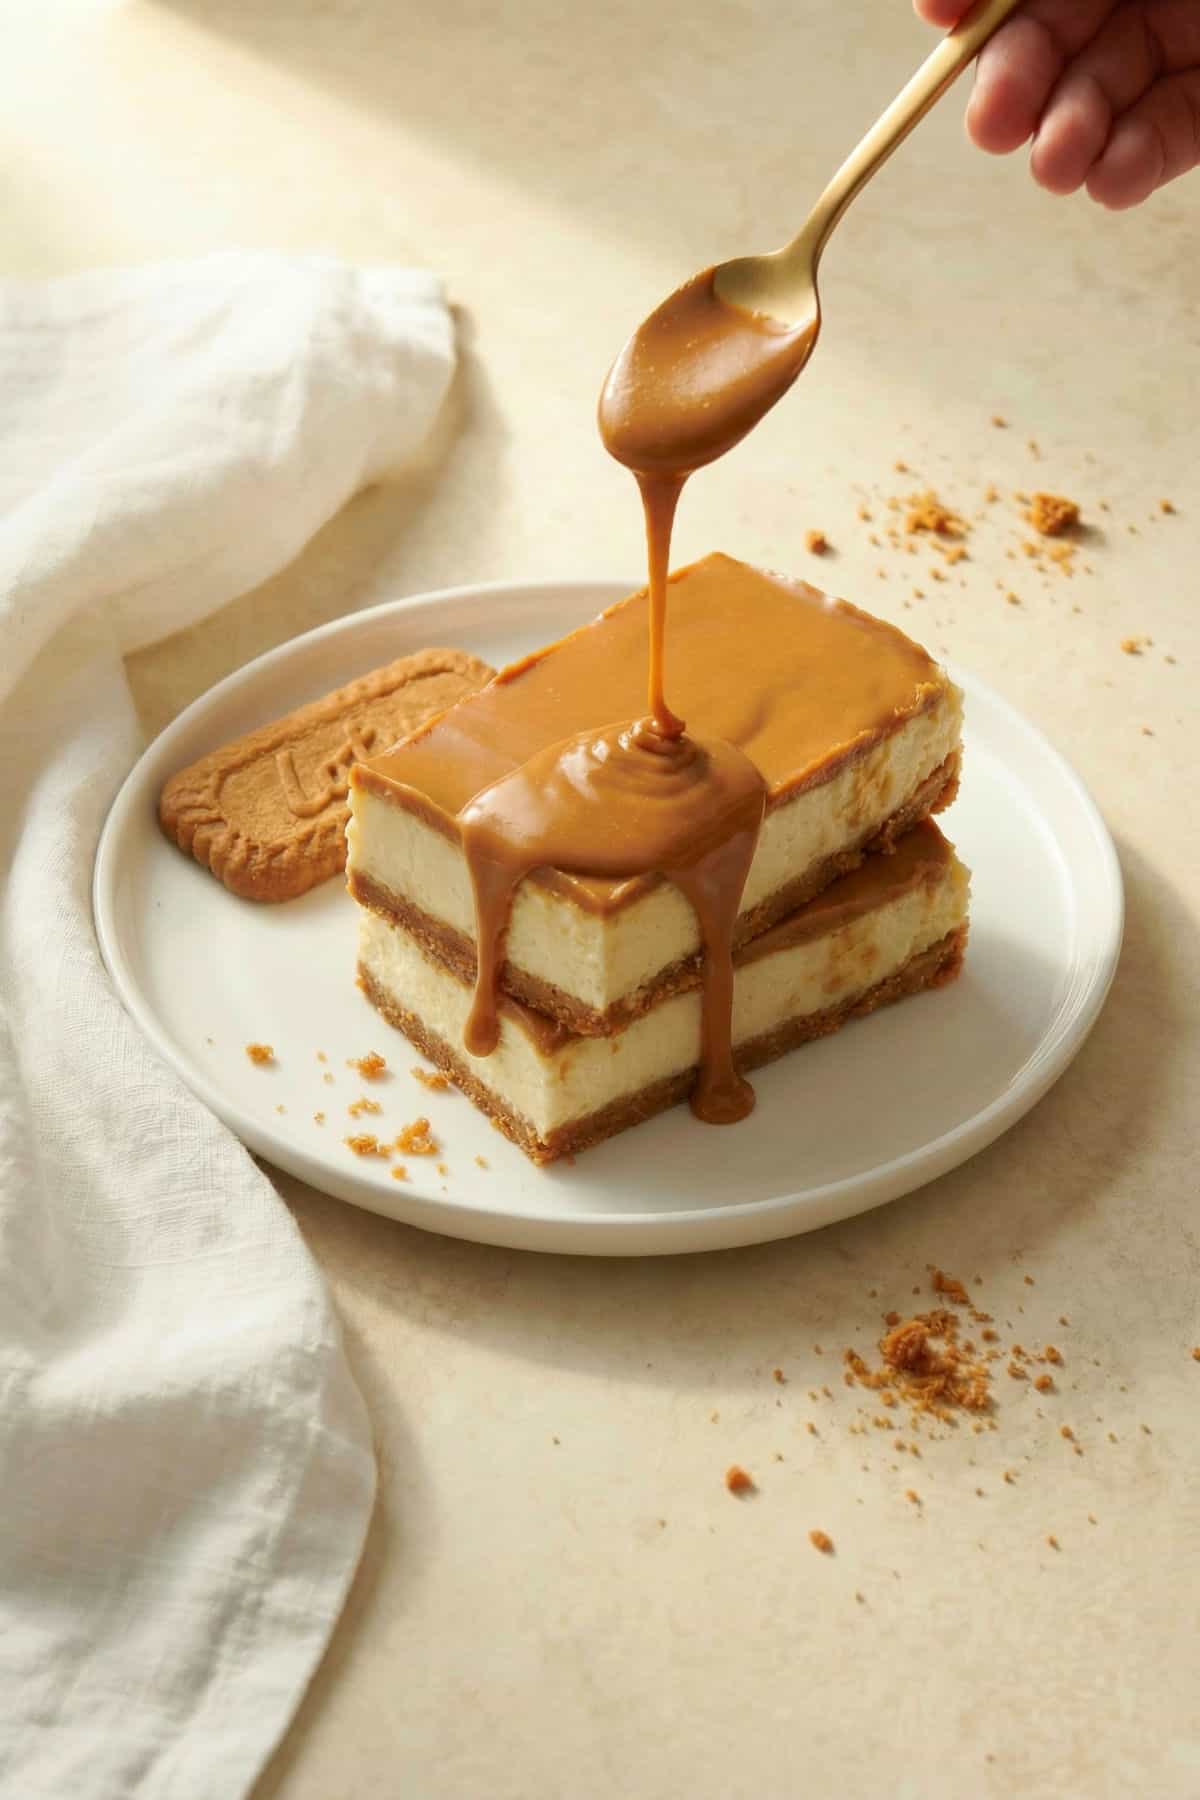
I made my first batch of these on a the other day just because I had two blocks of cream cheese in the refridgerator and a sleeve of Biscoff cookies calling my name. The creamy filling has just the right balance of sweet and tangy, and that melted Biscoff layer on top sets up beautifully in the refrigerator overnight.
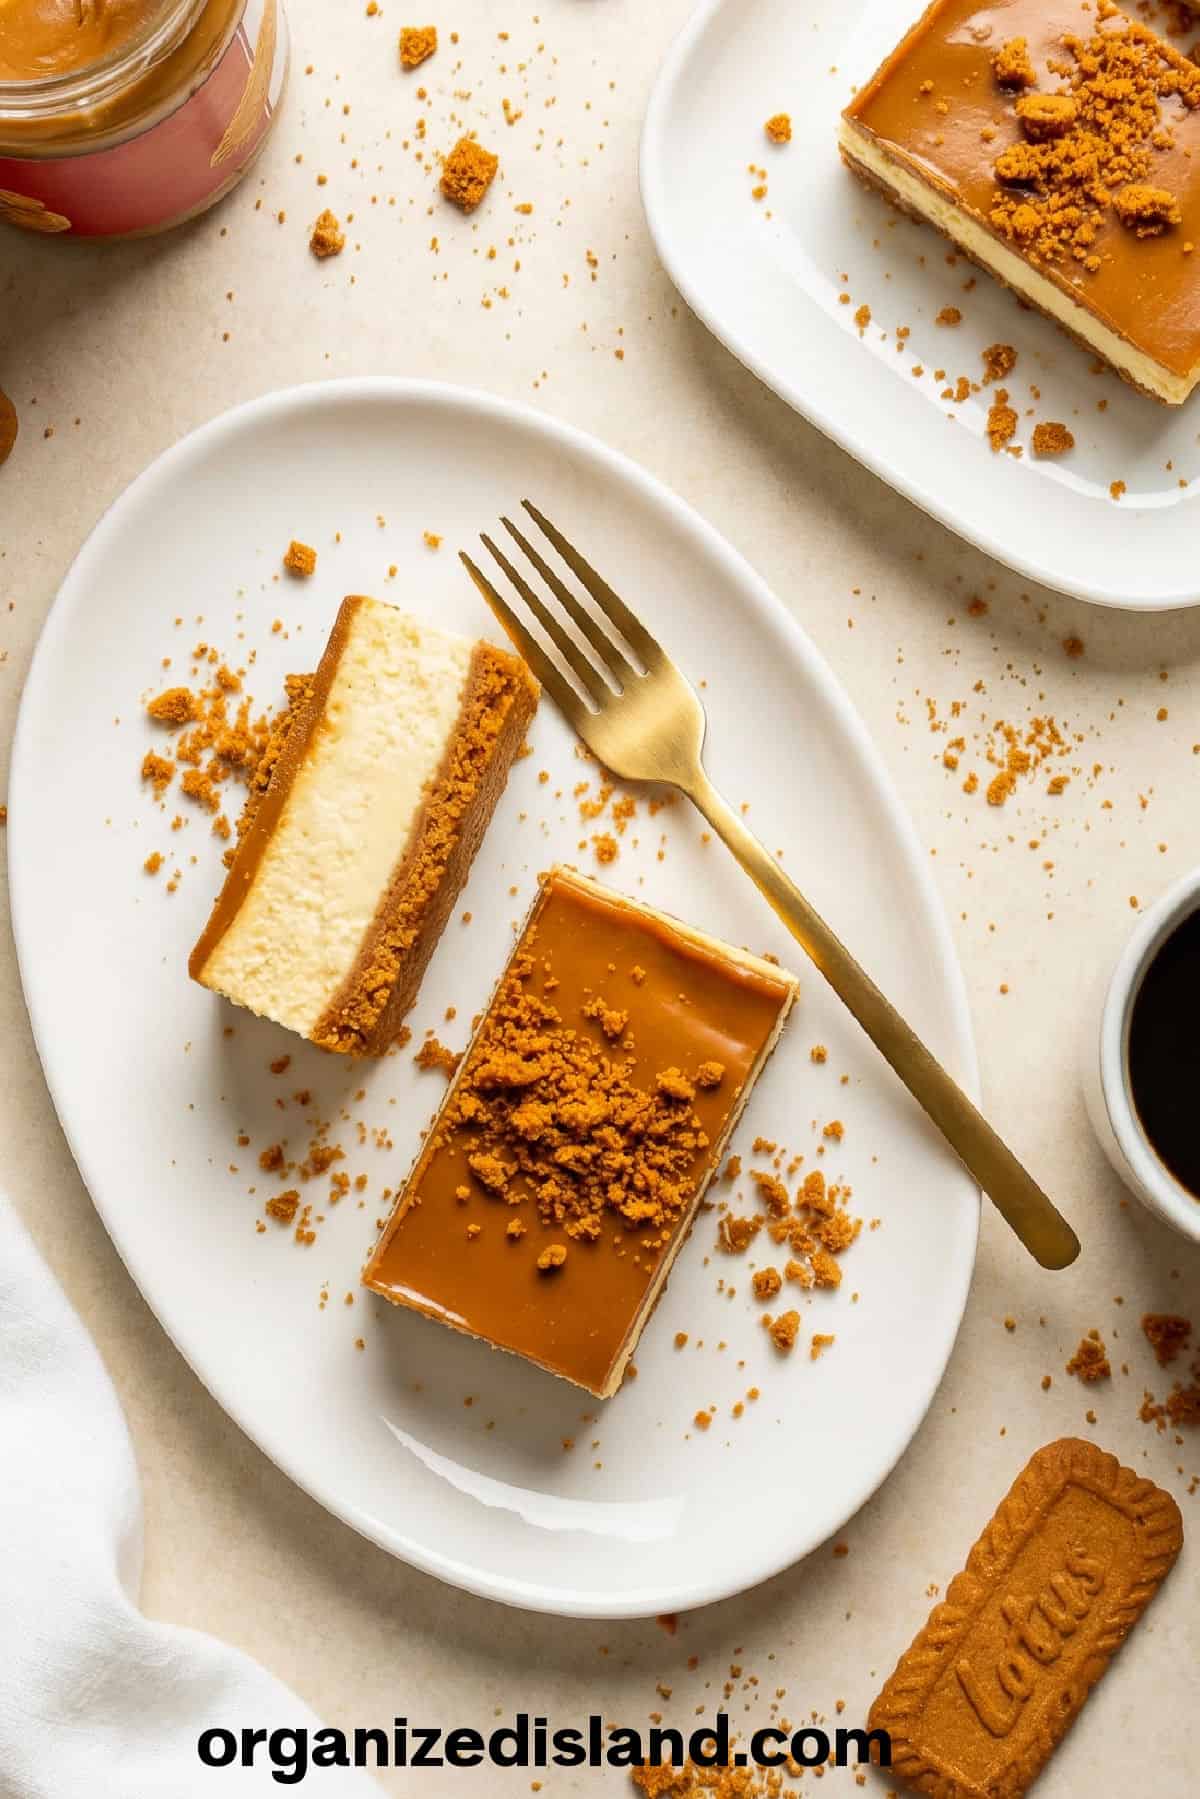
These bars are a wonderful dessert for holiday dessert tables, BBQs, potlucks, or just because. If you love no-bake desserts as much as I do, my Easy Biscoff Pudding is another great one to add to your list.
Why You’ll Love This Recipe
- Delicious – The combination of creamy cheesecake filling and warm, spiced cookie butter flavor is so irresistible.
- Easy Recipe – This is a no bake dessert that comes together quickly with simple ingredients. Most of the time is hands-off chilling time in the refrigerator.
- Festive – These bars are a beautiful on any dessert table. They are great for the holidays, parties, baby showers, or honestly just a regular weekend treat.
Biscoff Cheesecake Bars Ingredients
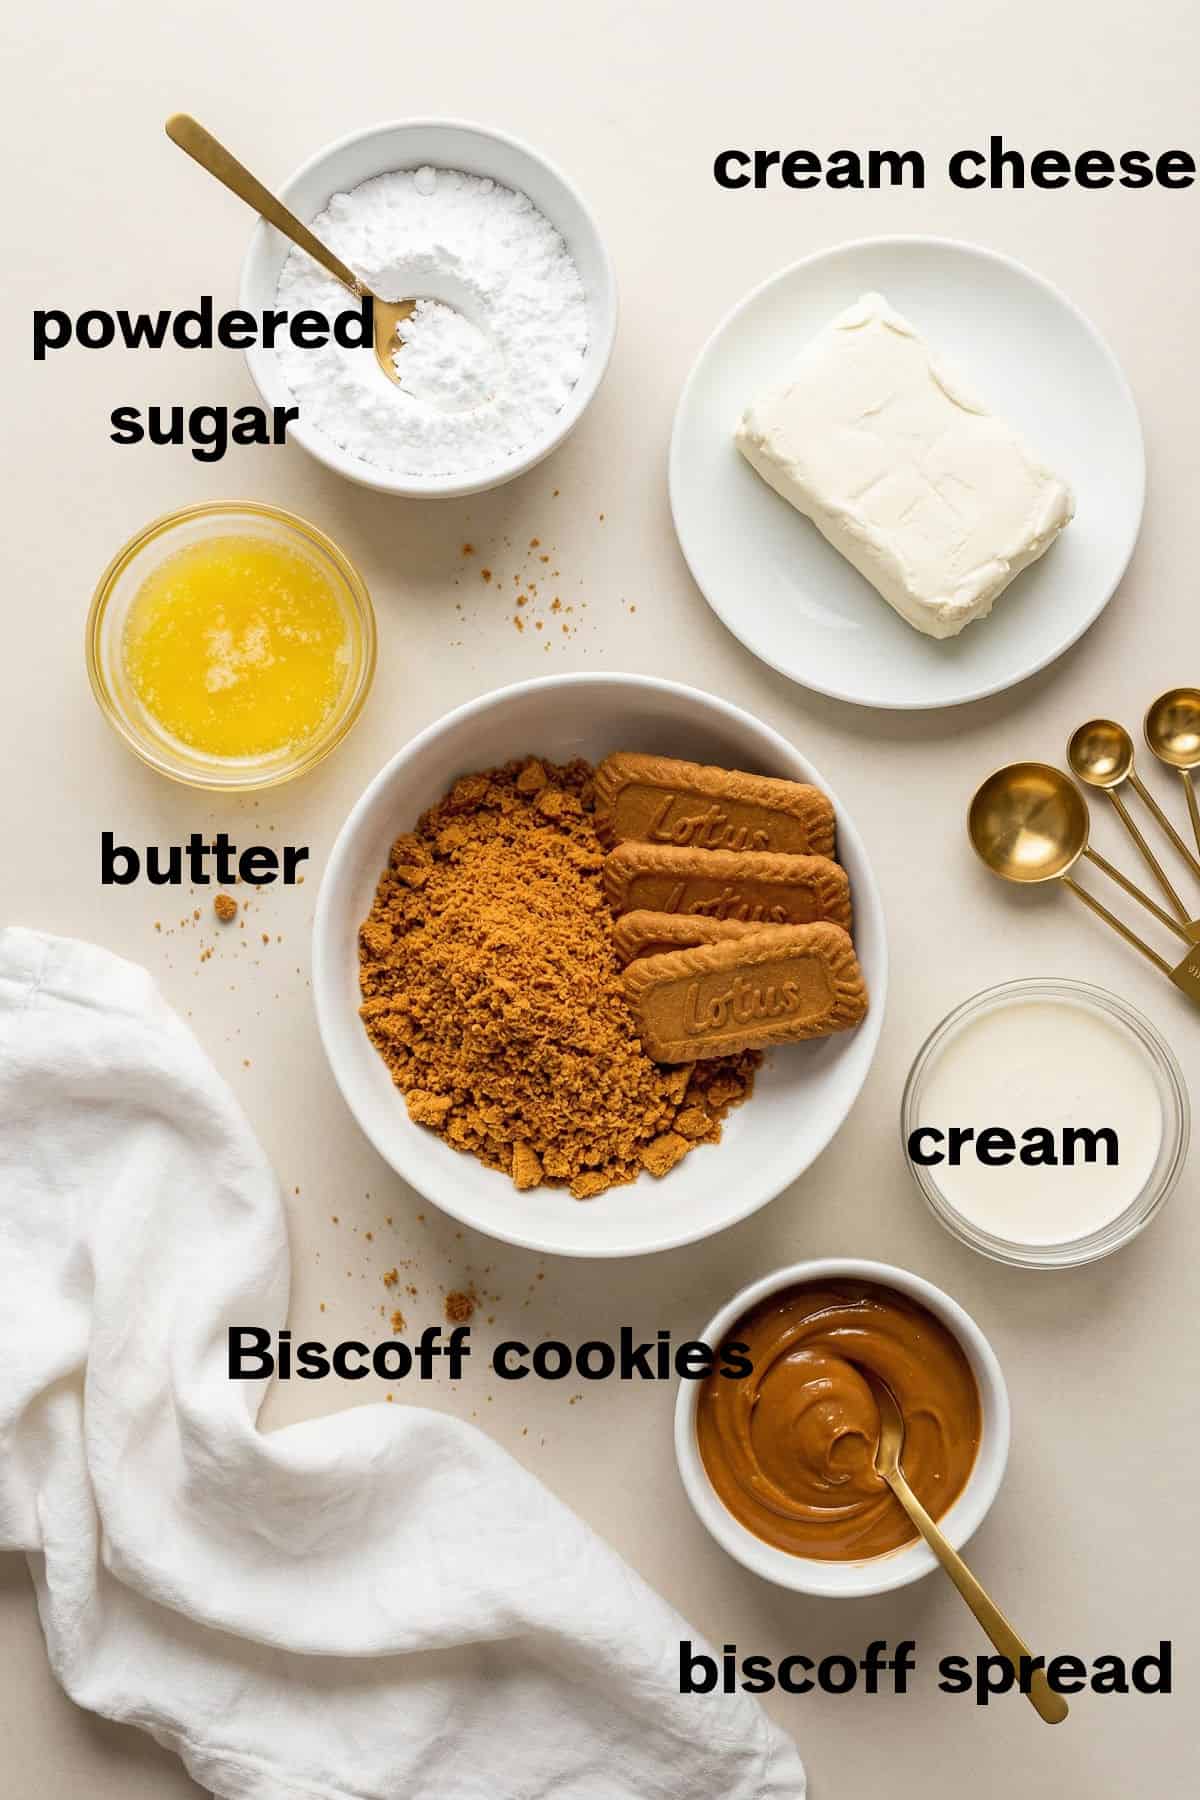
- Lotus Biscoff cookies – Used to create the buttery crust and also be crushed on top for extra crunch and flavor.
- Butter – I use unsalted butter but you can use either.
- Cream cheese – Use full-fat cream cheese, softened to room temperature. This makes a huge difference in how smooth and creamy your filling turns out.
- Powdered sugar – also known as confectioners’ sugar or icing sugar
- Heavy cream
- Biscoff spread – this is the cookie butter spread made by Lotus, usually found near the peanut butter at most stores
Equipment Needed
- 8×8-inch square pan
- Parchment paper
- Food processor or rolling pin
- Electric mixer or stand mixer
- Microwave-safe bowl
Substitutions & Alterations
- If you cannot find Biscoff spread, any cookie butter spread will work here.
- Graham crackers or digestive biscuits can be used in place of Biscoff cookies for the crust if needed, though you will lose some of that signature spiced flavor.
- You can swap heavy cream for whipping cream.
- For a fun twist, add a thin layer of melted white chocolate between the cheesecake filling and the Biscoff topping.
- Sprinkle a pinch of flaky sea salt over the top before serving for a sweet and salty finish.
How to Make Biscoff Cheesecake Bars
This is an overview of the step-by-step instructions. For the full list of ingredients and amounts, see the recipe card below.
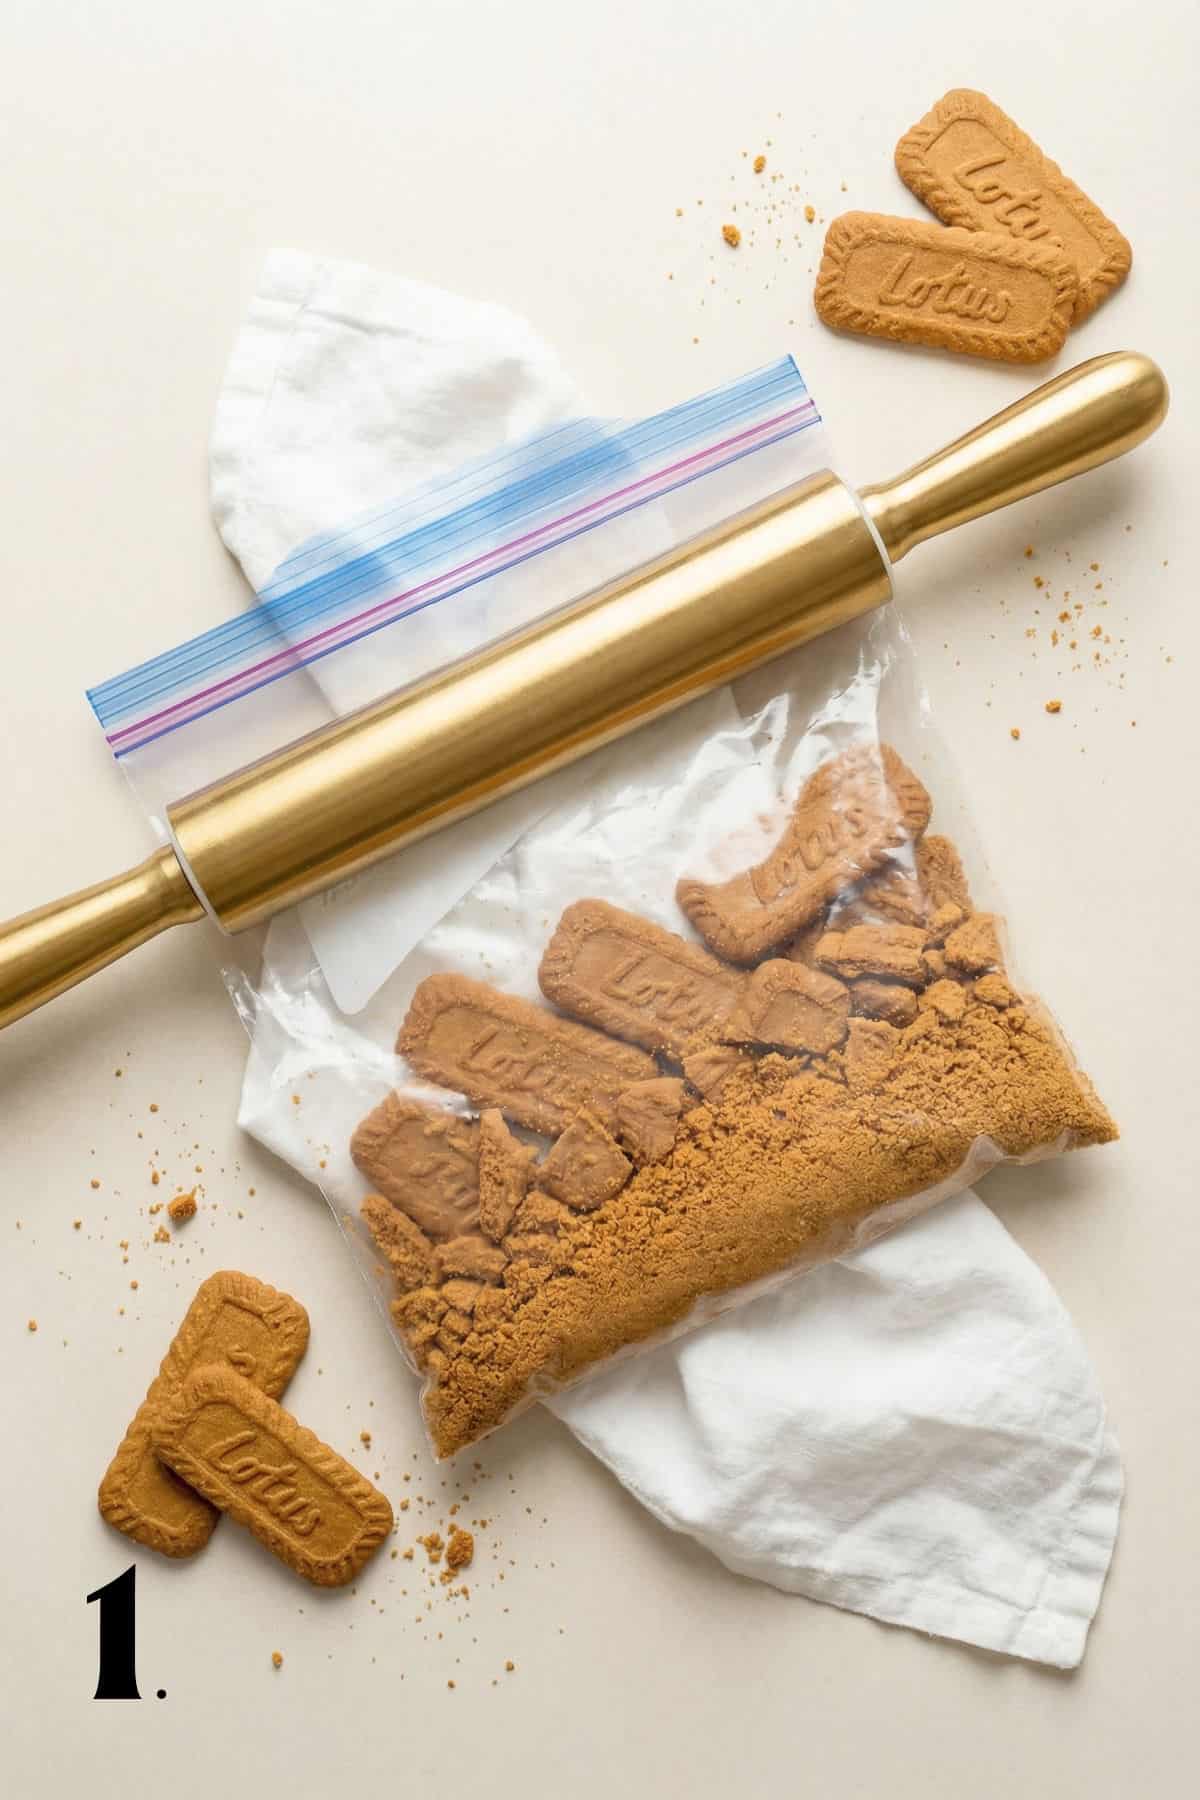
Step 1 – Line an 8×8-inch pan with parchment paper. Crush Biscoff cookies into fine crumbs using a food processor or rolling pin.
Step 2 – Mix cookie crumbs with melted butter until combined.
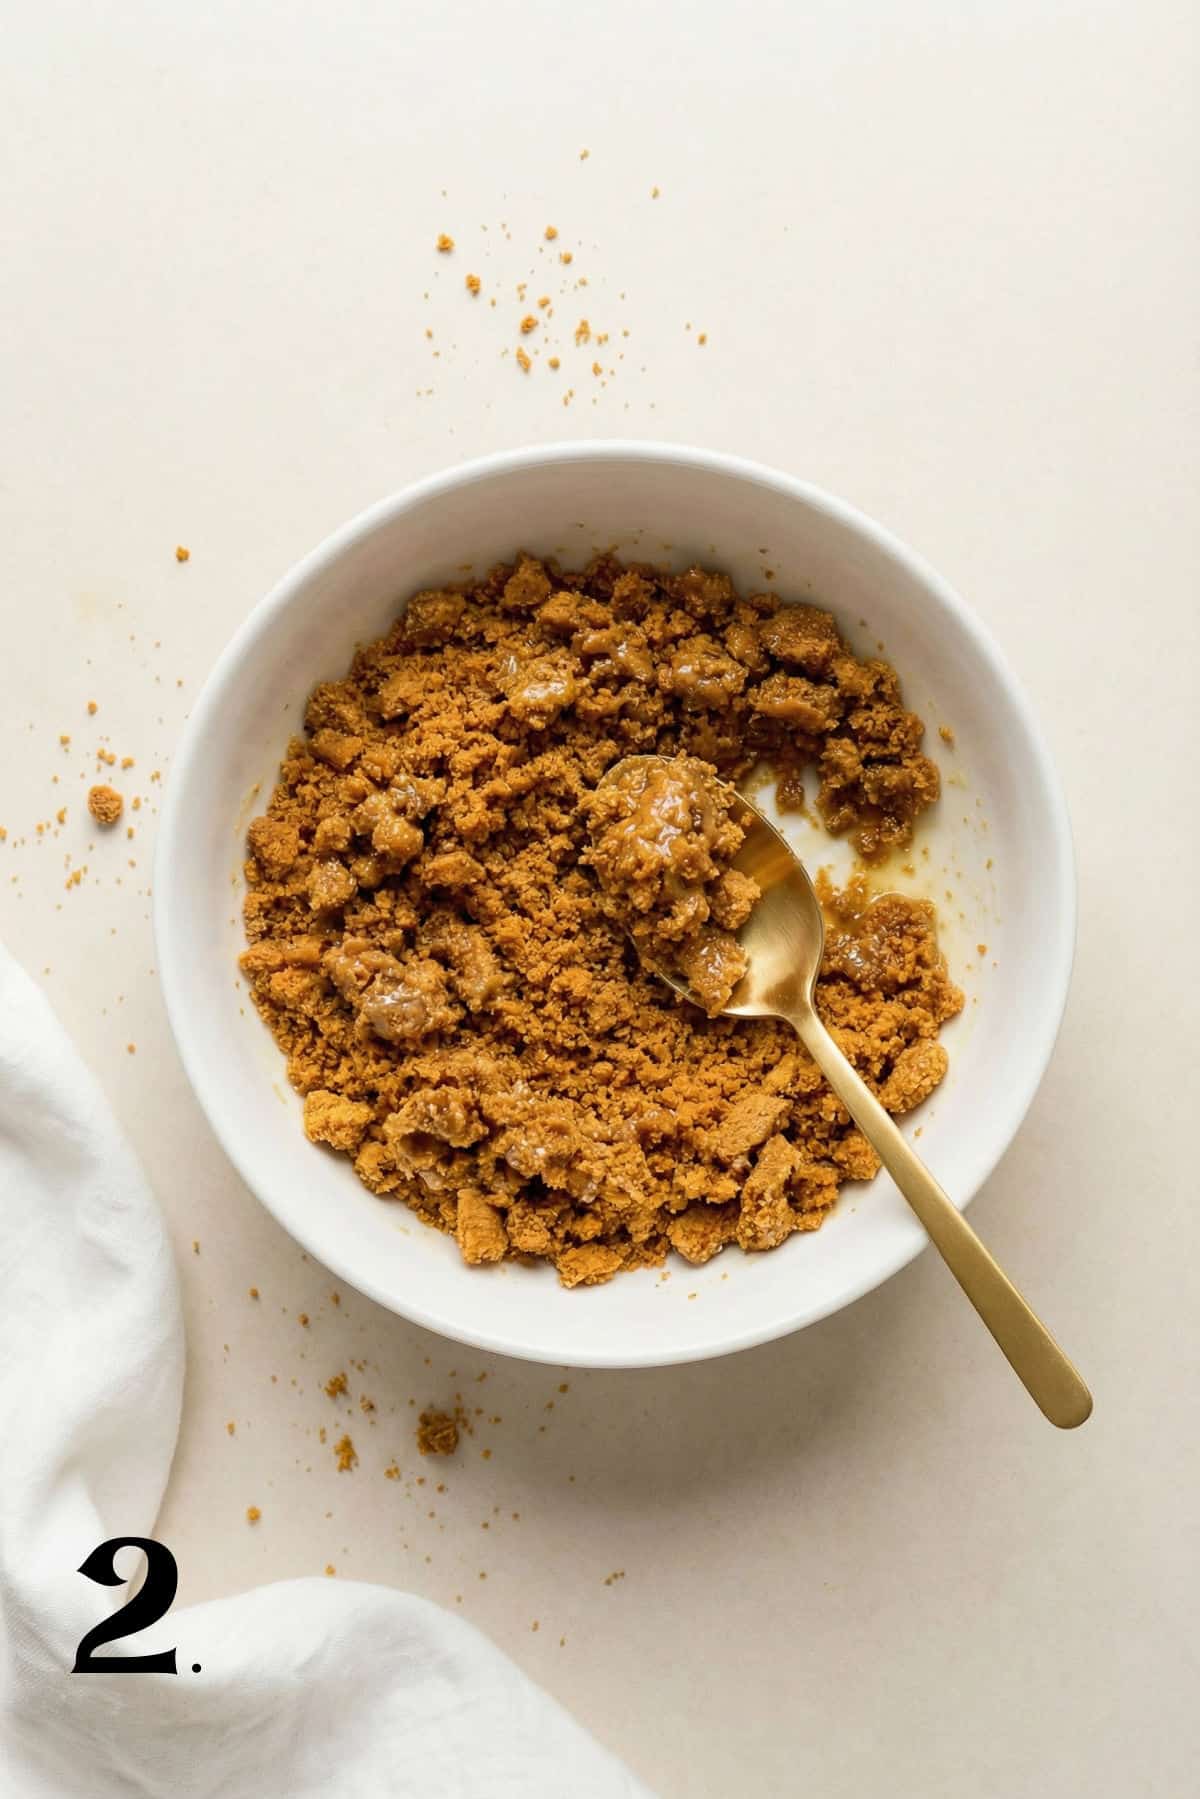
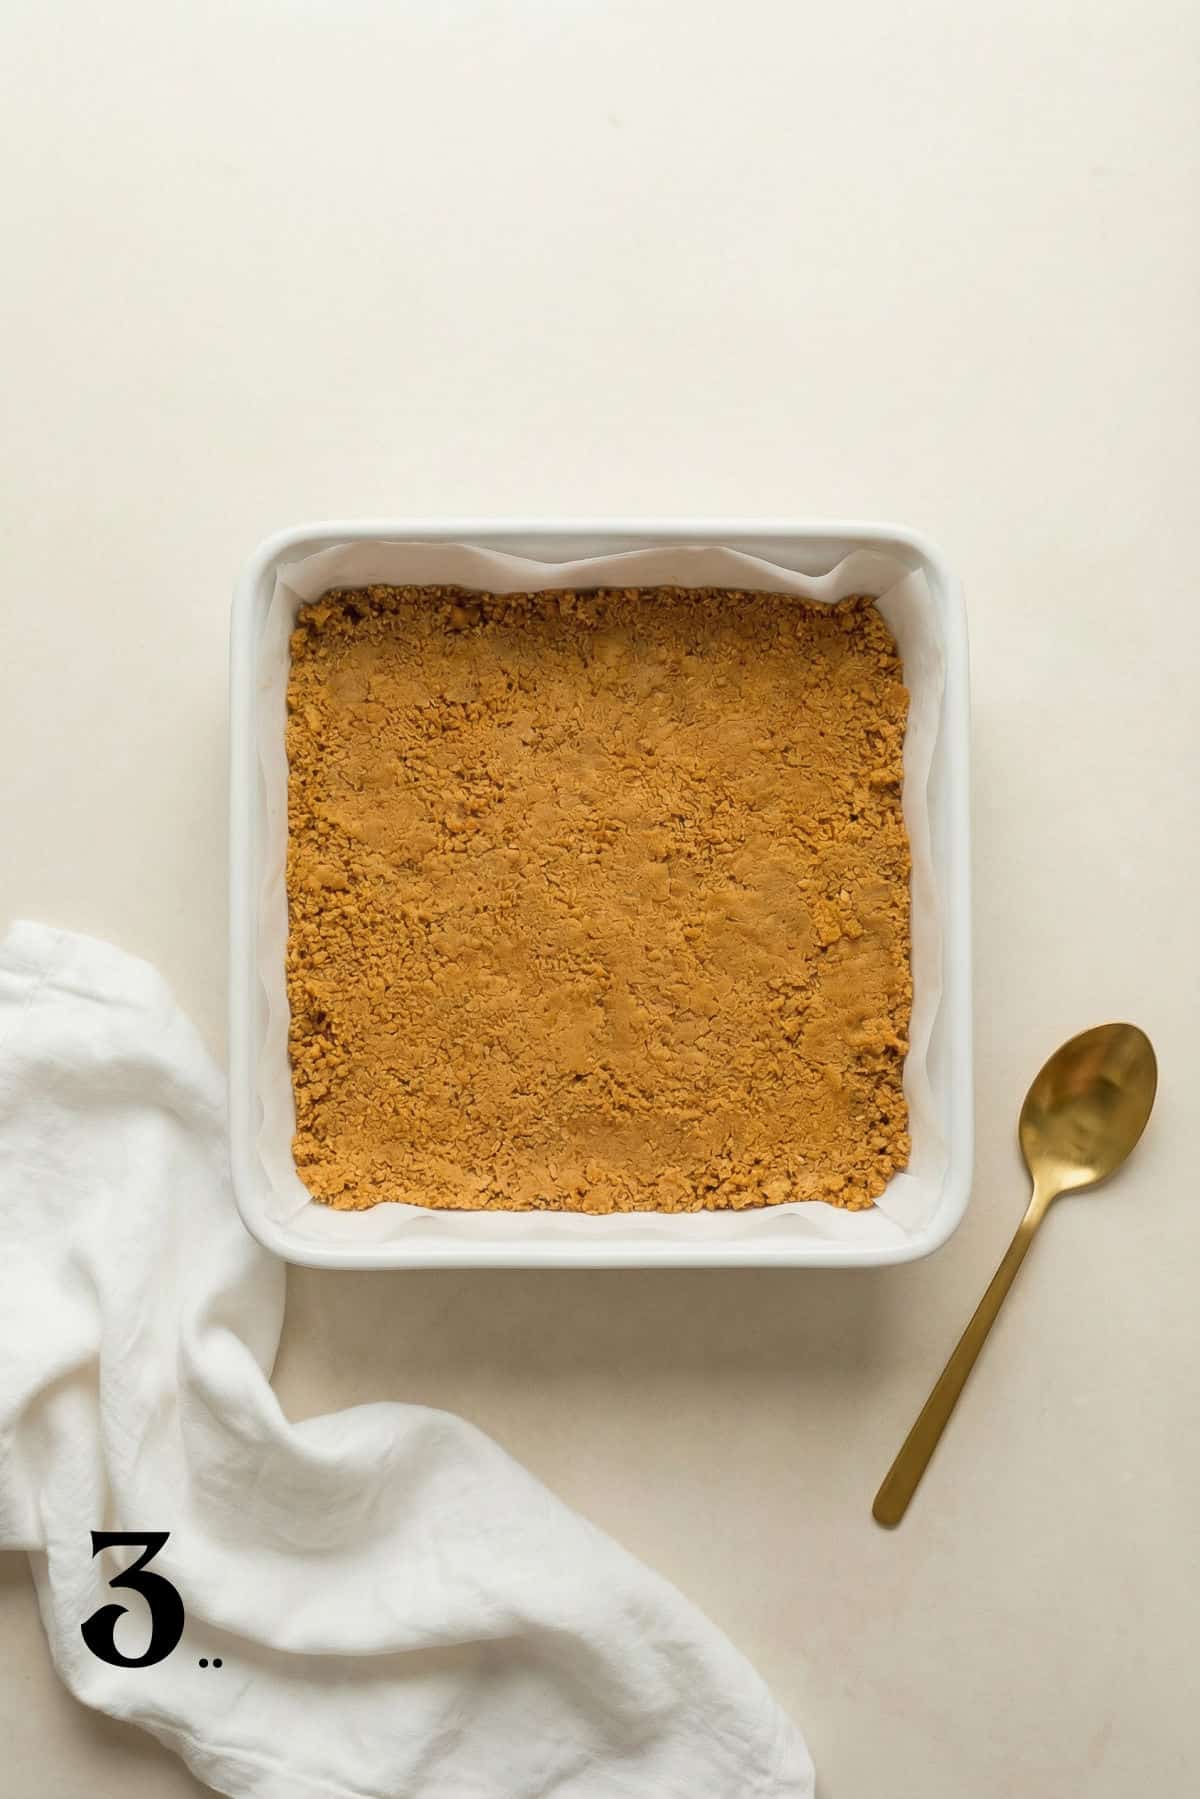
Step 3 – Press the crust mixture firmly and evenly into the bottom of the pan. Pop it in the refrigerator while you work on the filling.
Step 4 – Beat the softened cream cheese until completely smooth.
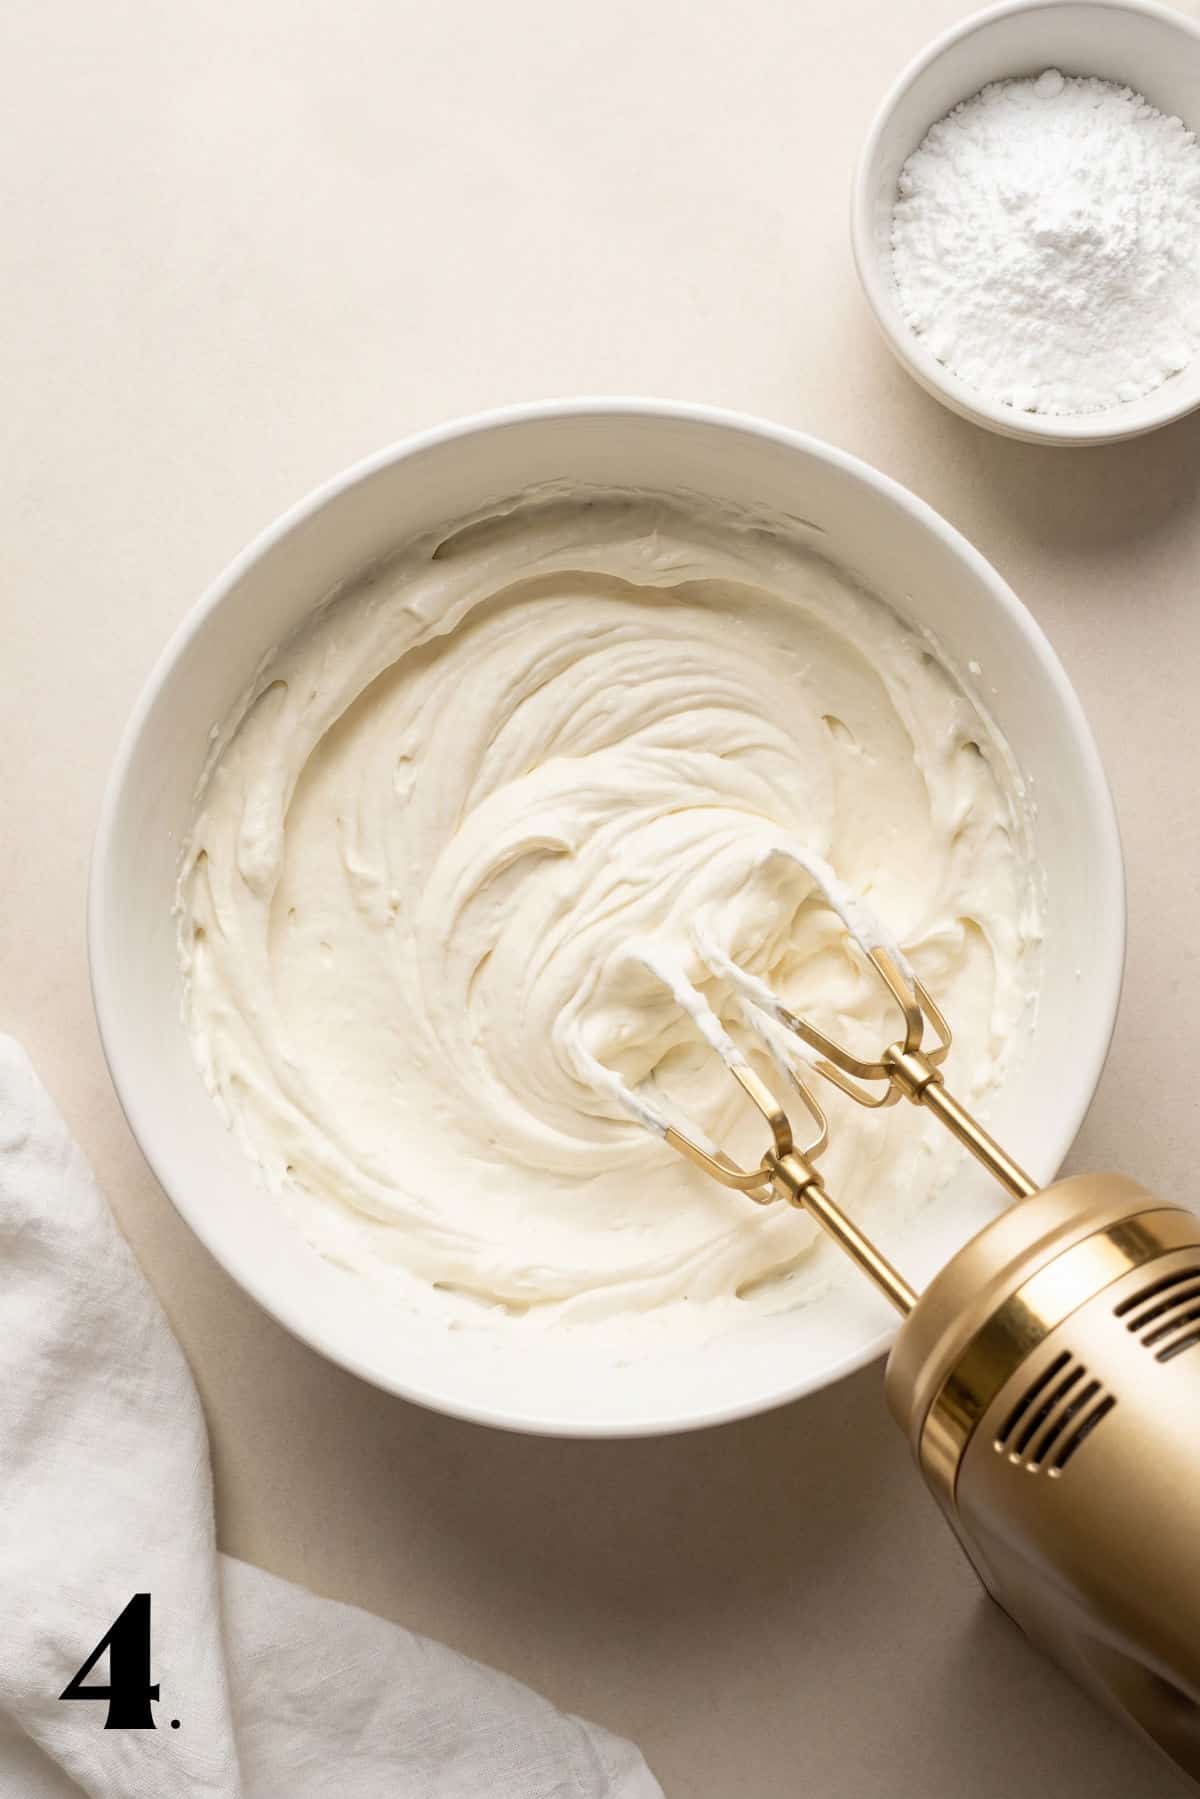
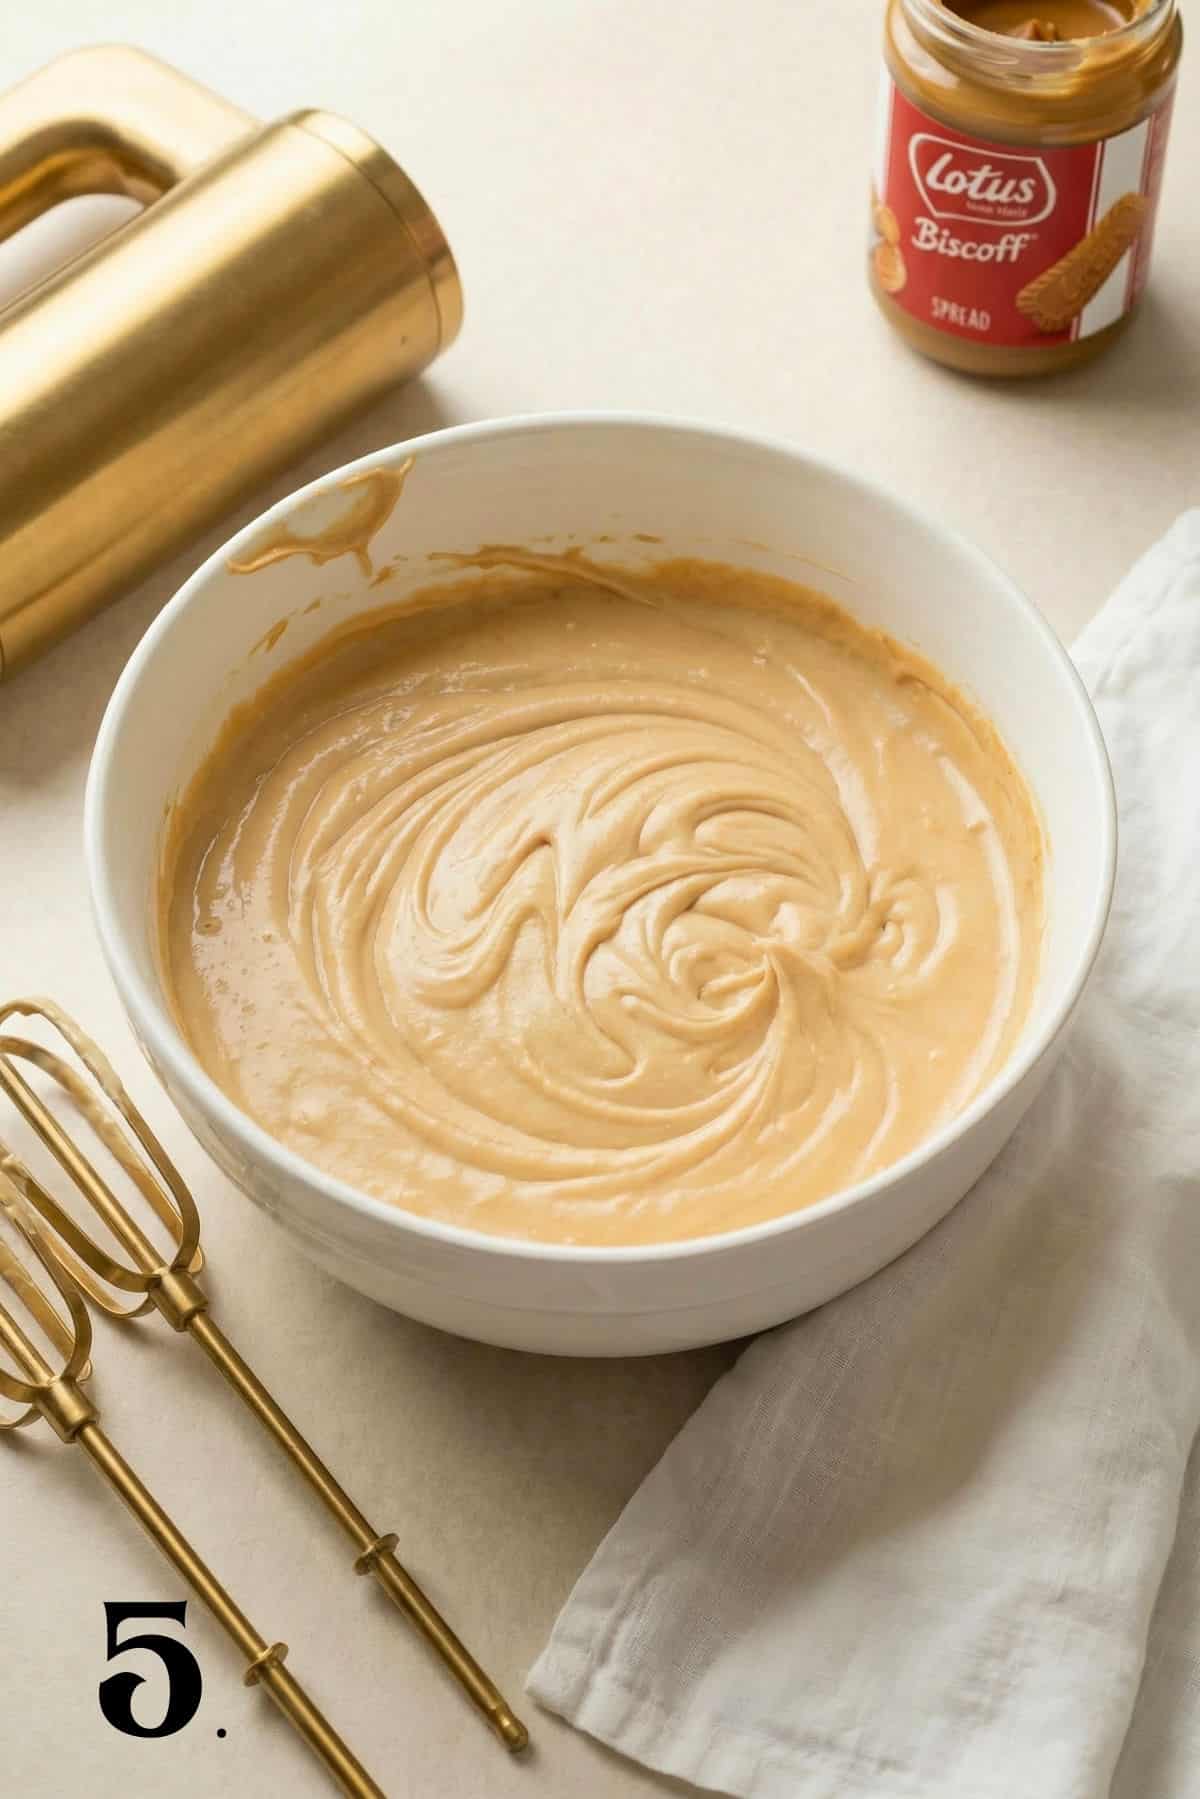
Step 5 – Add powdered sugar and Biscoff spread and mix until smooth and creamy.
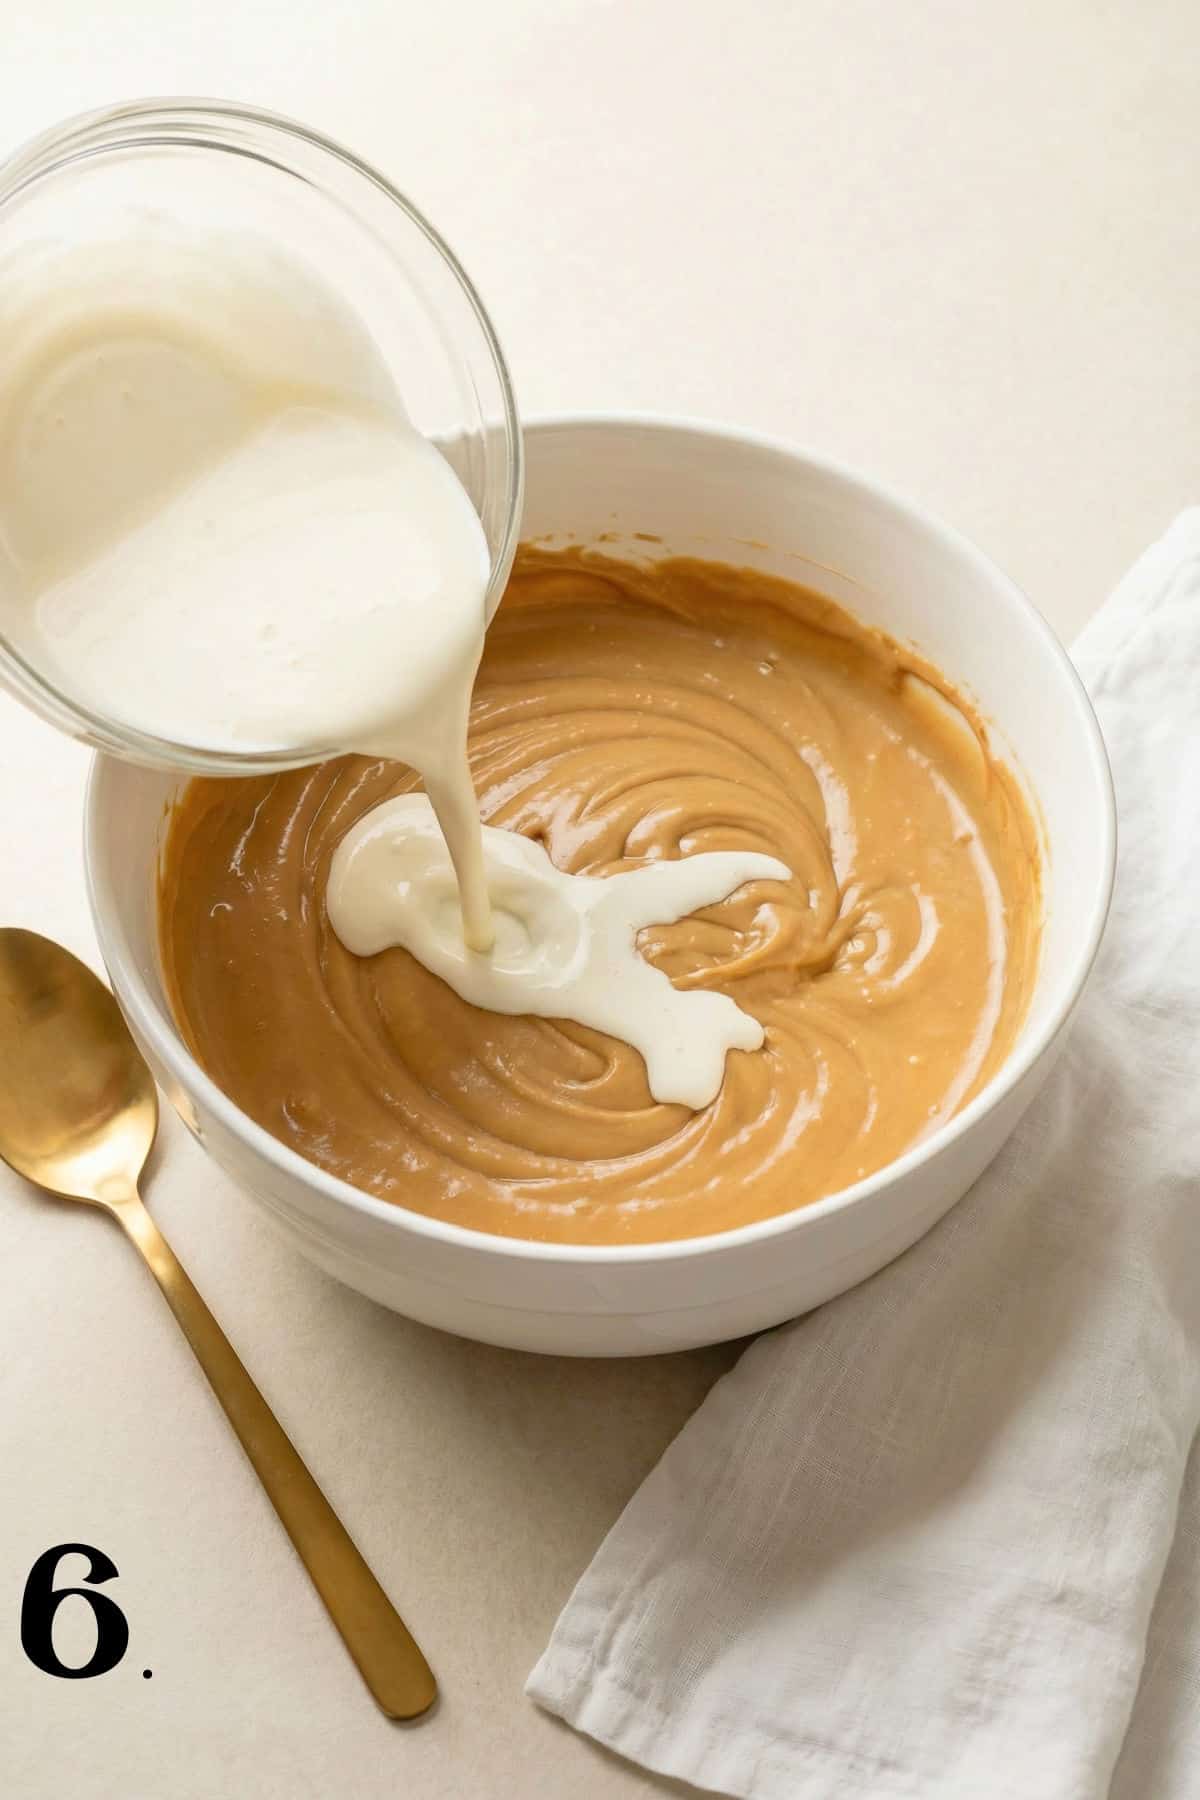
Step 6 – Add the heavy cream and mix until everything is fully combined and fluffy.
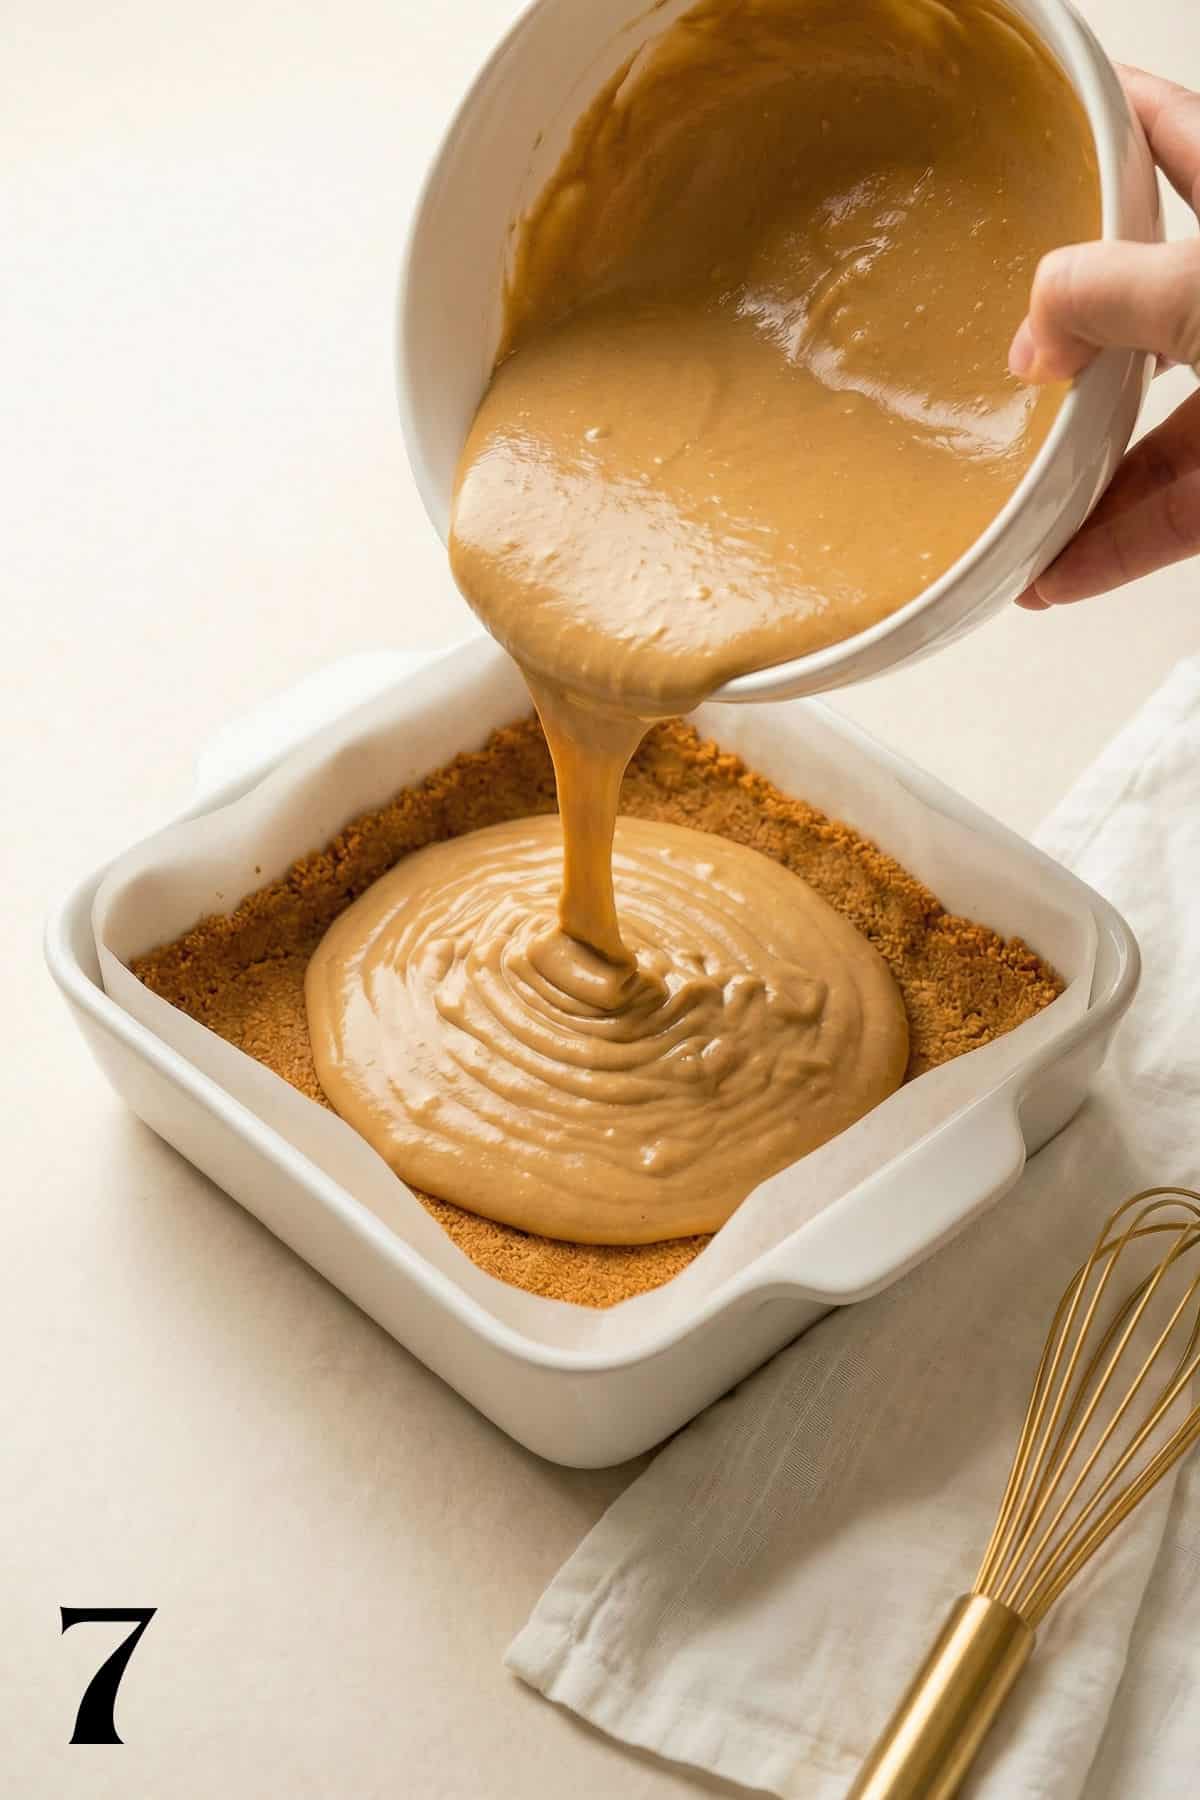
Step 7 – Pour the cheesecake filling over the chilled crust.
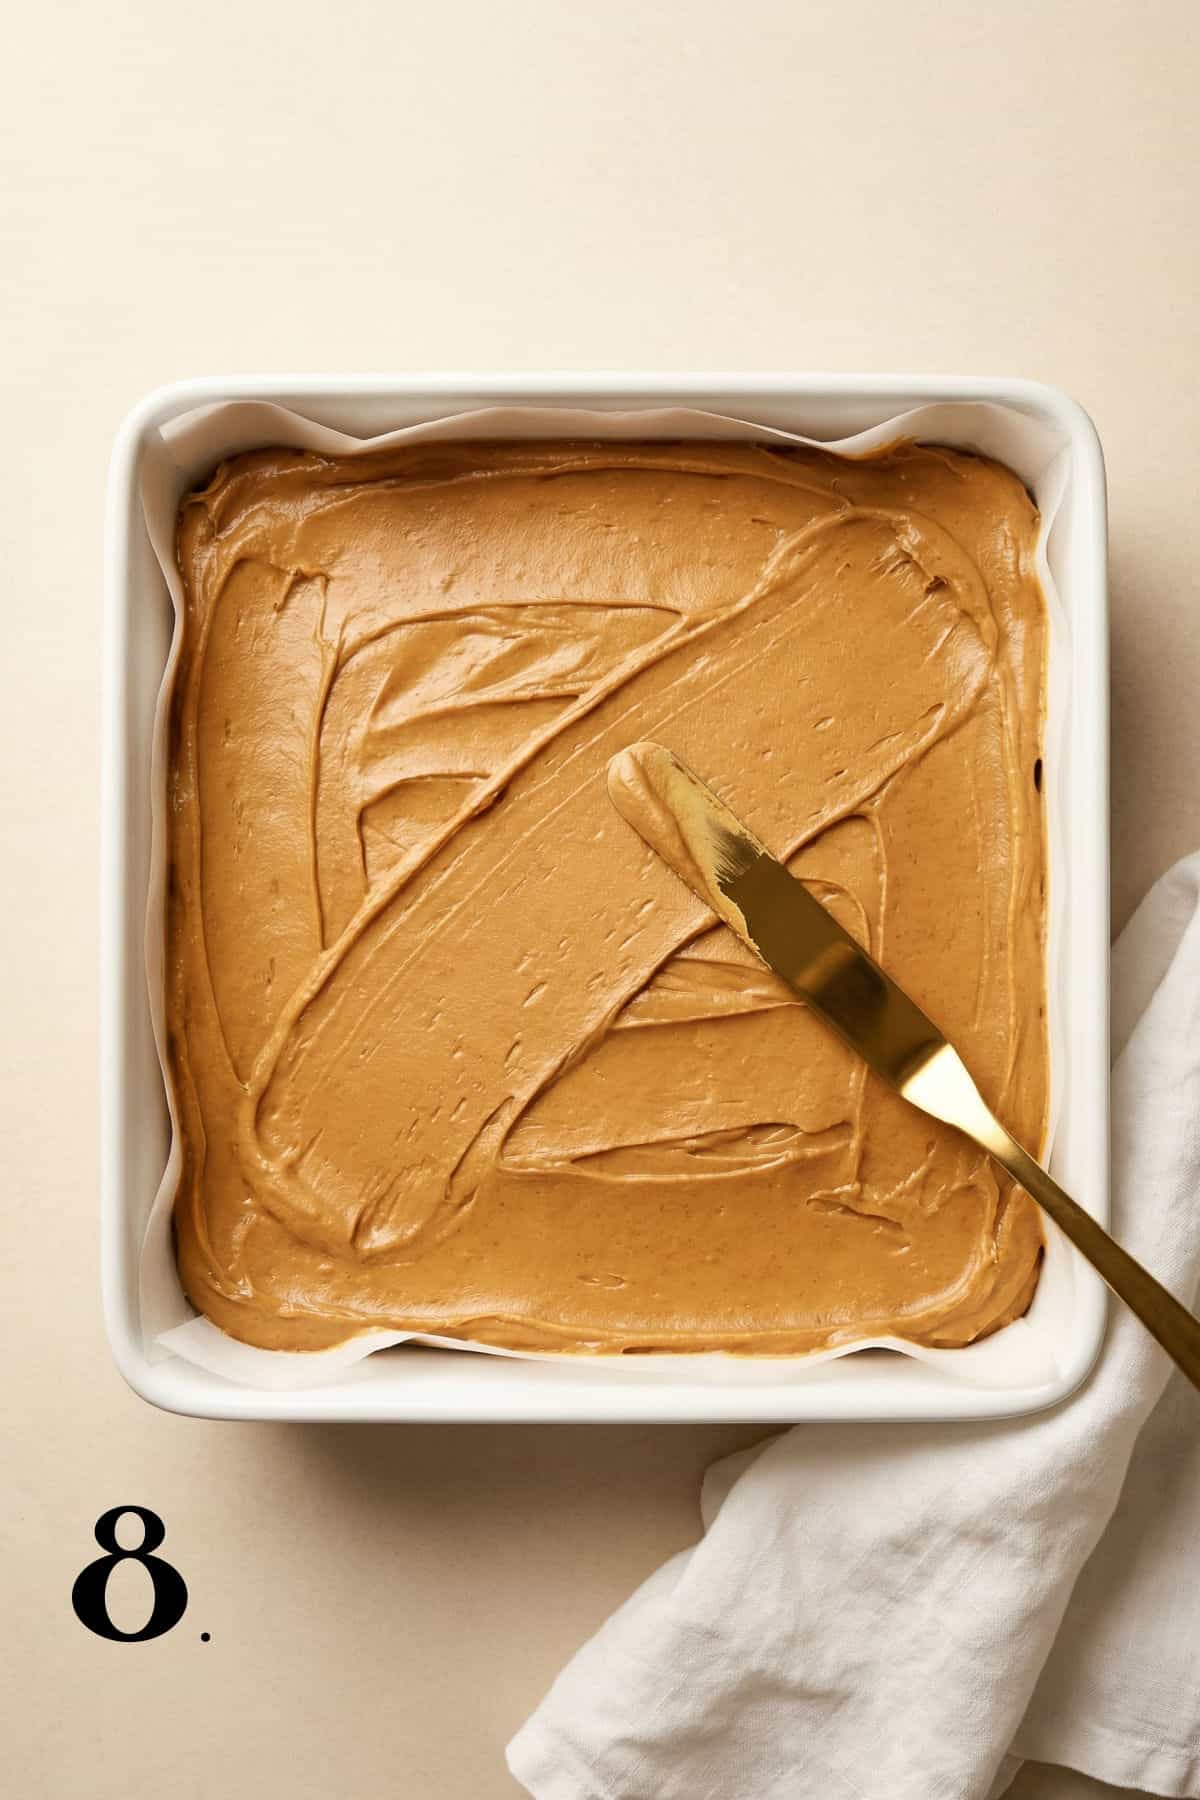
Step 8 – Smooth out the top with a spatula. and smooth out the top with a spatula.
Save The Recipe!
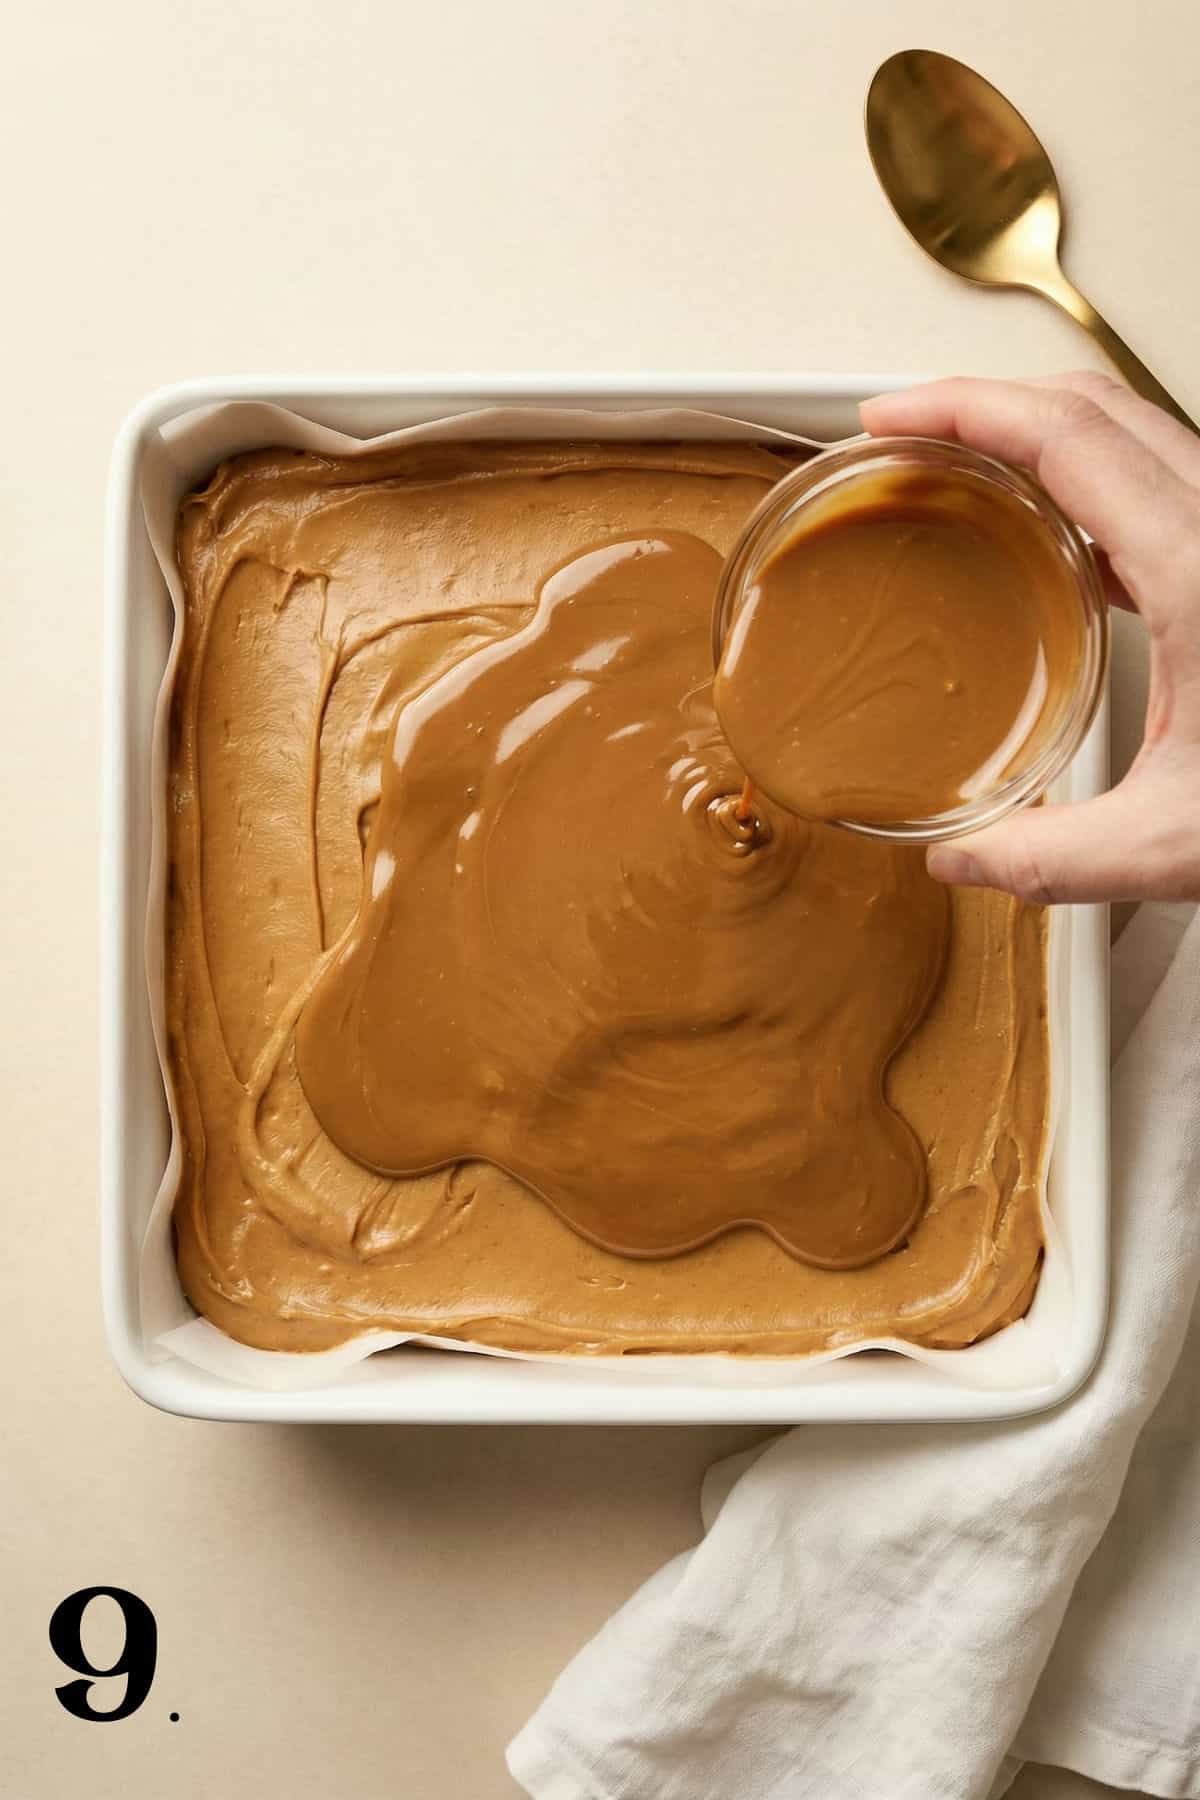
Step 9 – Melt the Biscoff spread in the microwave in 20-second intervals, stirring between each, until it is pourable. Pour it gently over the cheesecake layer.
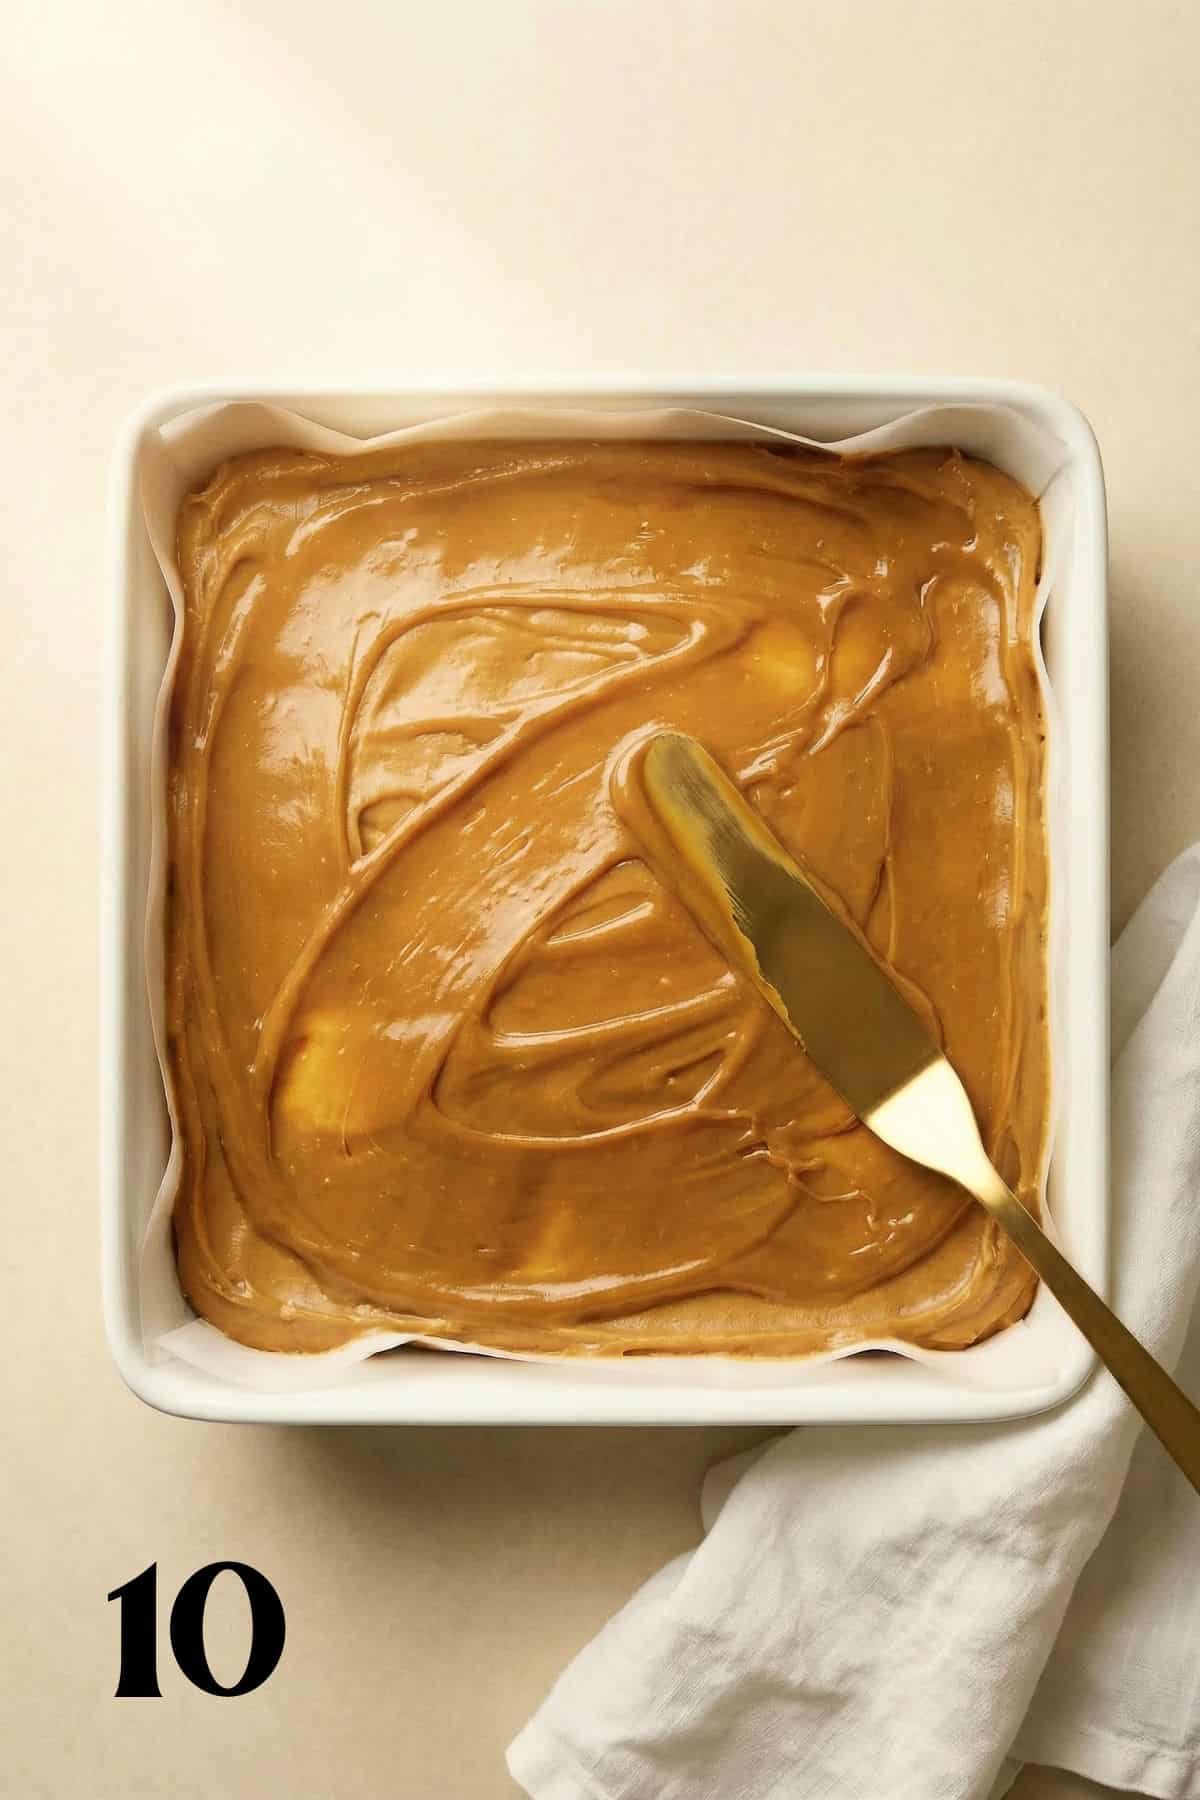
Step 10 – Spread evenly over the filling.
Step 11 – Refrigerate for 5 to 6 hours or overnight until fully set.
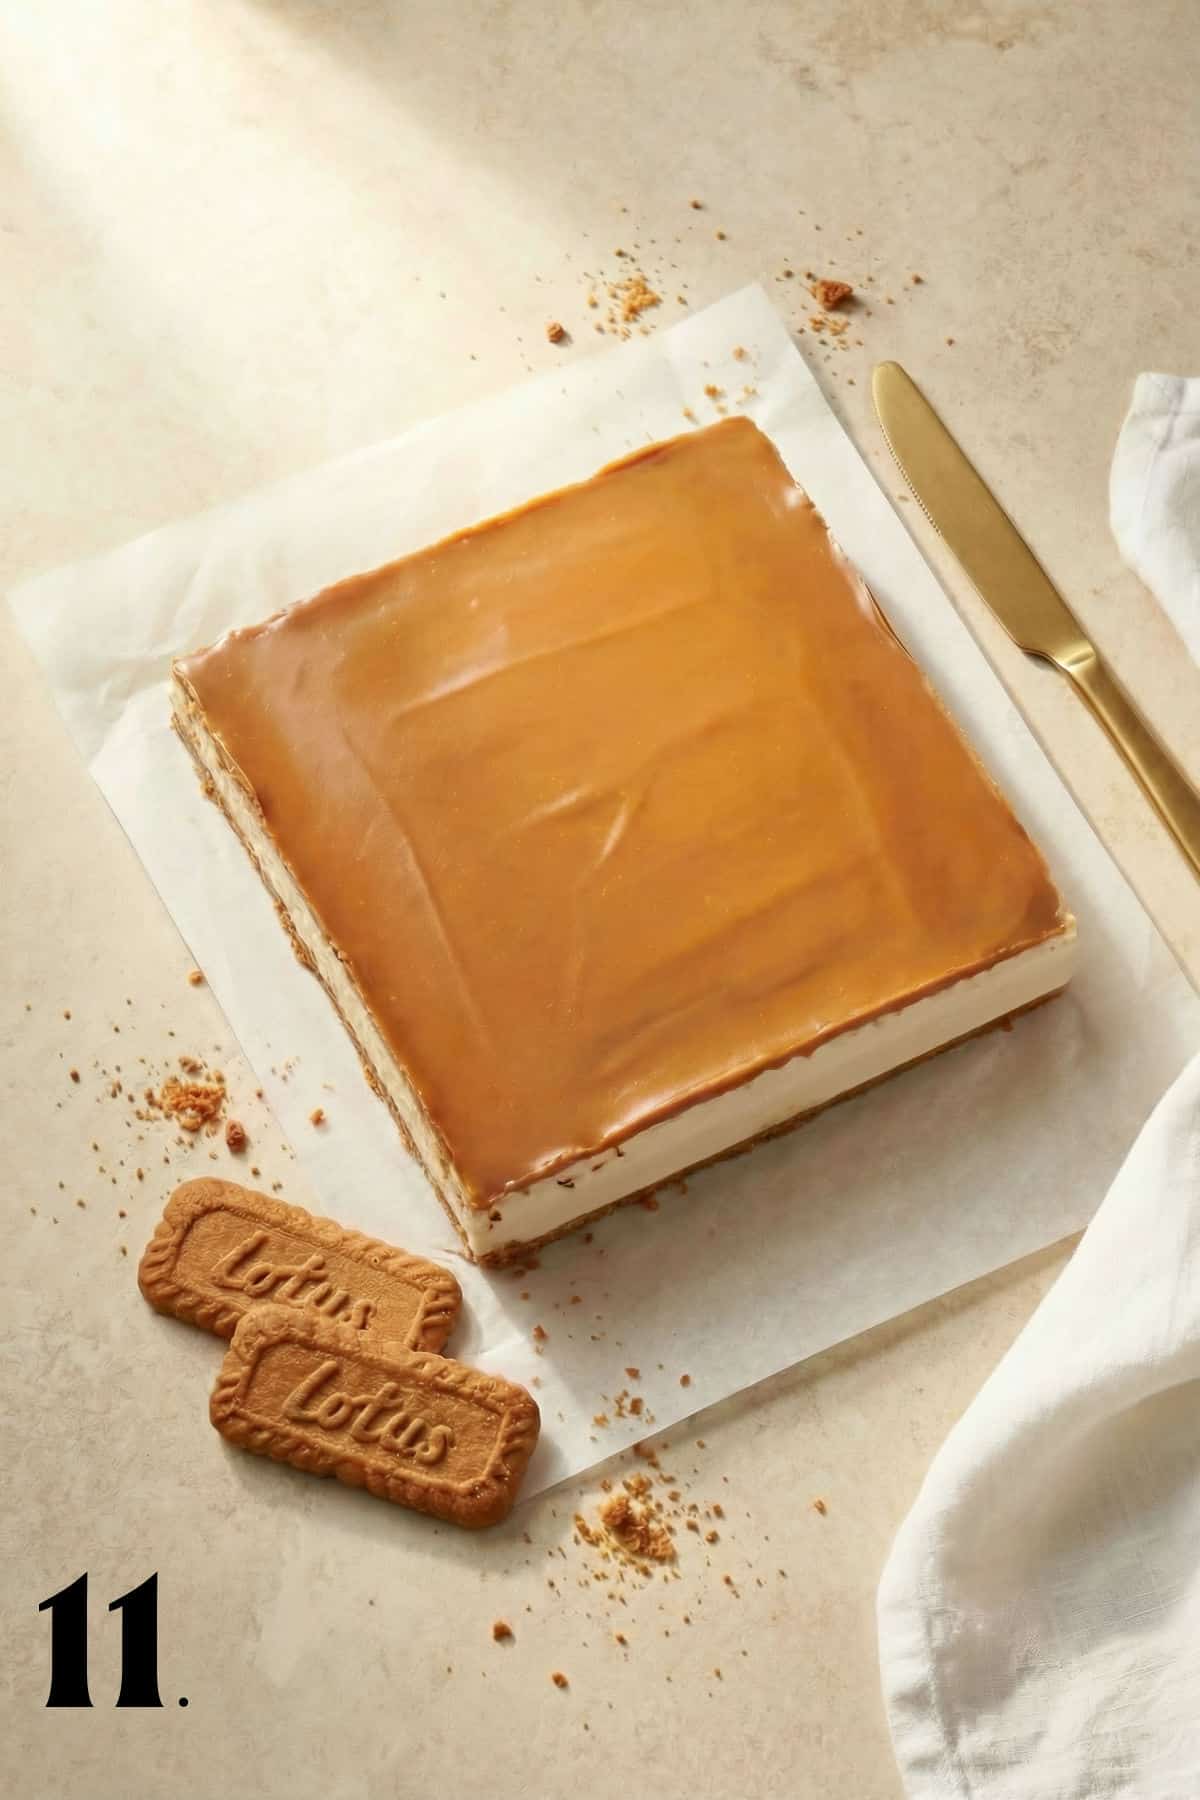
Step 12 – Once set, remove from the pan and cut into bars.
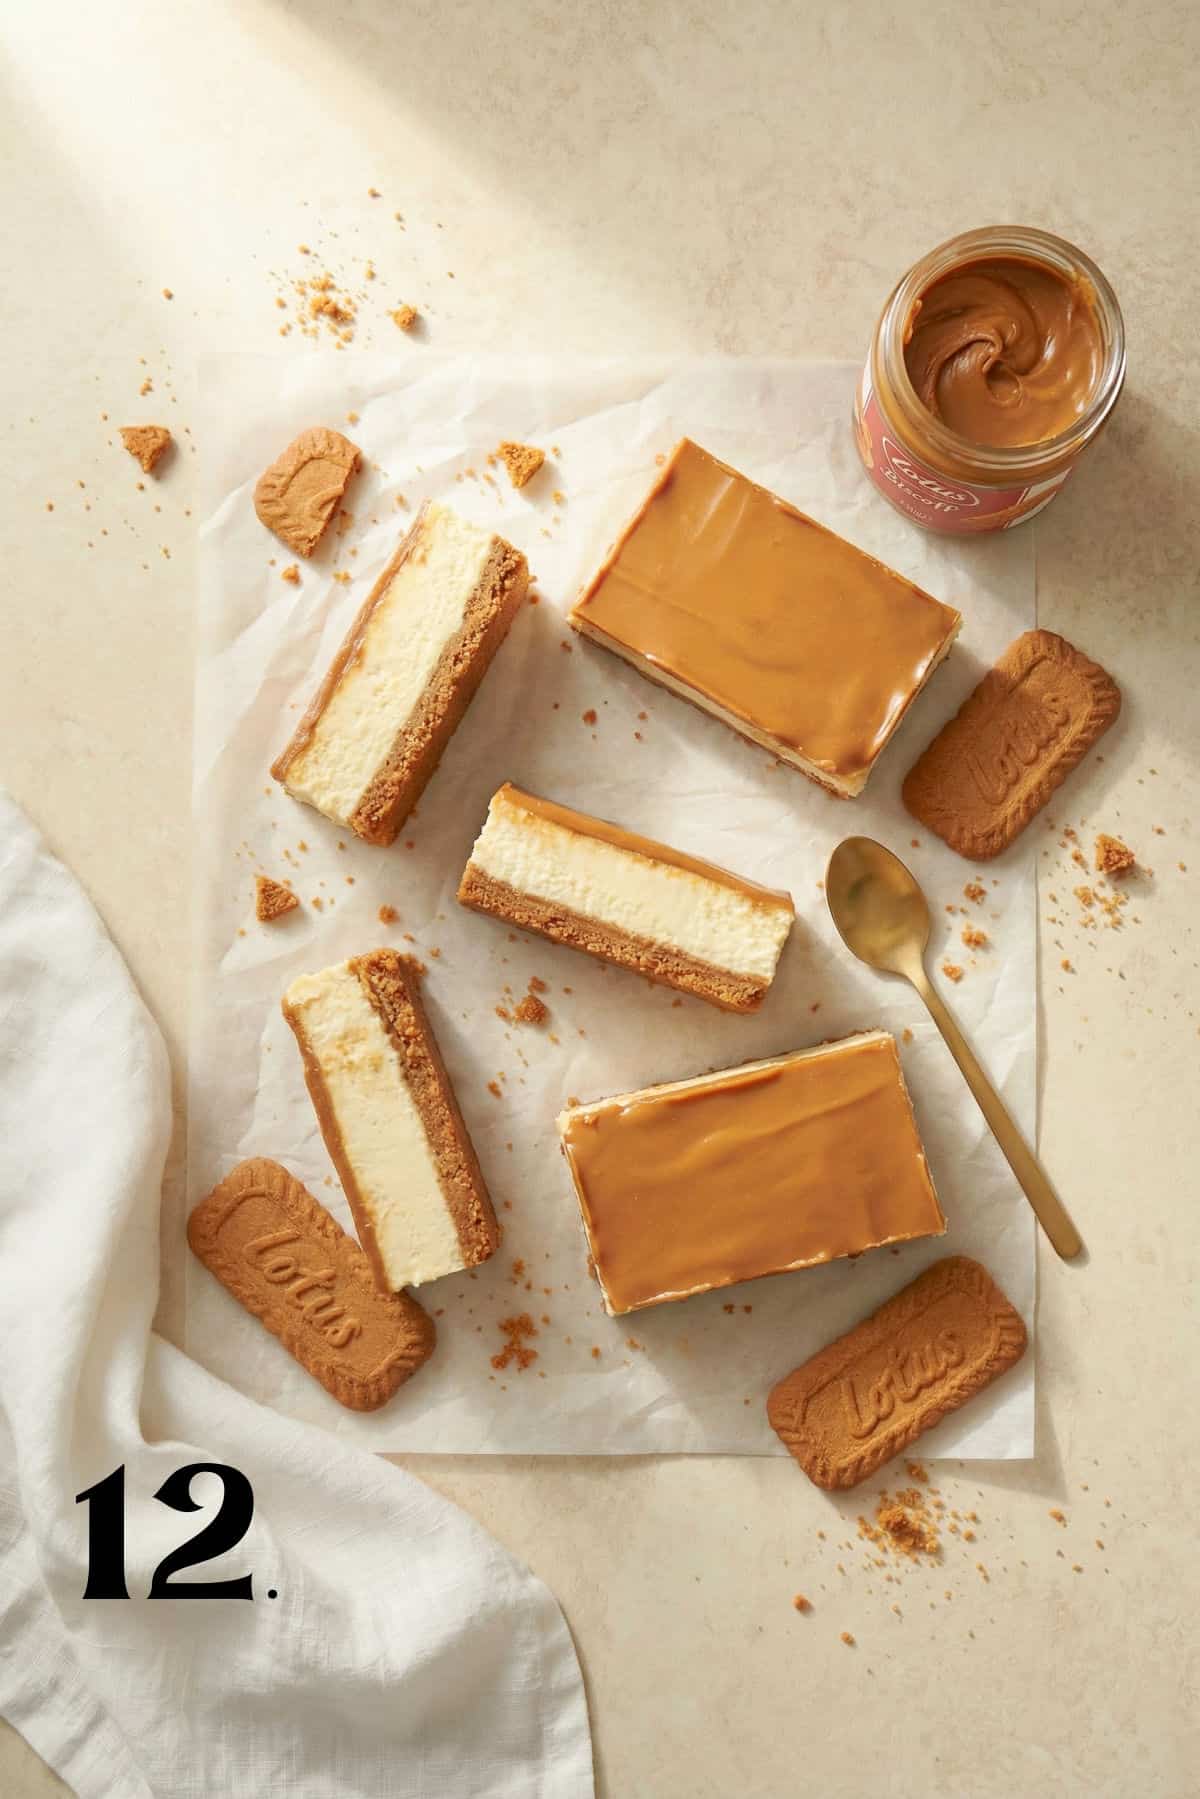
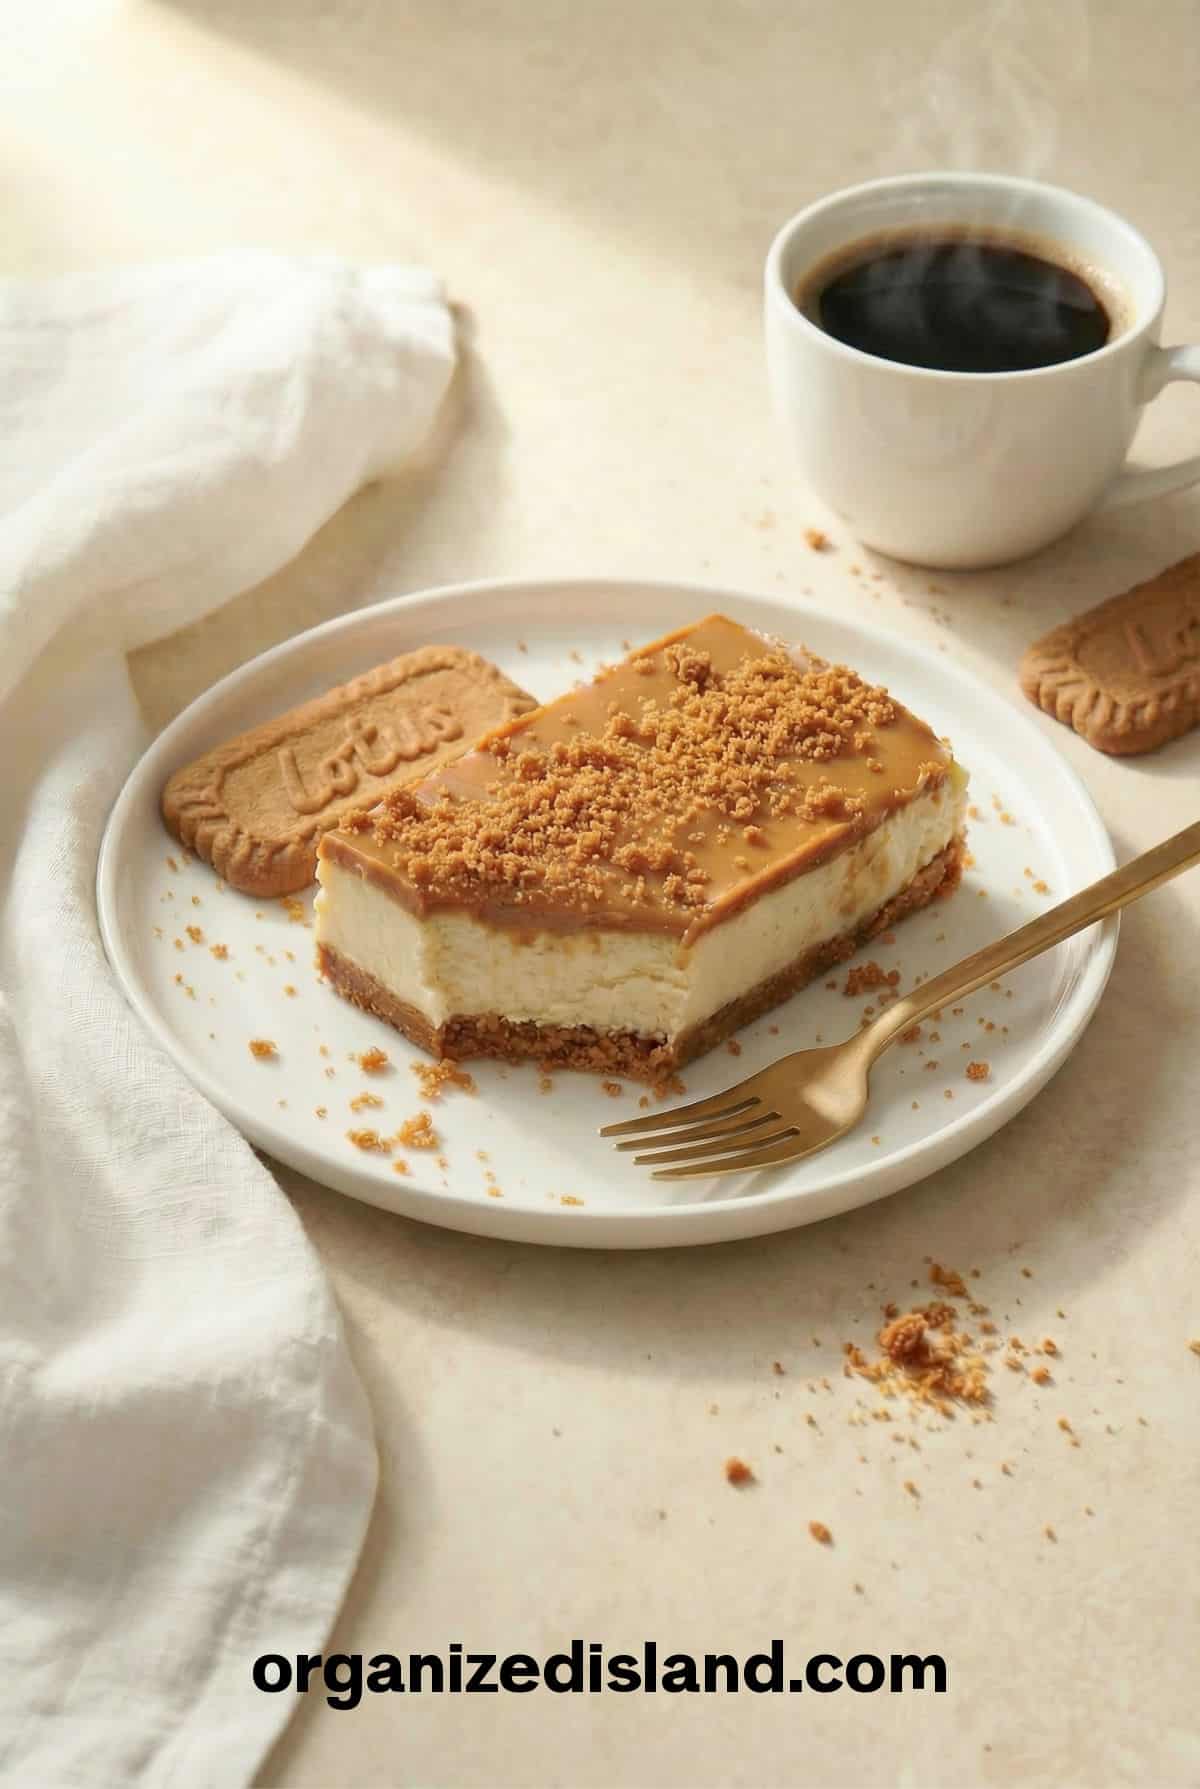
Top with crushed and whole Biscoff cookies,, and serve
Time Saving Tips ⏰
- Pull your cream cheese out of the fridge ahead of time and let it come to room temperature. Cold cream cheese will not mix smoothly and you will end up with lumps in your filling.
- Press the crust down firmly using the bottom of a flat measuring cup. A tight, compact crust holds together better when you slice the bars.
- Make these the night before you plan to serve them. Overnight chilling gives you the cleanest slices and the best texture. I do this for my No-Bake Oreo Cheesecake too, and it makes such a difference.
- Use a sharp knife dipped in hot water and wiped dry between each cut for the cleanest bar slices.
- Line your pan with parchment paper with some overhang on the sides. This makes lifting the whole slab out of the pan so much easier before slicing.
- Store leftovers in an airtight container in the refrigerator for up to 4 days.
How to Serve Biscoff Cheesecake Bars
These bars are wonderful all on their own, but here are a few of my favorite ways to serve them.
- Serve with a dollop of fresh whipped cream on each bar for a little extra something special.
- Add a drizzle of extra melted Biscoff spread right before serving for a stunning presentation.
How to Store Biscoff Cheesecake Bars
Store bars covered or in an airtight container in the refrigerator for up to 4 days.
You can also freeze these bars for up to 2 months. I like to slice them first and arrange them in a single layer on a parchment-lined baking sheet. Once they are frozen solid, wrap each bar in plastic wrap and transfer to a freezer-safe bag. Date the bag and store. Allow bars to thaw completely in the refrigerator before serving.
FAQs
Can I make these in a 9×13 pan? Yes! Just double the recipe to fill a 9×13-inch pan. The bars will be a similar thickness and will slice into more servings, which makes them great for larger gatherings.
Why is my cheesecake filling not setting up? The most common reason is that the bars did not chill long enough. Give them a full 5 to 6 hours in the refrigerator, or ideally overnight. Also make sure your cream cheese was fully softened before mixing.
Can I use crunchy Biscoff spread instead of smooth? Yes, you can! It will add a little extra texture to the filling and the topping, which is a fun twist.
Where can I find Biscoff spread? Most major grocery stores carry it near the peanut butter and nut butters. You can also find it online. Look for the Lotus brand red label.
Do I have to use an 8×8 pan? An 8×8 pan gives you nice thick bars. If you use a larger pan the bars will be thinner, so just keep that in mind when it comes to slicing and serving.
More No-Bake Desserts You’ll Love
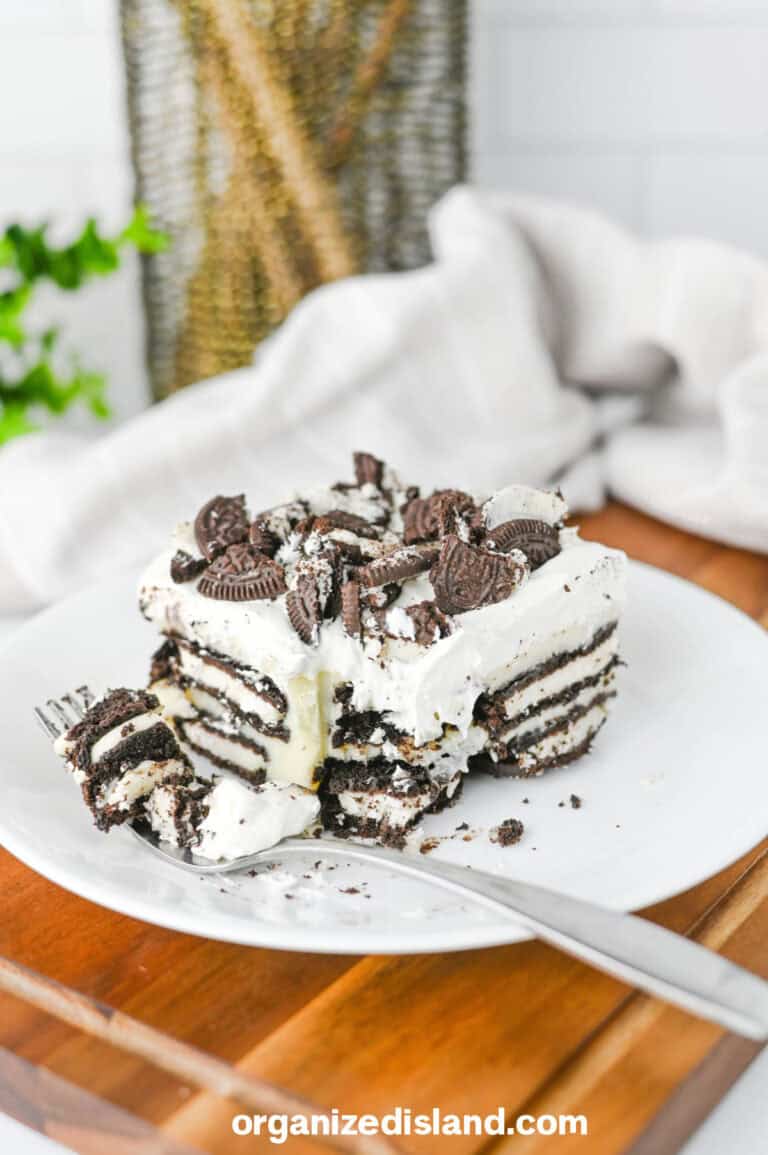
No-Bake Oreo Cheesecake Strawberry Crunch Cheesecake No-Bake Oreo Balls Banana Pudding Cheesecake

Biscoff Cheesecake Bars
Ingredients
- Base:
- 1 1/2 cups Lotus Biscoff cookie crumbs about 20–22 cookies
- 3 1/2 tablespoons unsalted butter melted
- Cheesecake Filling:
- 2 cups cream cheese 16 oz / 2 blocks, softened
- 3/4 cup powdered sugar
- 2/3 cup heavy cream
- 1/4 cup + 1 tablespoon Biscoff spread
- Biscoff Layer:
- 1/2 cup Biscoff spread melted
- Crushed Biscoff cookies for topping
- Whole Biscoff cookies for garnish
Instructions
- Line an 8×8-inch square pan with parchment paper.
- Crush Lotus Biscoff cookies into fine crumbs using a food processor or rolling pin.
- Mix crumbs with melted butter until combined.
- Press mixture firmly into the pan to form the base. Refrigerate.
- Beat cream cheese until smooth.
- Add powdered sugar and Biscoff spread, mix until smooth.
- Add heavy cream and mix until fully combined.
- Pour filling over crust and smooth the top.
- Melt Biscoff spread in 20-second intervals until pourable.
- Pour over cheesecake layer.
- Refrigerate 5–6 hours or overnight until set.
- Remove, top with crushed cookies, slice into bars, and serve.
- Storage:
- Store covered in the refrigerator for up to 4 days. Freeze for up to 2 months.
Nutrition
If you are not yet subscribing to my CELEBRATE THE SEASON newsletter, you can subscribe here. I share easy recipes for the season that the entire family is sure to love and also a few things that I don’t share here.
This is brilliant! Pinned📌so I can try later.
Visiting today from SSPS
Wow these were so good! Very nice presentation too!