


Easy No Bake Oreo Icebox Cake Layered Dessert
This post may contain affiliate links.
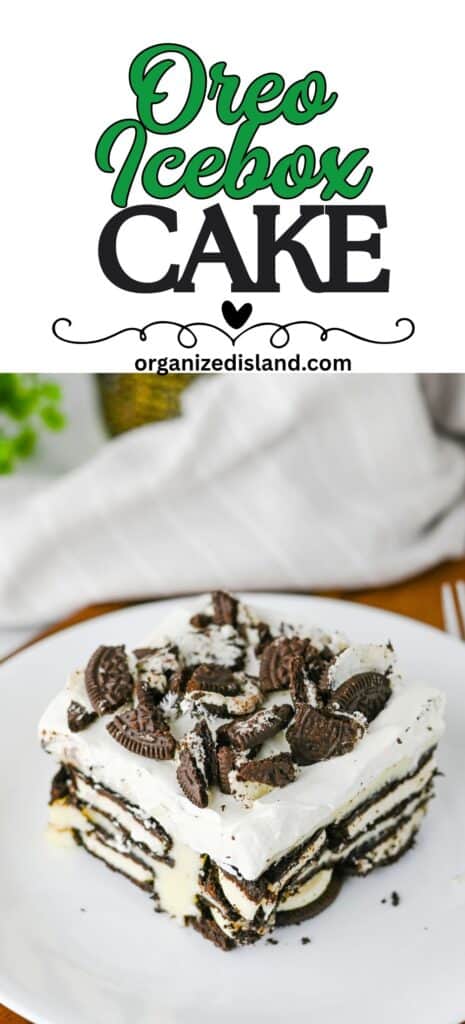
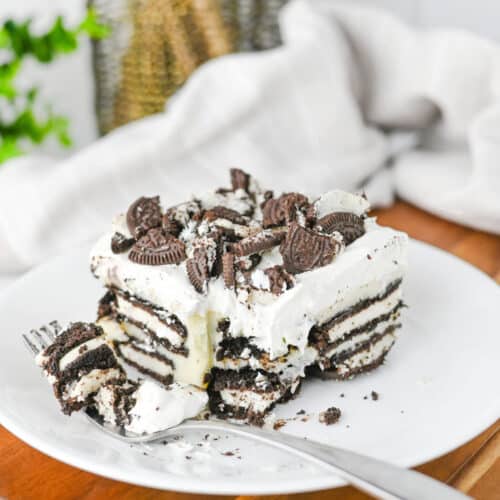
What I love about this Oreo Icebox Cake is that it is simple enough to pull together on a busy weeknight but impressive enough to bring to any potluck or party. It’s an easy no bake recipe that uses a bag of Oreos, creamy pudding, and just a handful of other pantry staples.
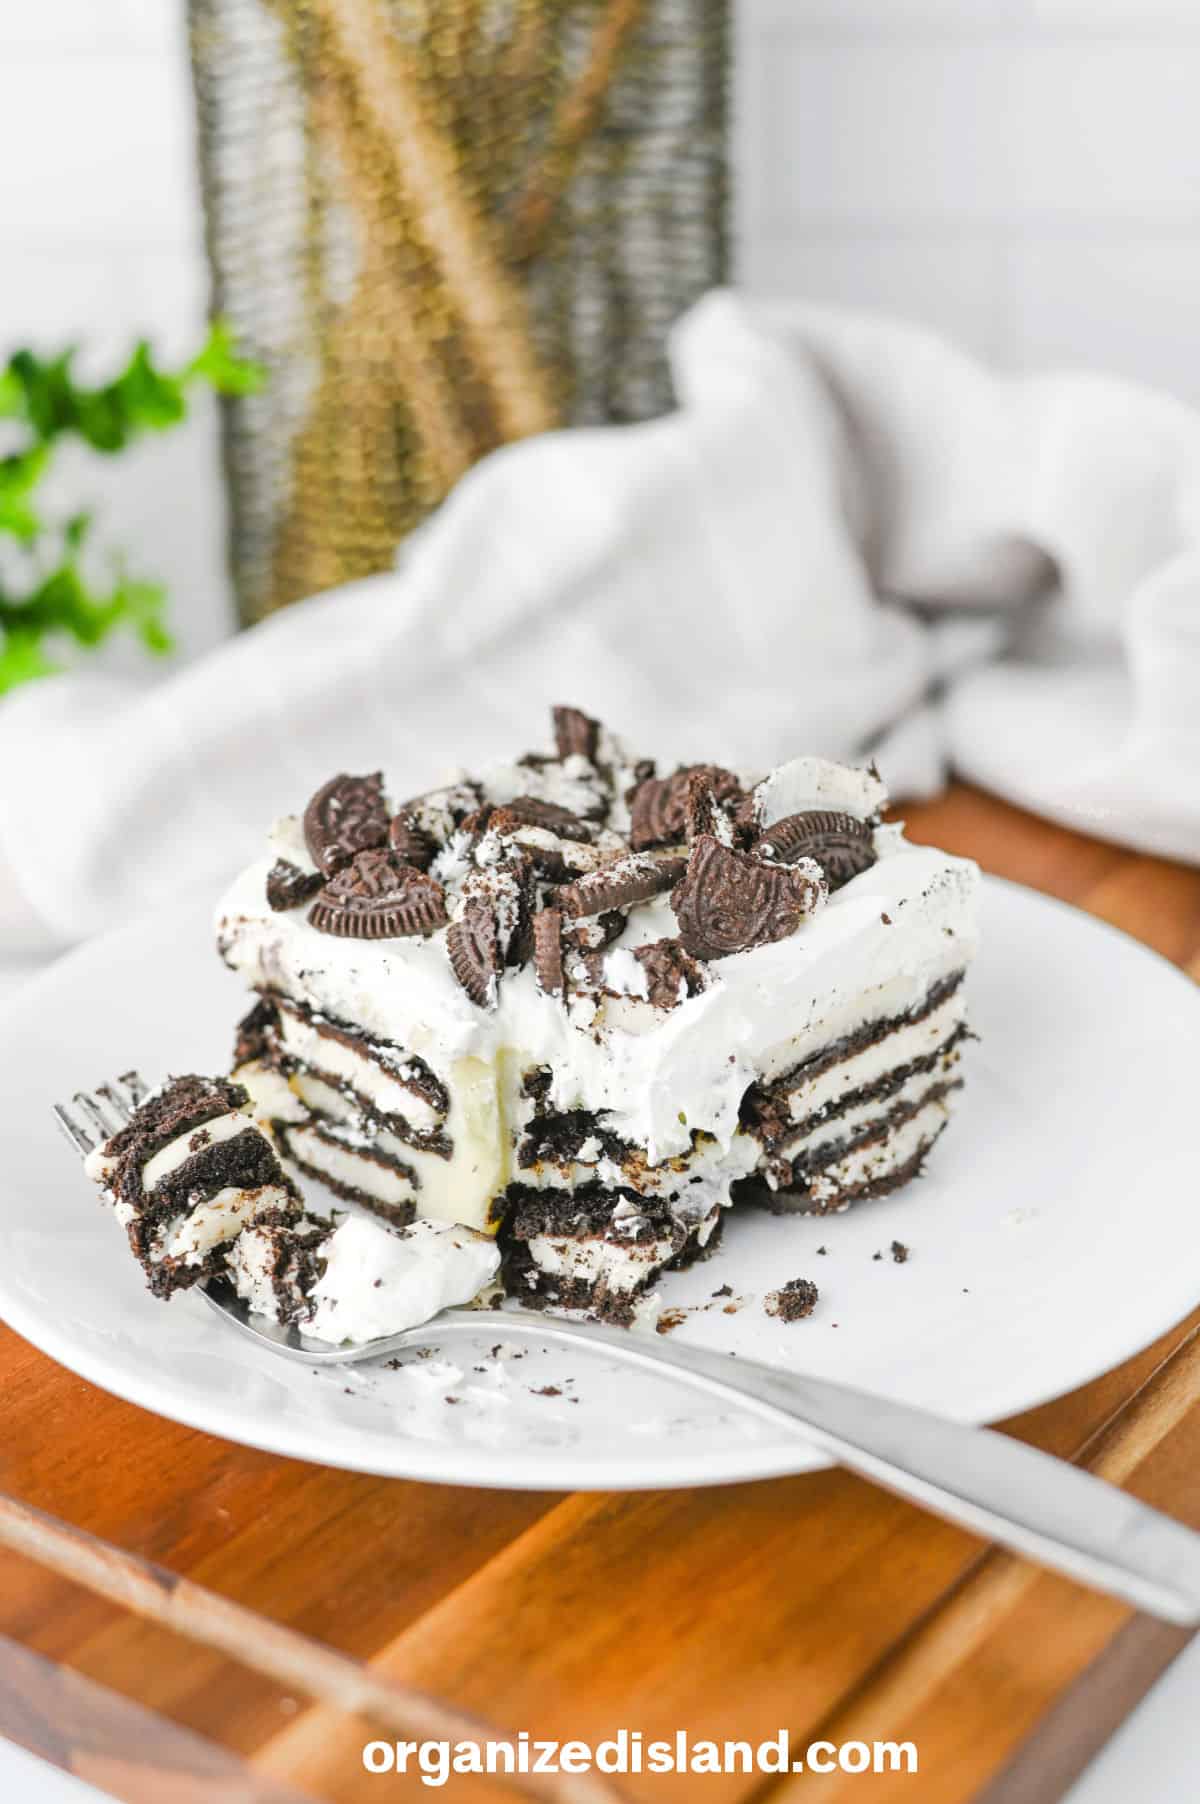
The result is a creamy layered dessert made of cookies and cream that tastes like you spent hours in the kitchen, which you didn’t. I remember learning about this Oreo Cool Whip cake in home economics in high school. I used chocolate pudding but was basically the same.
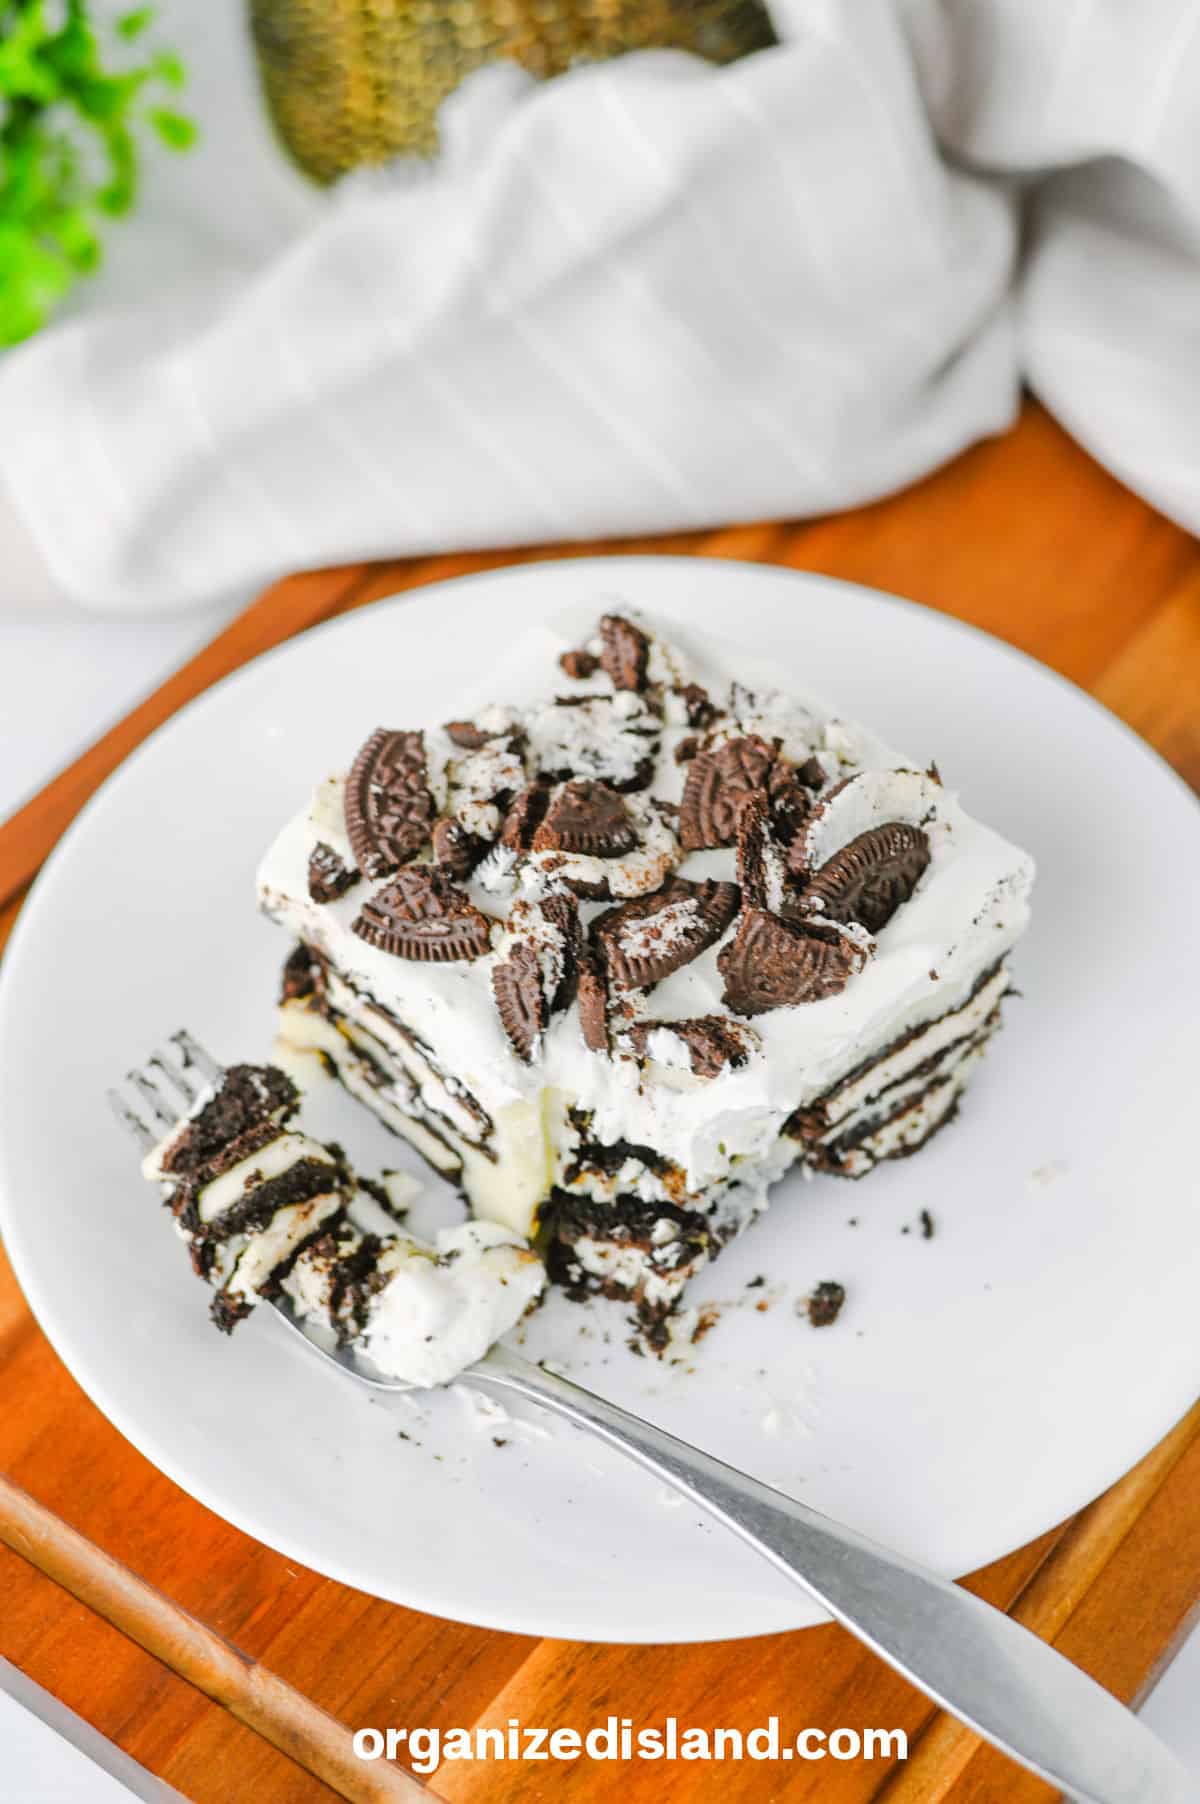
If you’re looking for a delicious and effortless dessert that the whole family will love, you will love this recipe, along with my Chocolate Eclair cake, my Lemon Icebox cake and my lush .
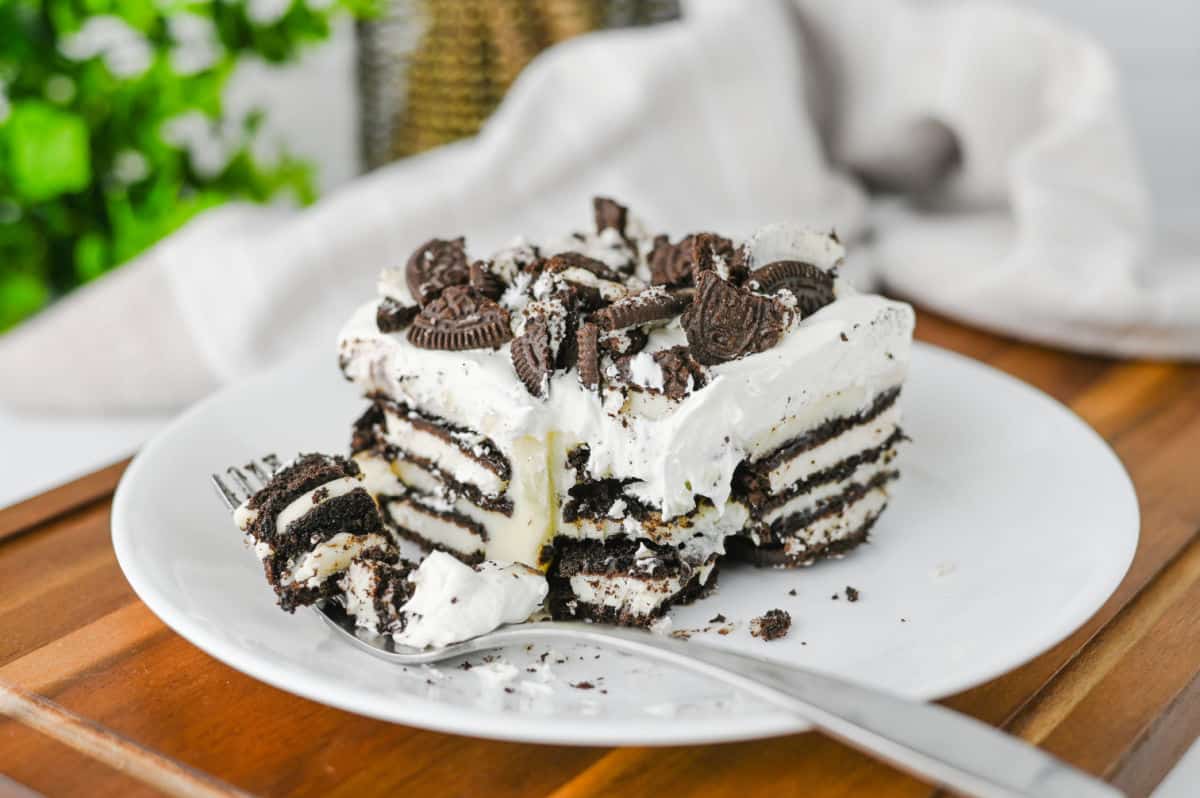
Recipe Highlights
Ingredients
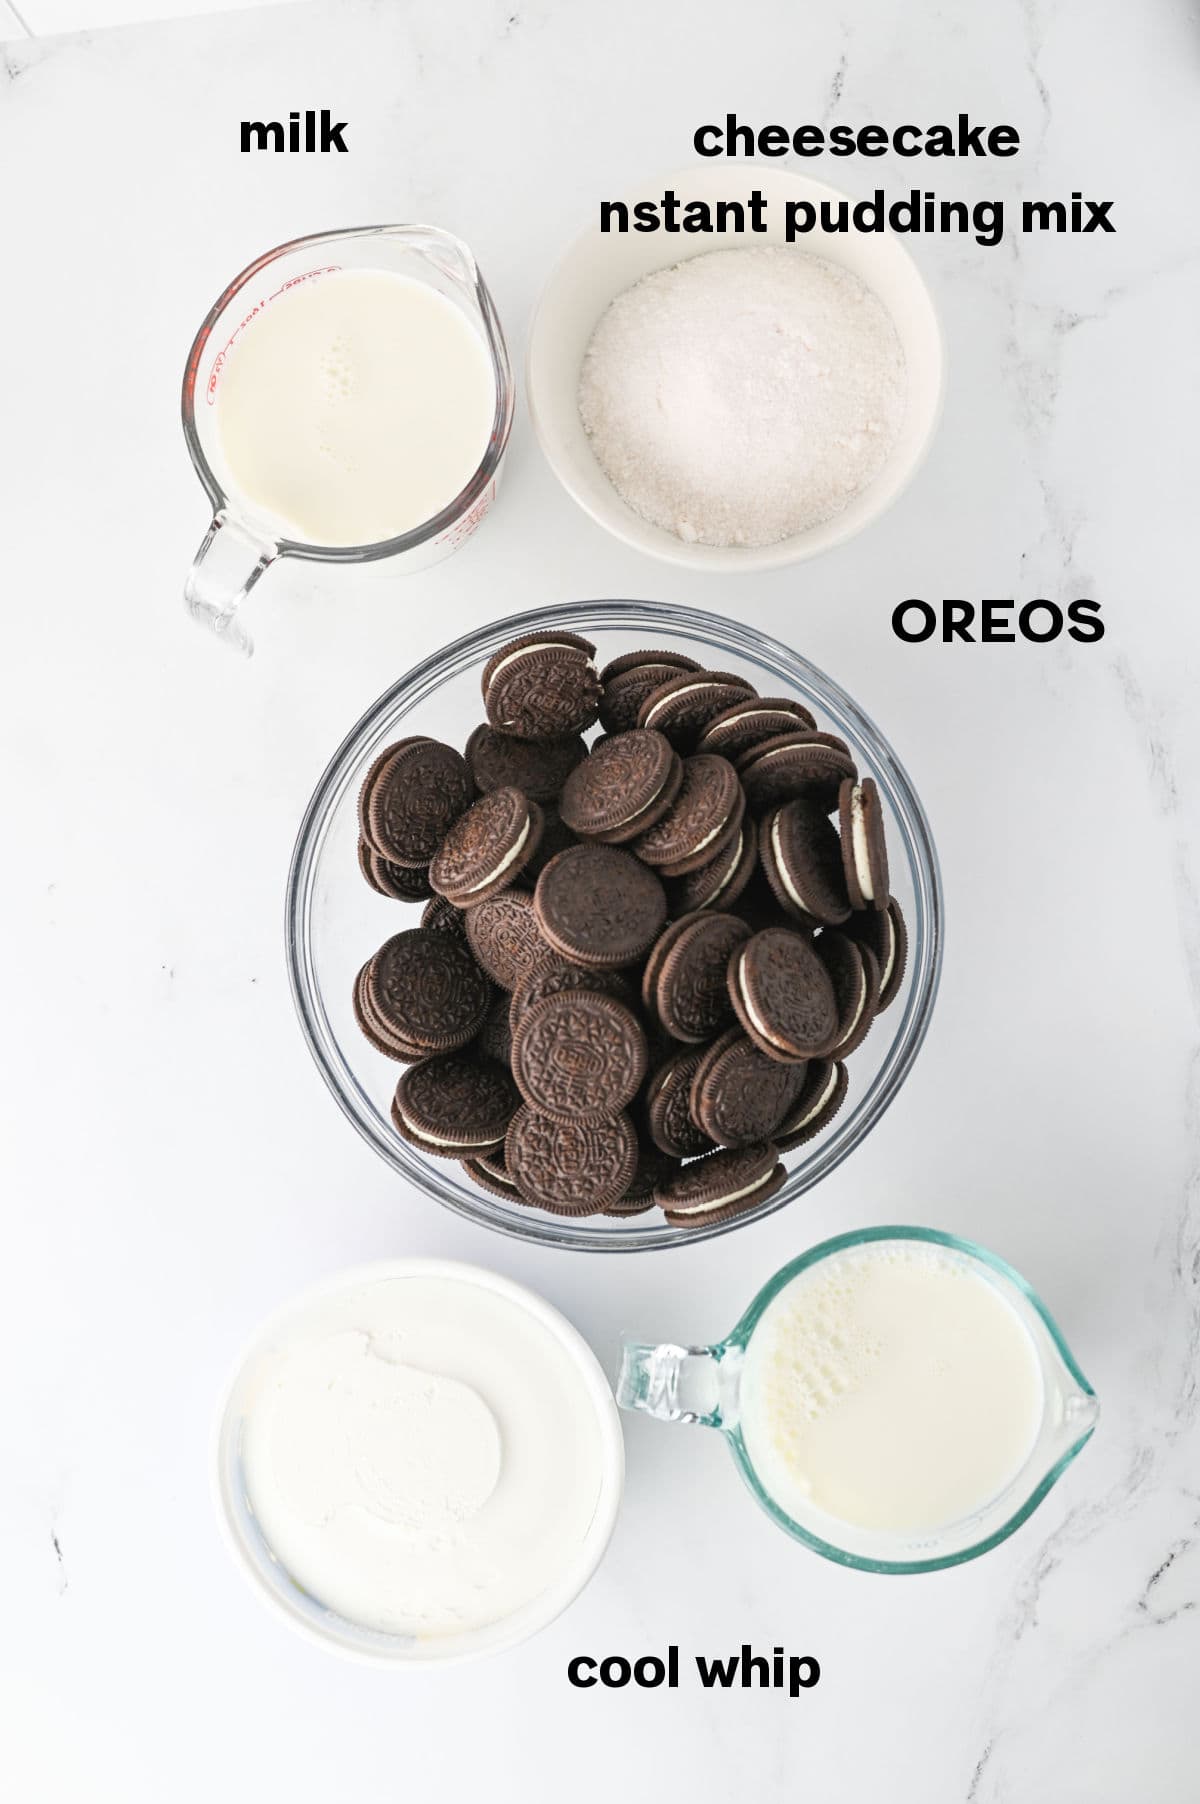
- Oreos – I used double stuffed but you can use regular.
- Cheesecake Instant Pudding – You could also use vanilla or chocolate
- Milk – 2% or whole is fine
- Whipped Topping.or homemade whipped cream.
How to Make Oreo Icebox Cake
Step 1 – Prep Your Pan & Layer Oreos
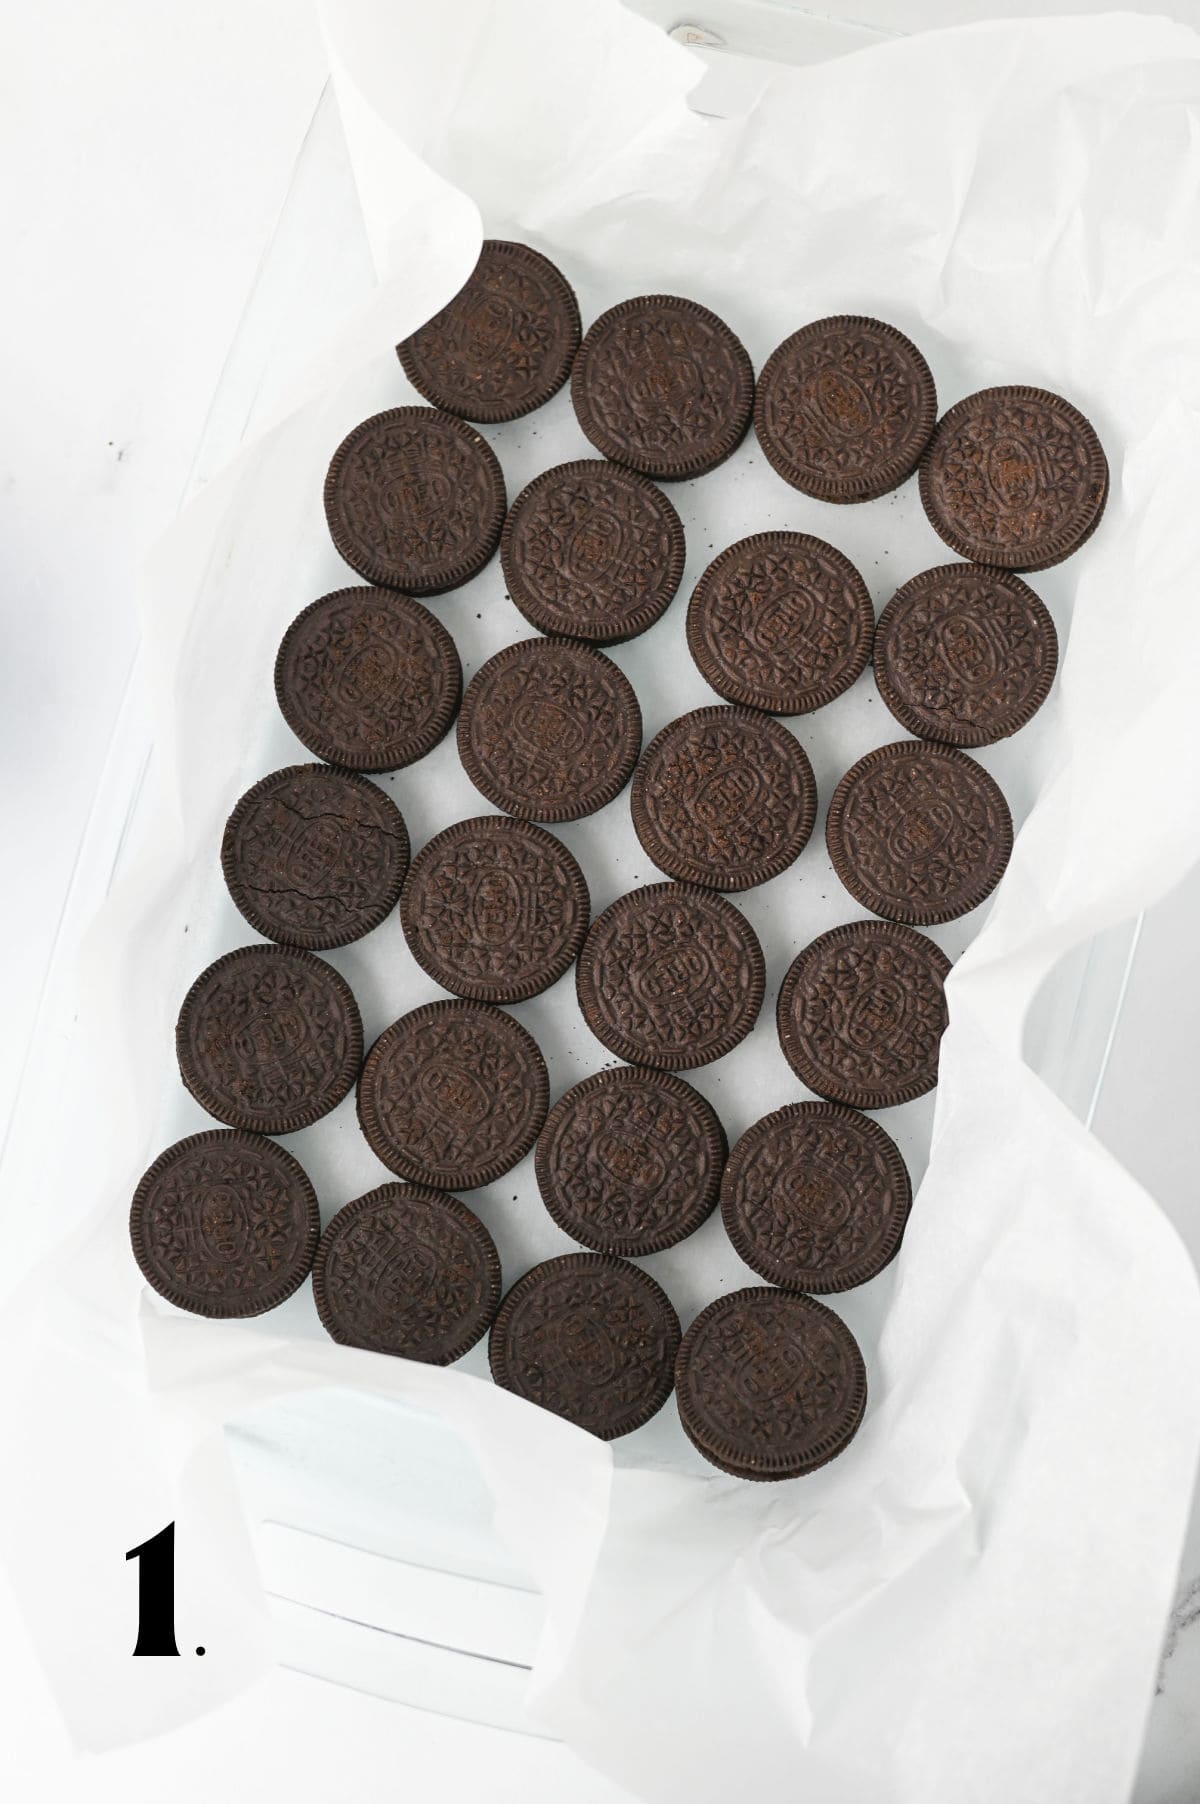
Grab a 9×13 baking dish and set it on your counter. Line with parchment paper. Arrange a single layer of Oreos across the bottom of your pan. You’ll need about 24 cookies for the first layer. Break a few in half to fill in the gaps along the edges if needed.
Step 2 – Prepare the Pudding (2 minutes)
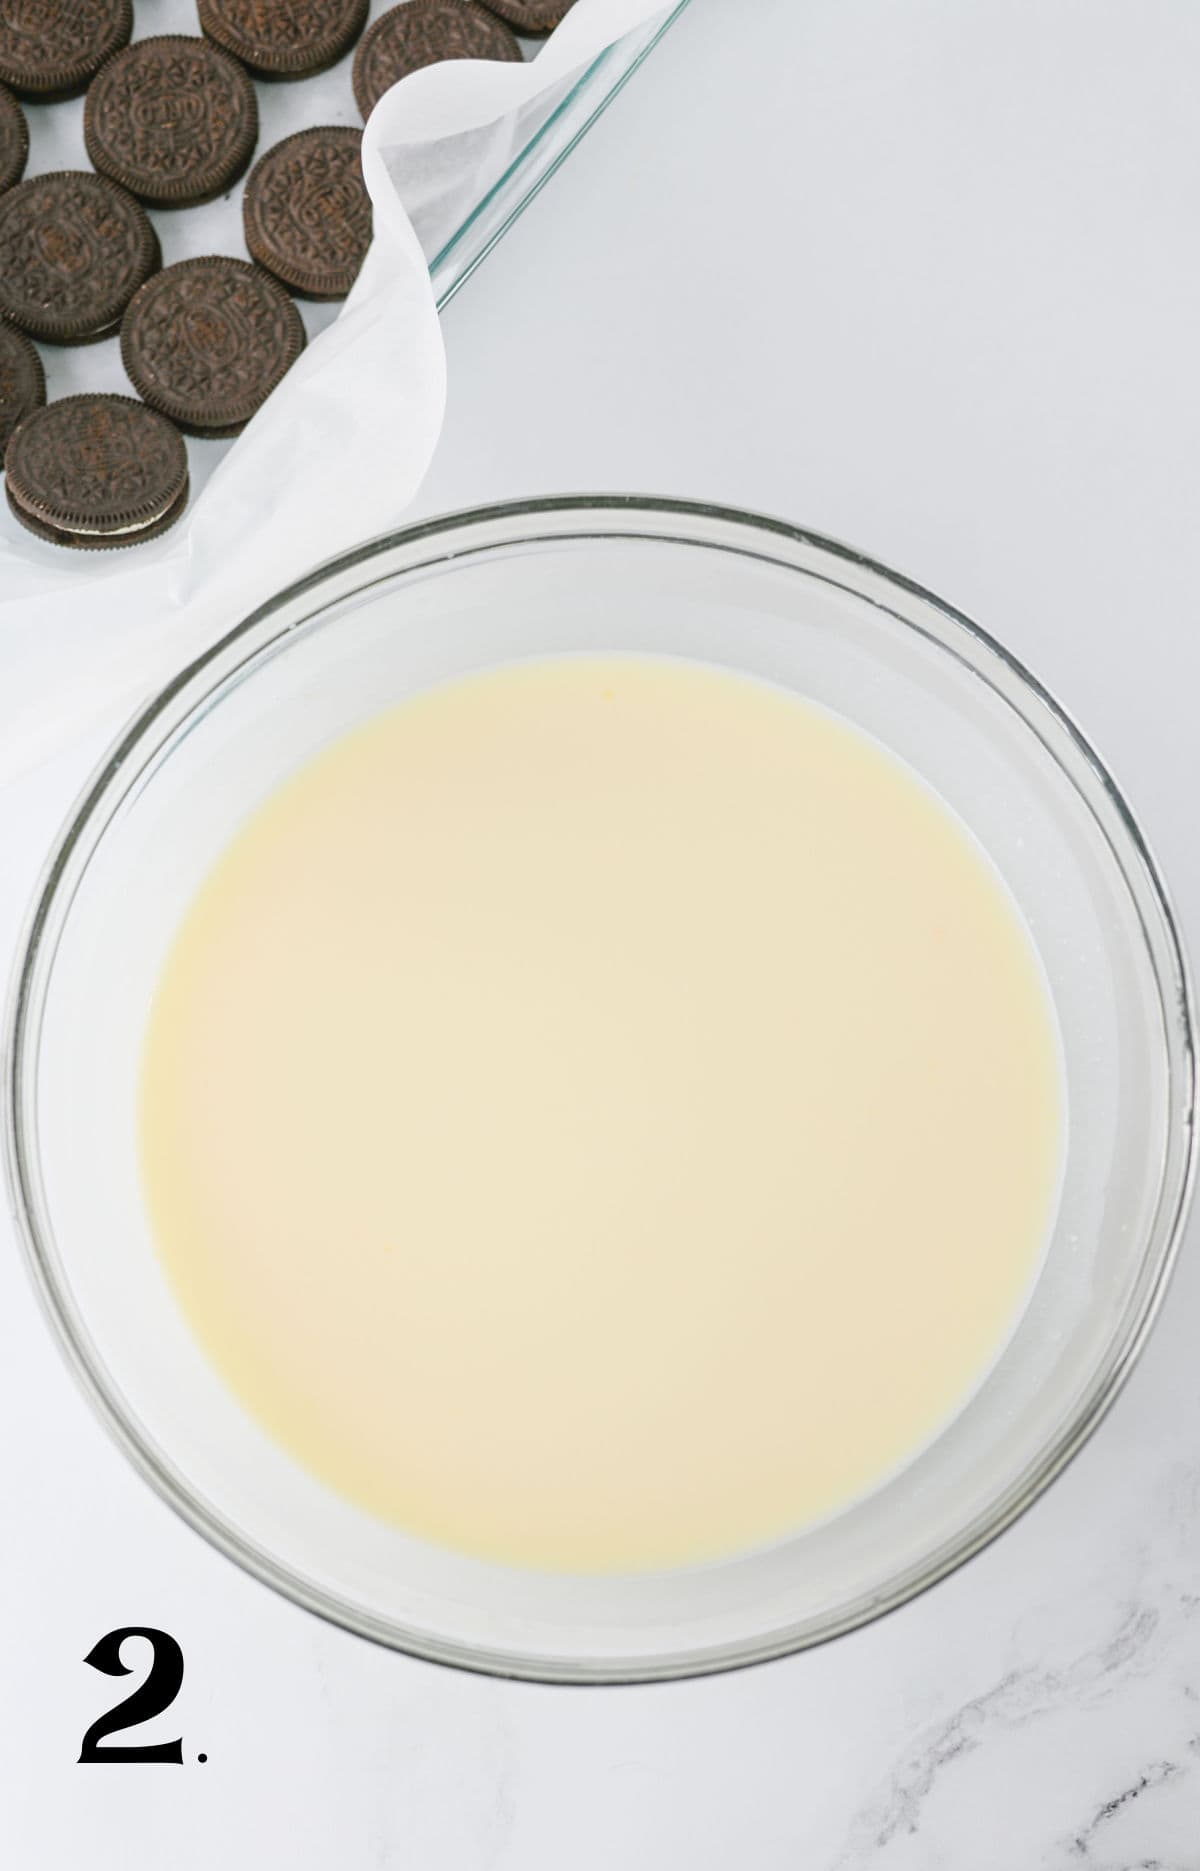
Prepare the pudding with the milk.
Step 3 – Spread Your First Layer of Pudding (2 minutes)
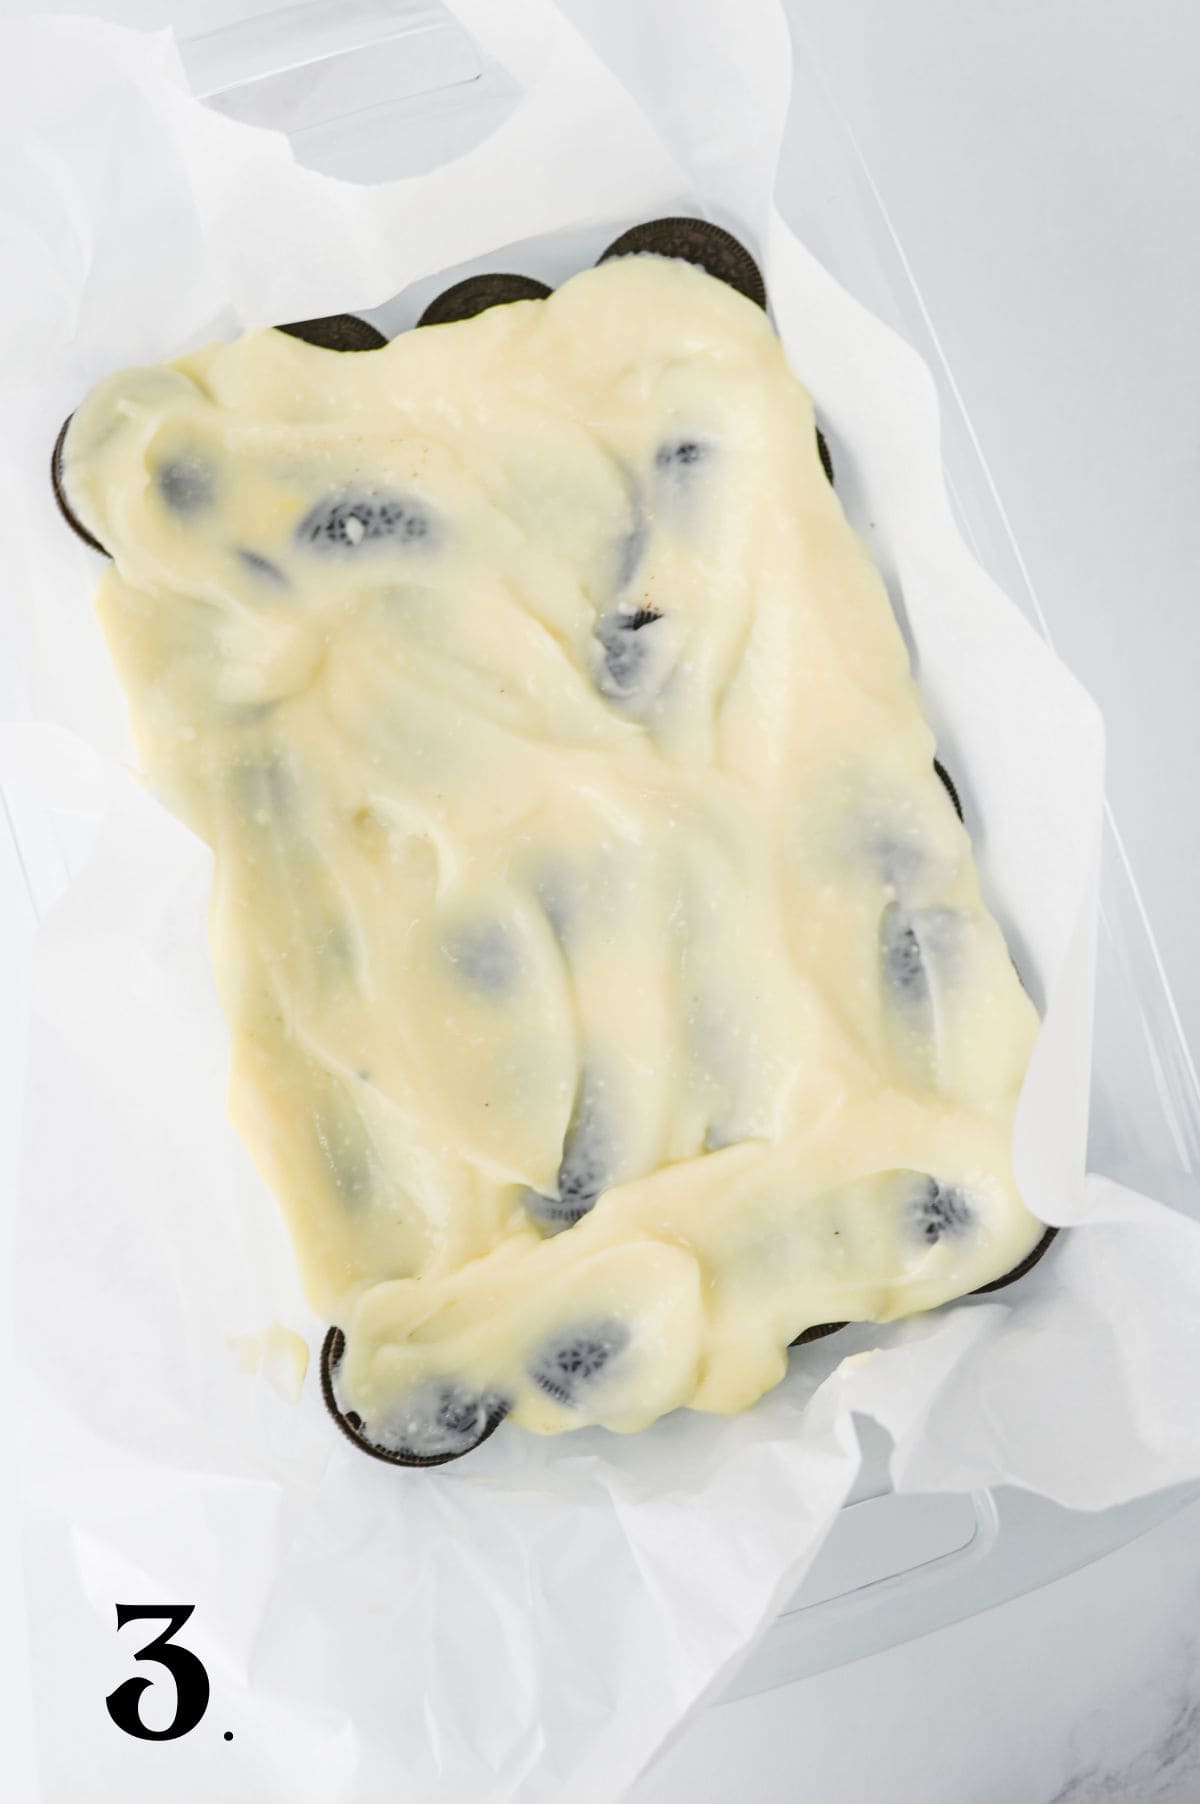
Layer 1/2 of the pudding mixture over the oreos.
Step 4 – Repeat the Layers (3 minutes)
Add a second layer of Oreos right on top of the pudding.
Save The Recipe!
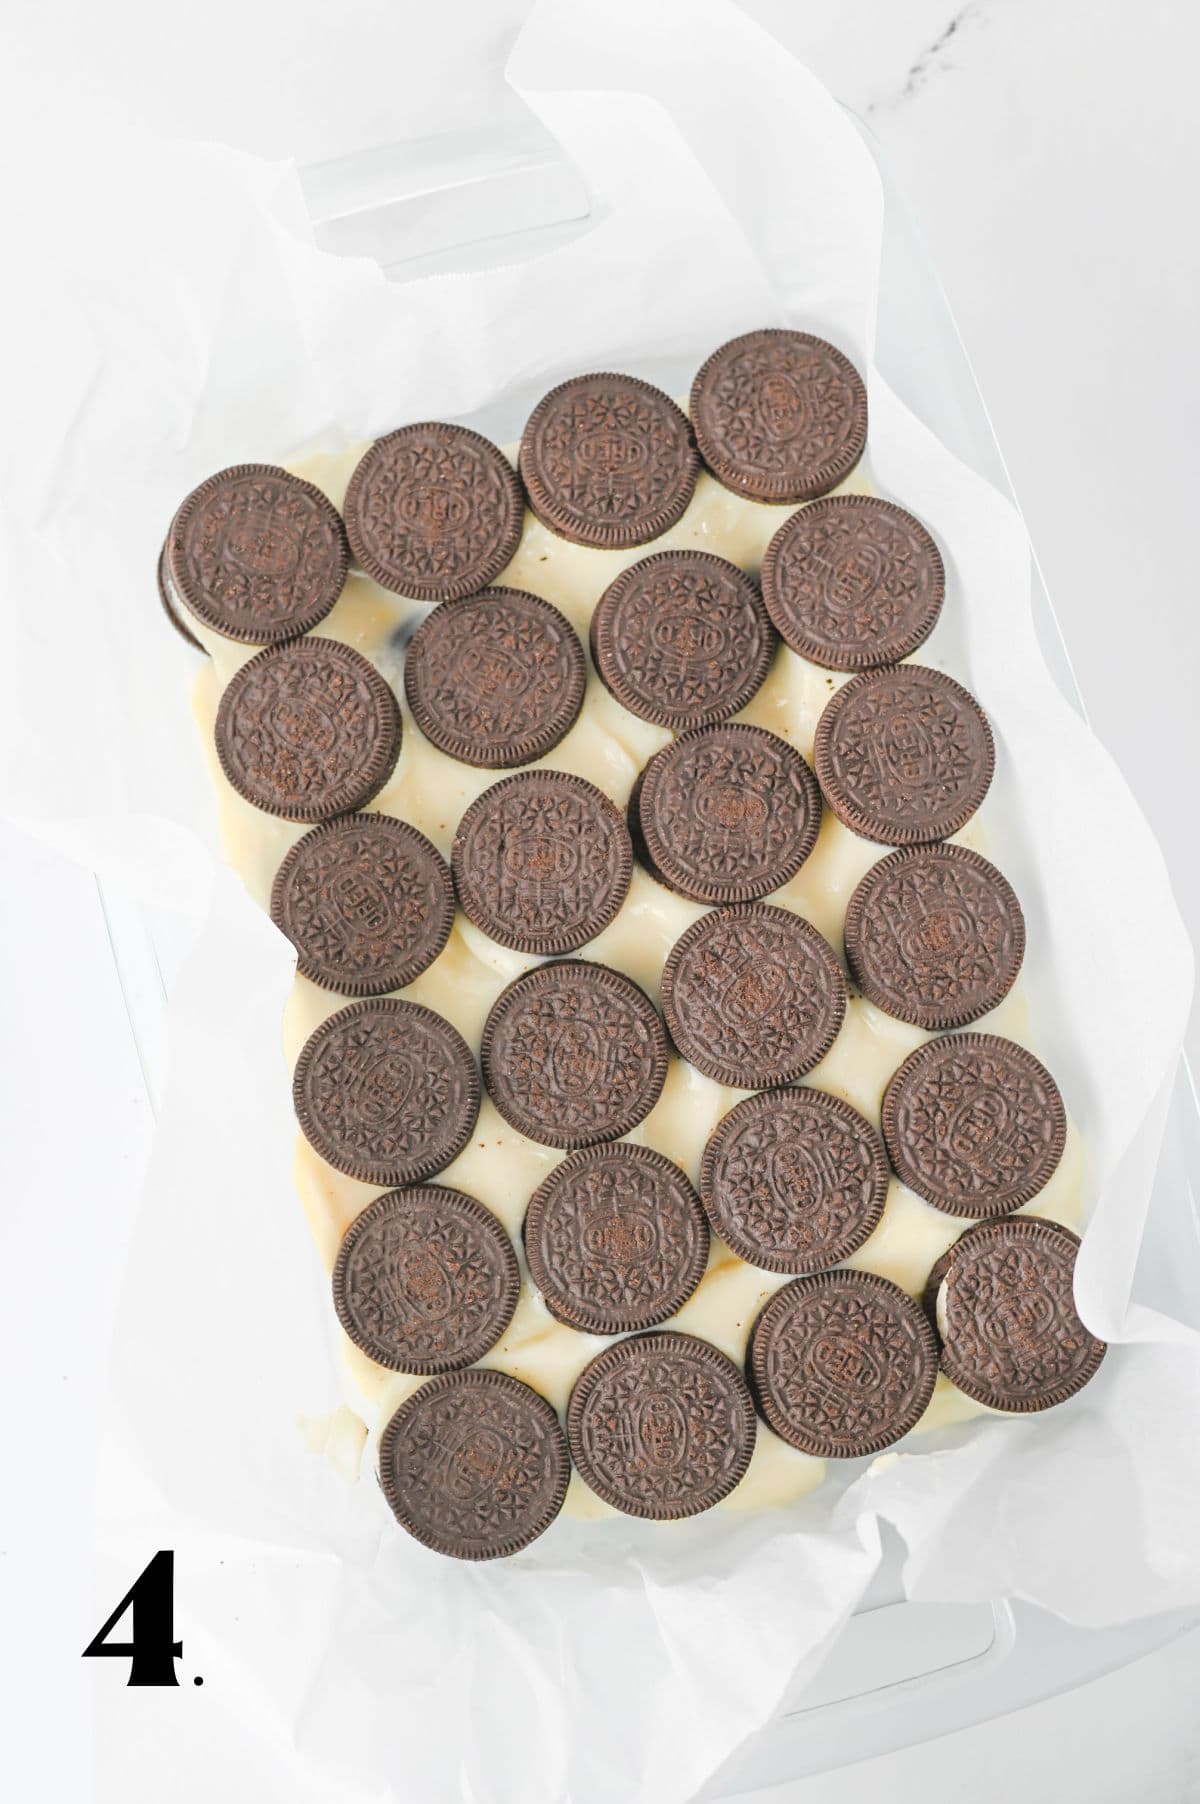
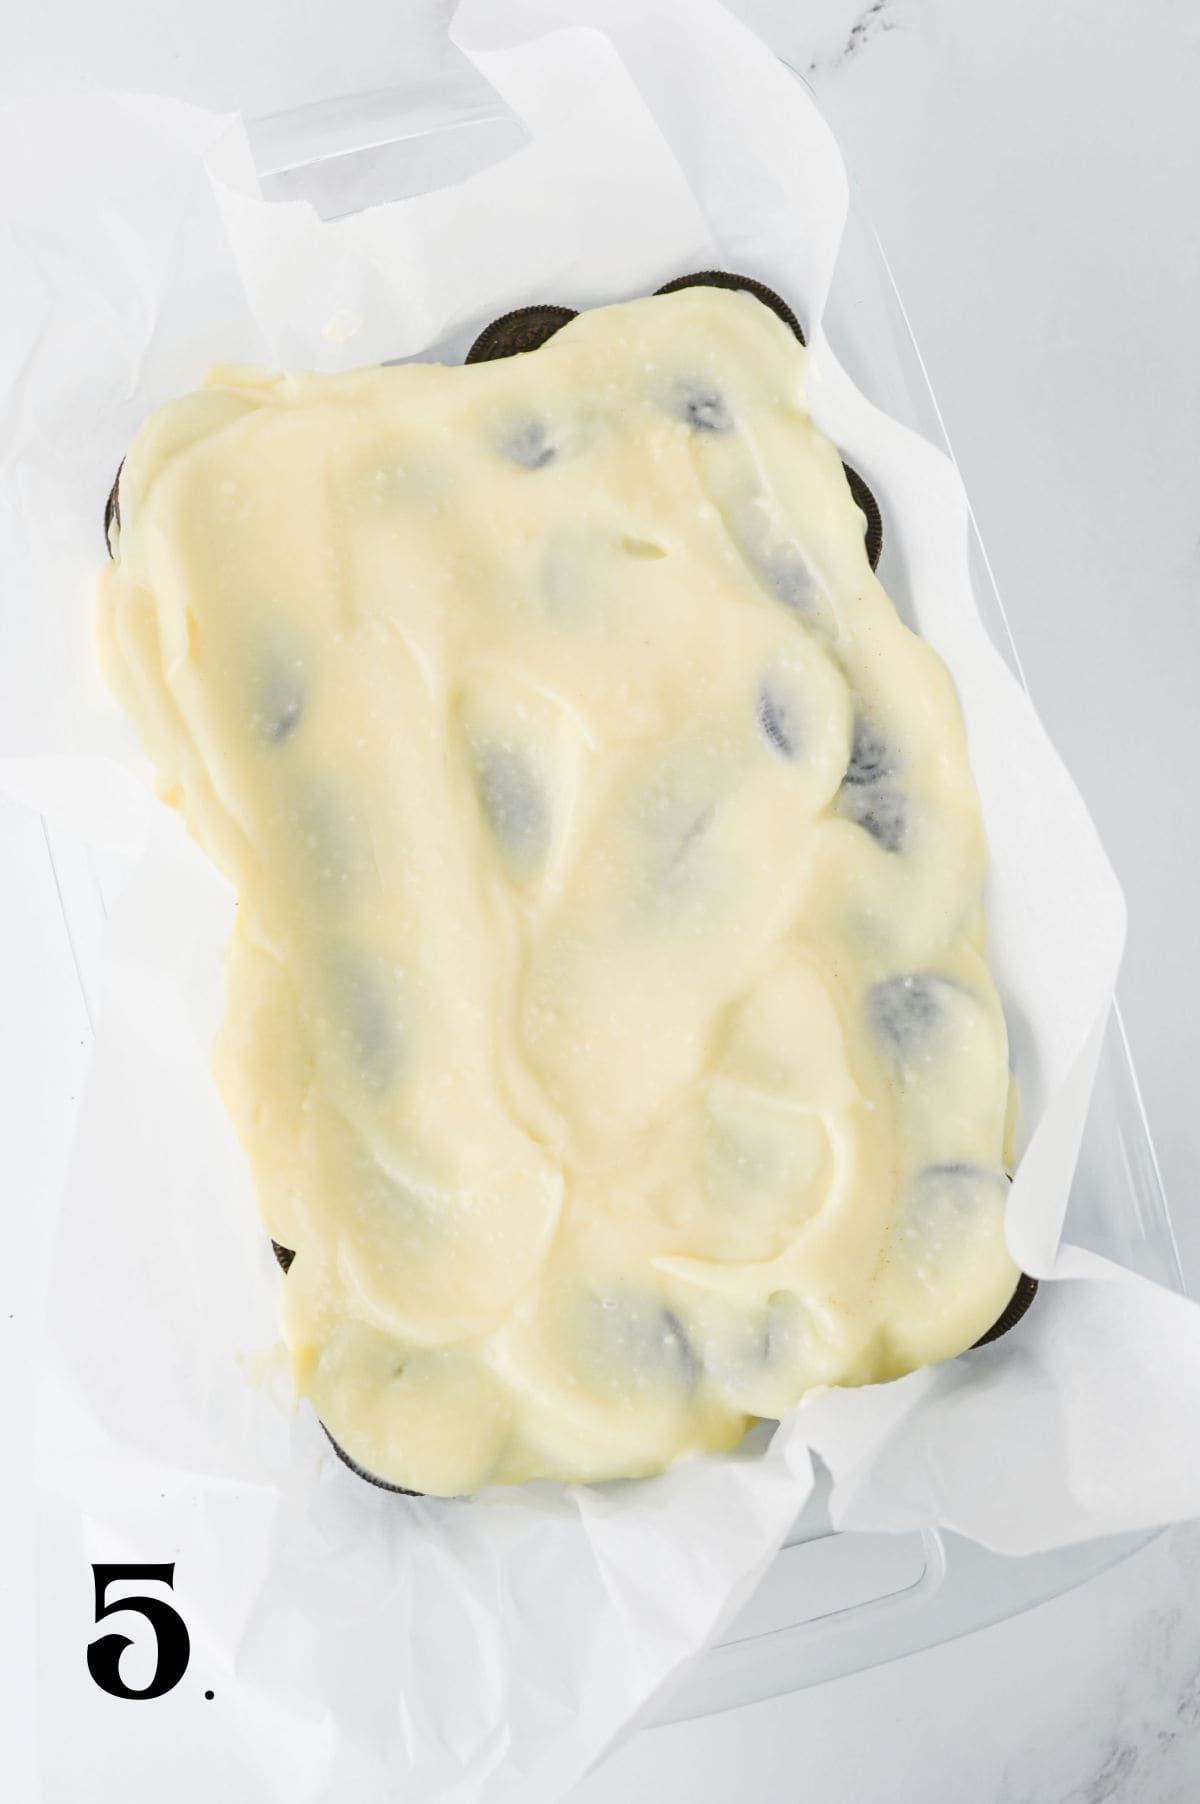
Step 5 – Add the 2nd Layer of pudding and Chill
Layer the second 1/2 of the pudding mixture over the Oreos. Cover and chill for 2 – 4 hours.
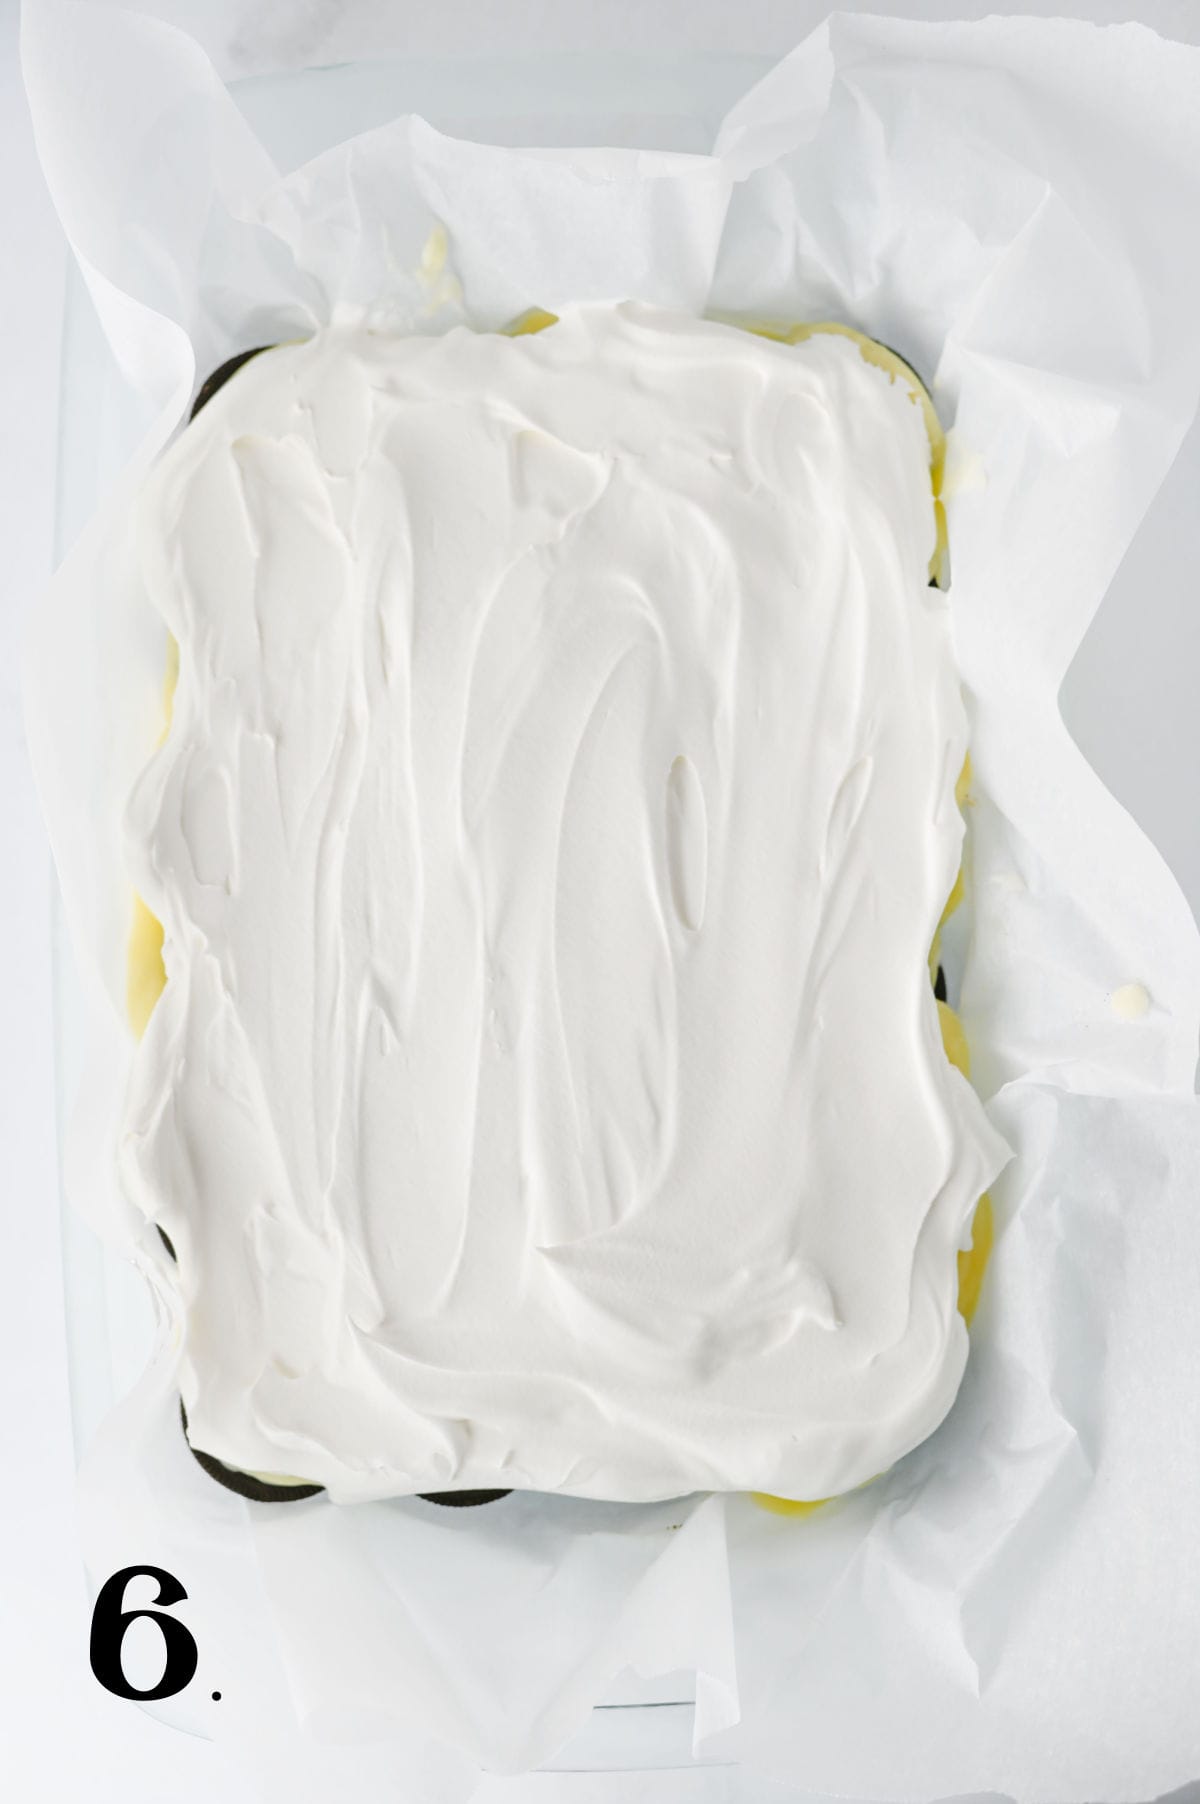
Step 6 – Add the Whipped Topping
Cover the top of the dessert with Whipped topping.
Step 7 – Slice and Serve
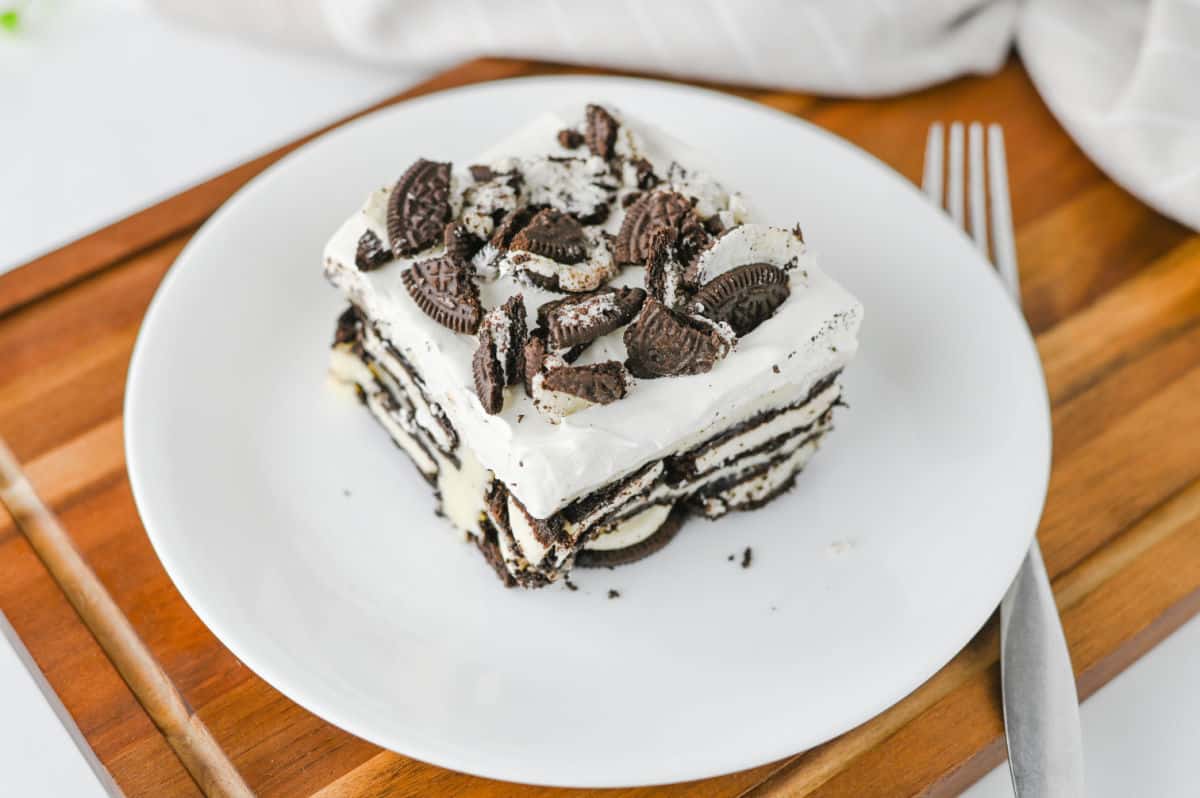
Place about 6–8 Oreos into a zip-lock bag, seal it, and crush them with a rolling pin or the bottom of a cup. Sprinkle the crumbles generously over the top of the cake. Cut into 12 squares and serve straight from the pan.
Ingredient Swaps
- Cool Whip can be replaced with Homemade whipped cream. If you have a few extra minutes, homemade whipped cream made with 2 cups heavy cream, 1/2 cup powdered sugar, and 1/2 teaspoon vanilla gives you a richer, creamier result.
- Regular Oreos can be replaced with Golden Oreos for a fun vanilla version that’s a fun twist.
- Chocolate Pudding can be used in place of Cheesecake pudding for added chocolate flavor.
- Regular Oreos can be replaced with Gluten-free Oreos — an easy swap to make this gluten-free friendly.
Time Saving Tips
- Thaw your Cool Whip ahead of time. <ove it from the freezer to the refrigerator the night before, or set it on the counter 30 minutes before you start.
- Crush Oreos in the bag – seal a handful of Oreos in a zip-lock and crush with a rolling pin or cup. No extra bowl, no mess, done in 20 seconds.
- Make it after dinner for the next day. The 8-hour chill time works for you. Assemble at night, serve tomorrow.
- Keep the ingredients stocked – Oreos and Cool Whip have a long shelf life. With these two things on hand, you’re always 10 minutes away from dessert.
Serving Suggestion
Serve with crushed Oreo cookies. You can even add chocolate shavings or sprinkles, if desired.
Party Tip – For parties, pop each square into a cupcake liner so guests can grab and go — no plates needed.
Optional Serving Suggestions
- Whipped cream from a can – a quick swirl on top right before serving if you want to dress it up for guests.
- Chocolate syrup – add a quick drizzle over each slice before serving makes it look extra special with zero extra effort.
- Fresh strawberries – serve alongside each slice to add a little color and make it feel more like a complete dessert.
Storage Suggestion
Refrigerator – Store in an airtight container. Best enjoyed in a day or two.
Freezer – Wrap the pan tightly and freeze for up to one month. Thaw in the fridge for a few hours before serving.
More No Bake Dessert Recipes





Oreo Icebox Cake
Ingredients
- 2 packages Double Stuf Oreos
- 2 3.4 oz. packages Cheesecake instant pudding mix
- 4 cups milk
- 8 ounces Whipped topping (such as cool whip)
Instructions
- Line a 9×13 with parchment.
- Layer the entire bottom of the pan with Oreo cookies.
- In a large mixing bowl, whisk together pudding mixes and milk.
- Layer half of the pudding over the Oreo cookies.
- Add another layer of Oreo cookies over top, and top that with the remaining pudding mixture. Reserve 4-5 cookies for the topping later.
- Chill in the freezer for 2-4 hours.
- Top with the cool whip, a few crushed oreo cookies and serve.
Notes
- Refrigerate for at least 3- 4 hours before serving, or overnight if possible. You can also freeze for 2 hours as mentioned above.
- Don’t add the crushed Oreo topping until serving day so it stays crunchy.
Nutrition
If you are not yet subscribing to my CELEBRATE THE SEASON newsletter, you can subscribe here. I share easy recipes for the season that the entire family is sure to love and also a few things that I don’t share here.
ohh, this looks so nice!! Need to try it. I would love it if you could join me at my monthly link party – Sharing Serenity at http://www.serenityyou.com
Wow! This was so easy and tasty!