Easy No Bake Santa Oreos Holiday Cookies
This post may contain affiliate links.

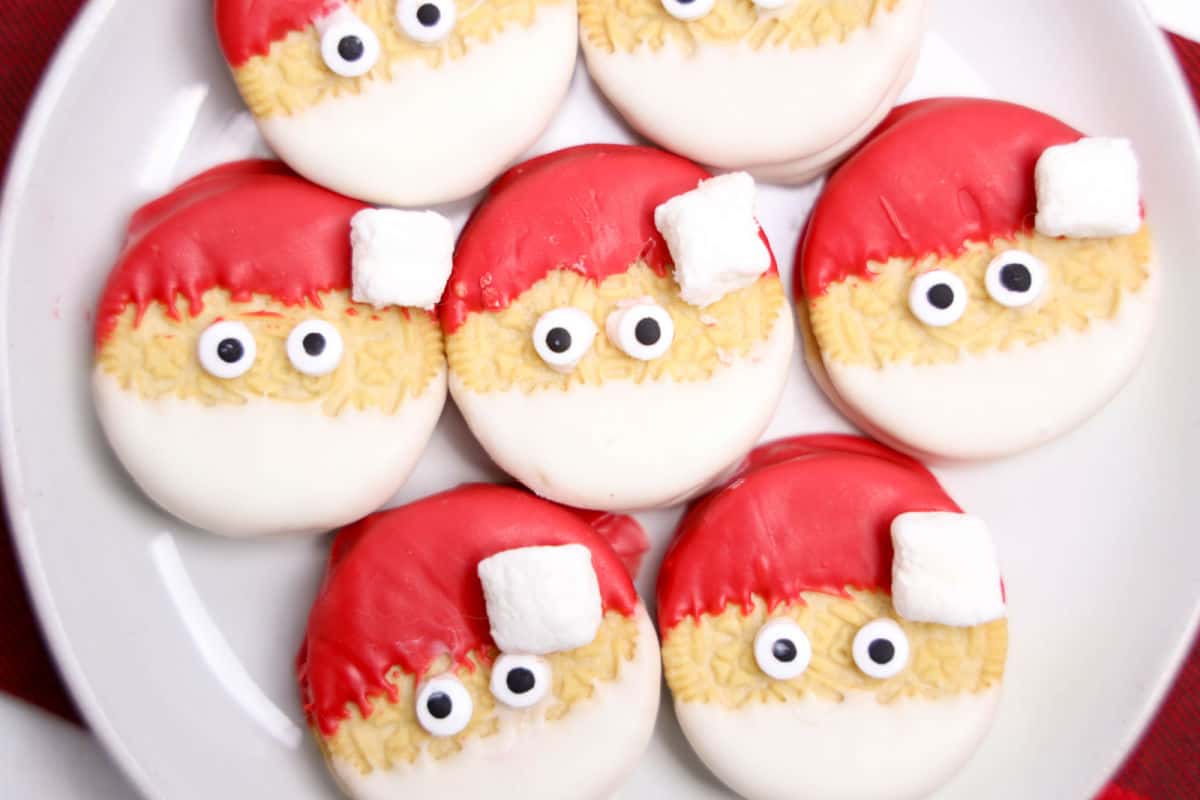
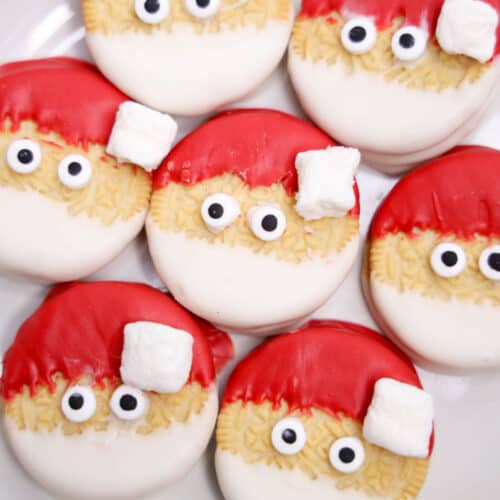
These easy Santa Oreo cookies bring a cheerful, festive look to any dessert tray. With a glossy red candy coating, a border of white frosting that looks like the fur lining of Santa’s hat, and candy eyes peeking out from under a fluffy marshmallow, they’re fun to make and even better to share.
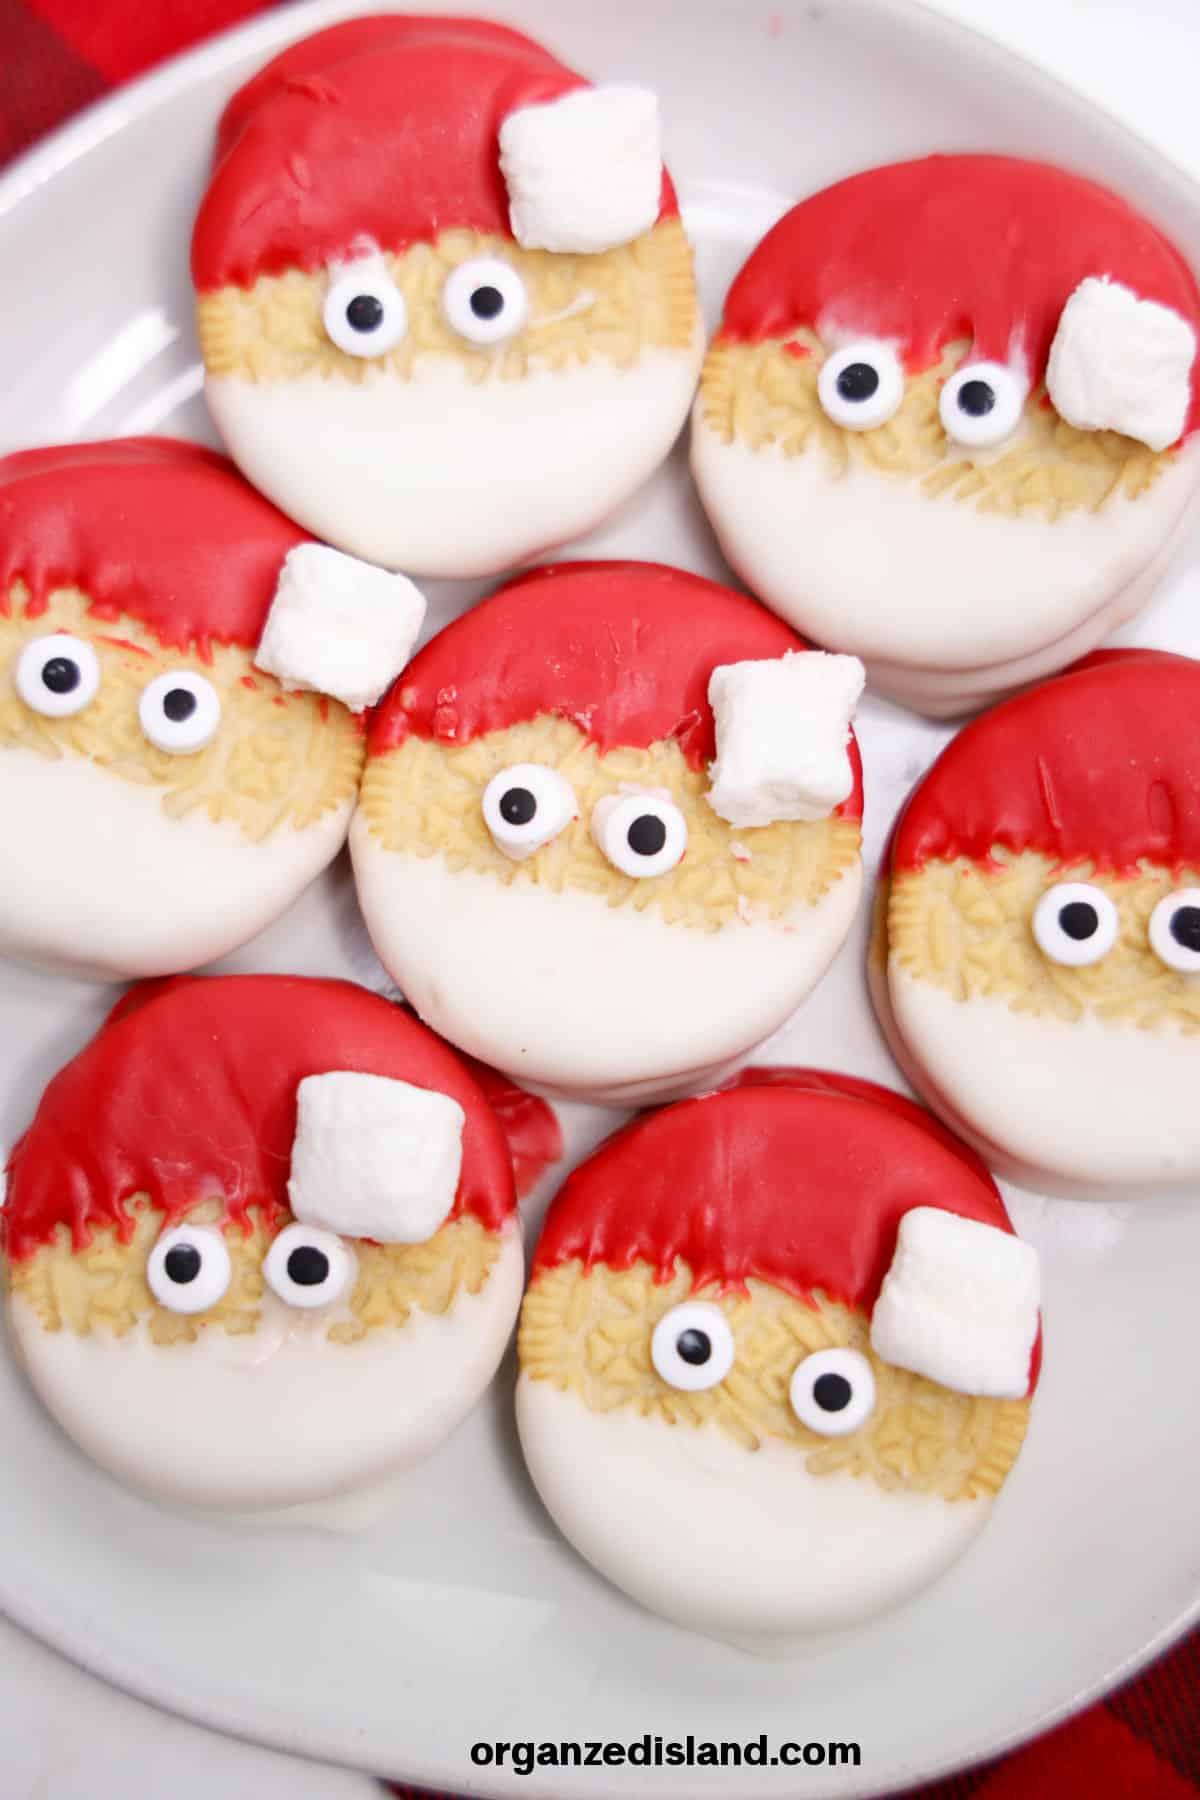
This DIY Santa Oreos project is perfect for classroom parties, cookie exchanges, or a quick holiday treat on any given day.

Why You’ll Love This Recipe
- Made with simple ingredients—no fancy tools required.
- A kid-friendly idea that turns a classic Oreo into a Christmas Oreo with personality.
- Great for beginners or any skill level who want a fun kitchen craft.
- Perfect for using leftover candy melts or white chocolate chips from your latest creative endeavor.
- Ideal for holiday season dessert trays and pairing with other holiday treats.
Ingredients for Christmas Oreos
- Apple pie oreos
- Red candy melts
- White Ghirardelli’s melting wafers
- Marshmallows
- Candy eyes
How to make Santa Oreos
Step by Step Instructions
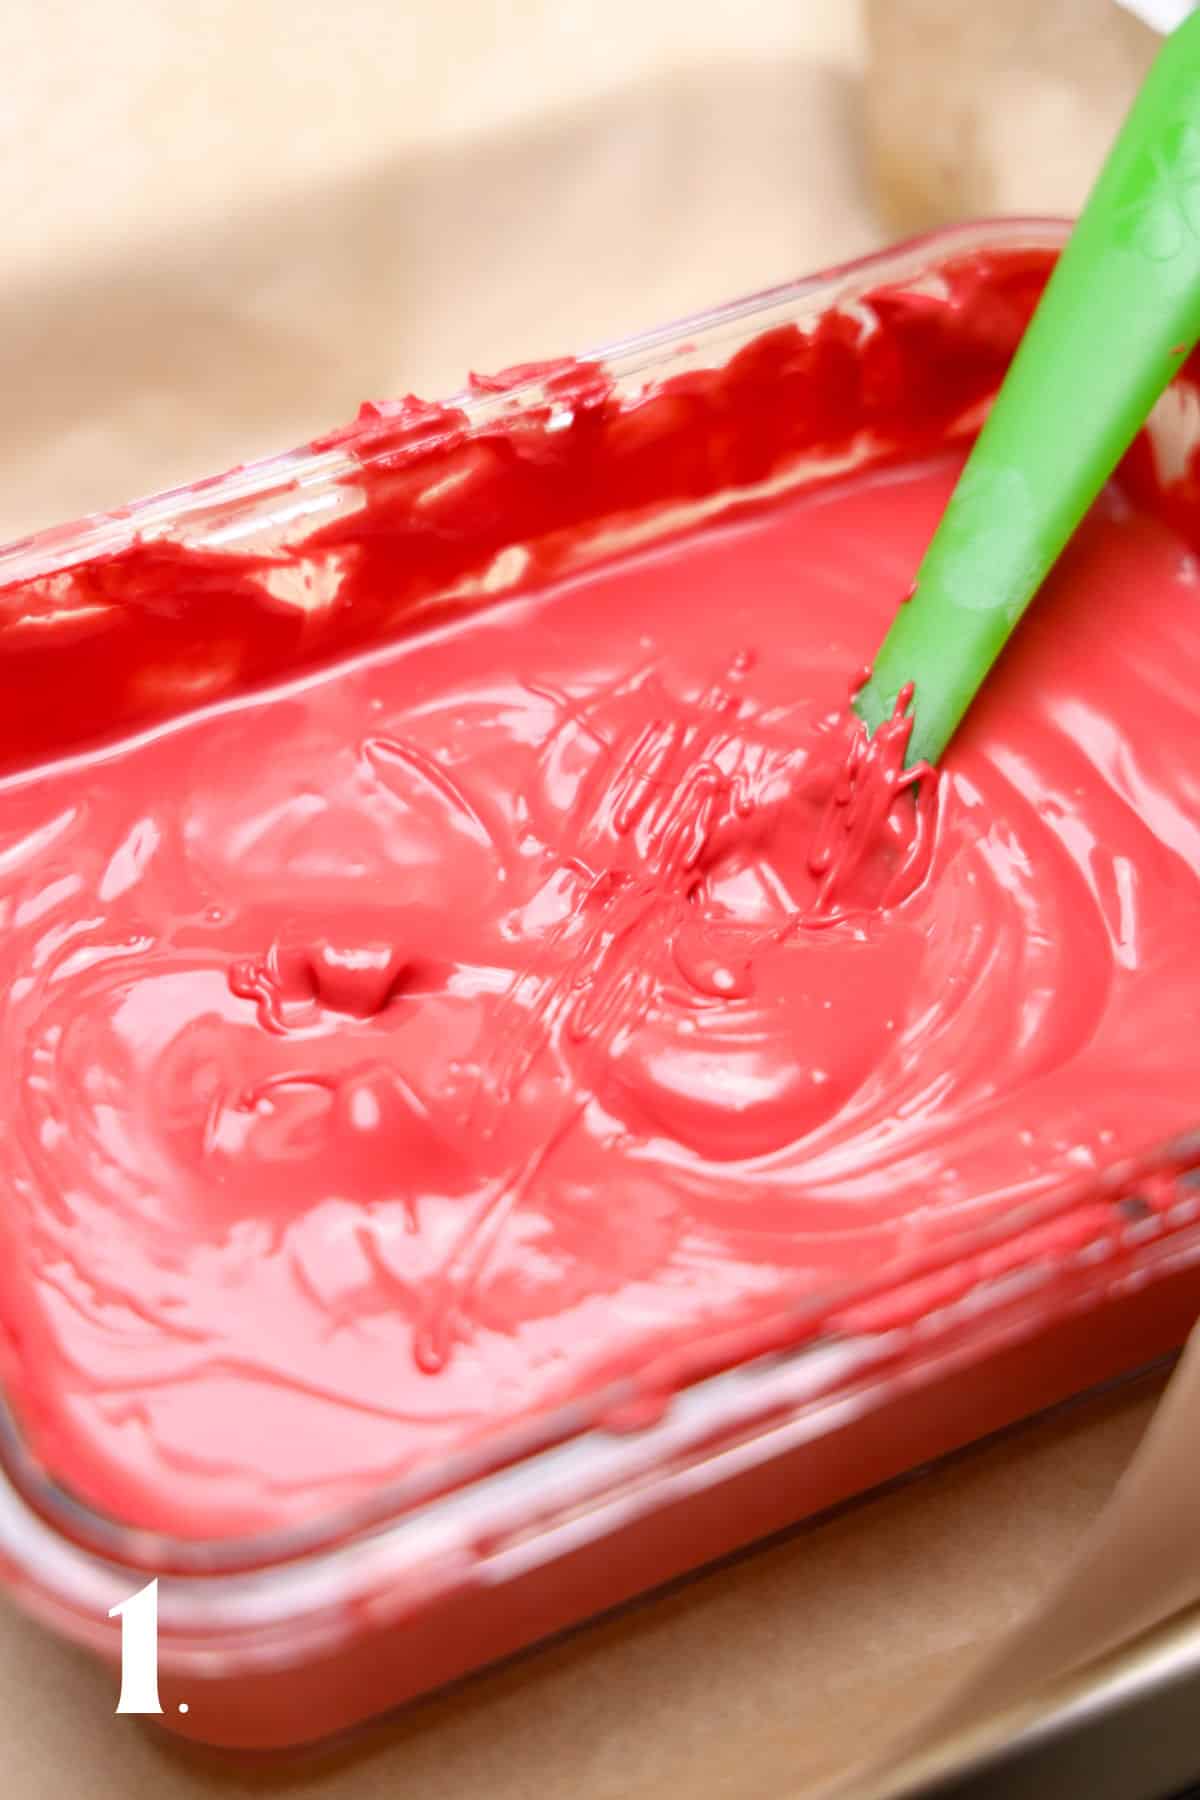
Step 1 – Heat candy melts as directed. Each brand varies. Generally, I heat them at 2 minutes on defrost and then another minute and half on defrost. Stir well and if more time is needed work in one minute intervals.
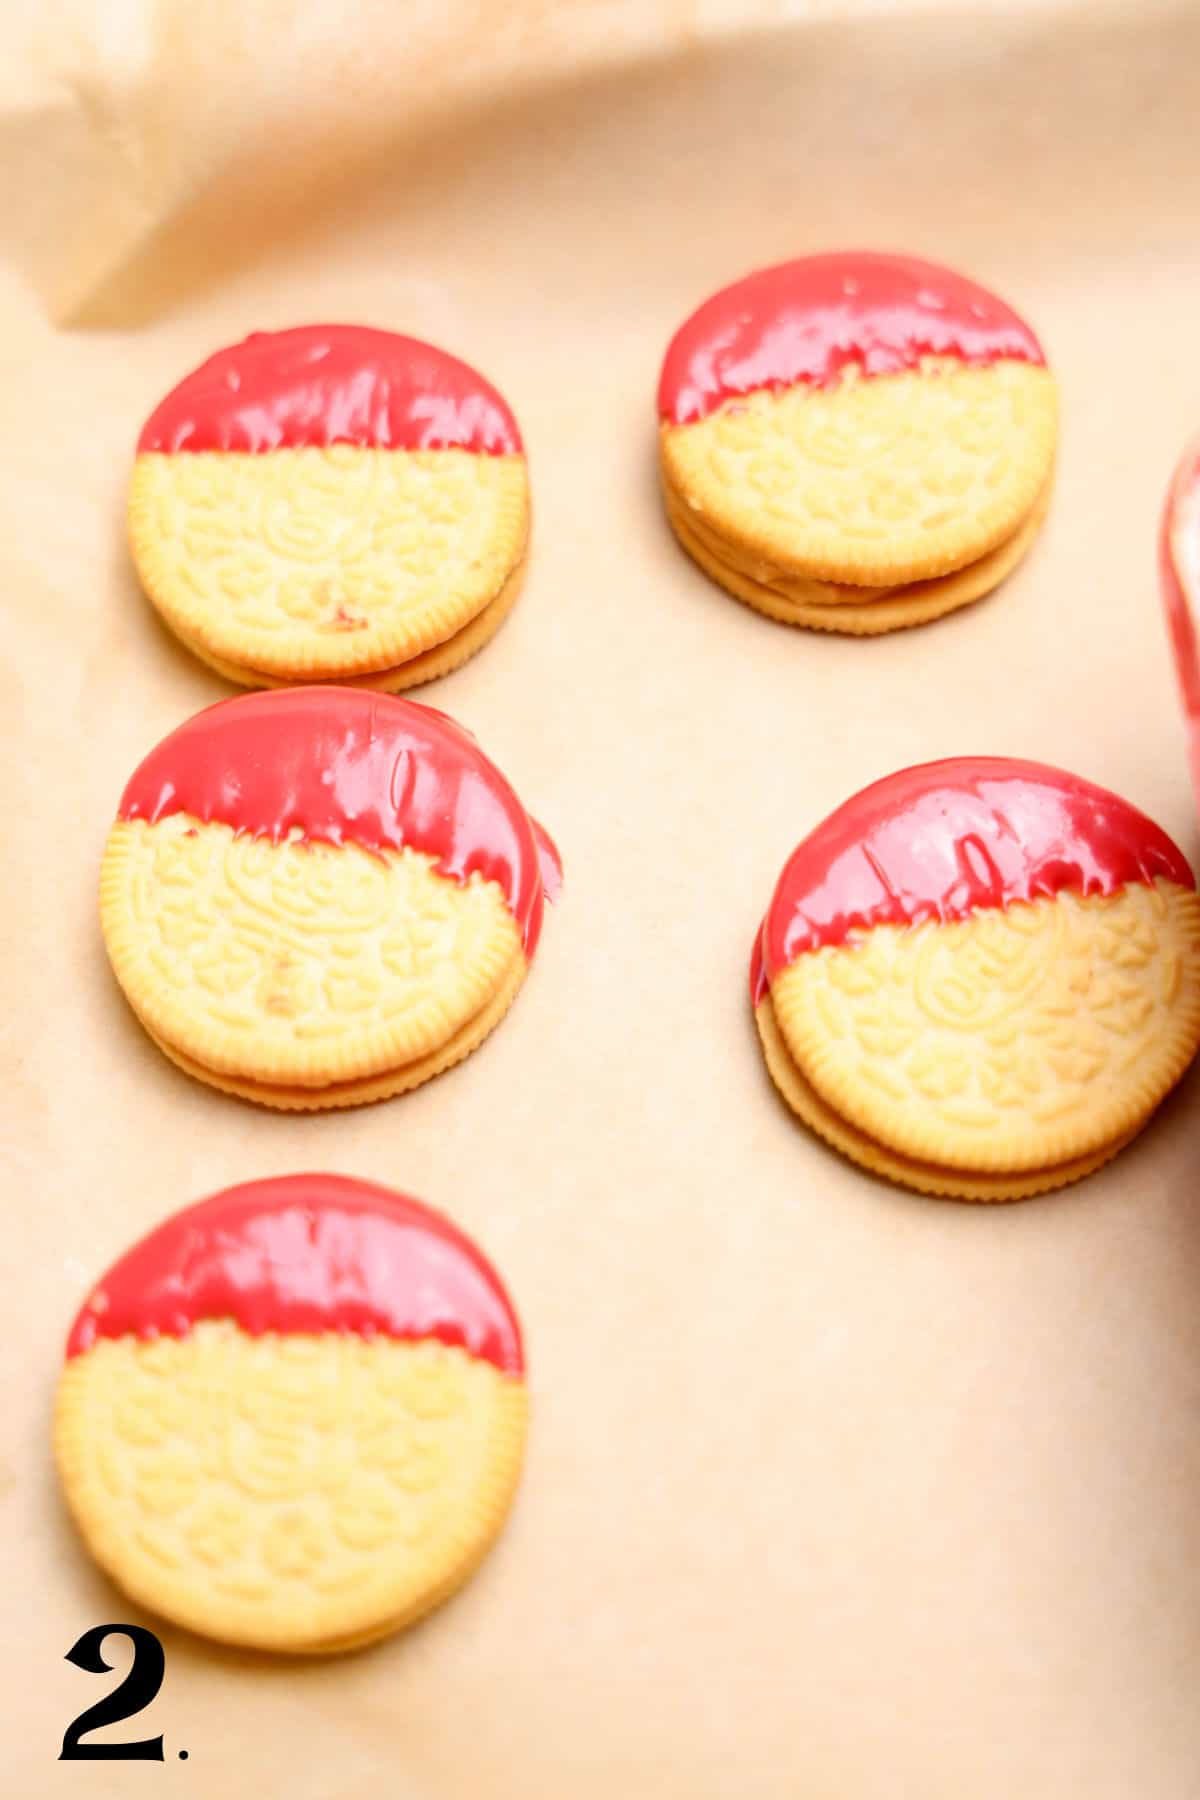
Step 2 – Dip the cookie tops into the red and place on parchment paper.
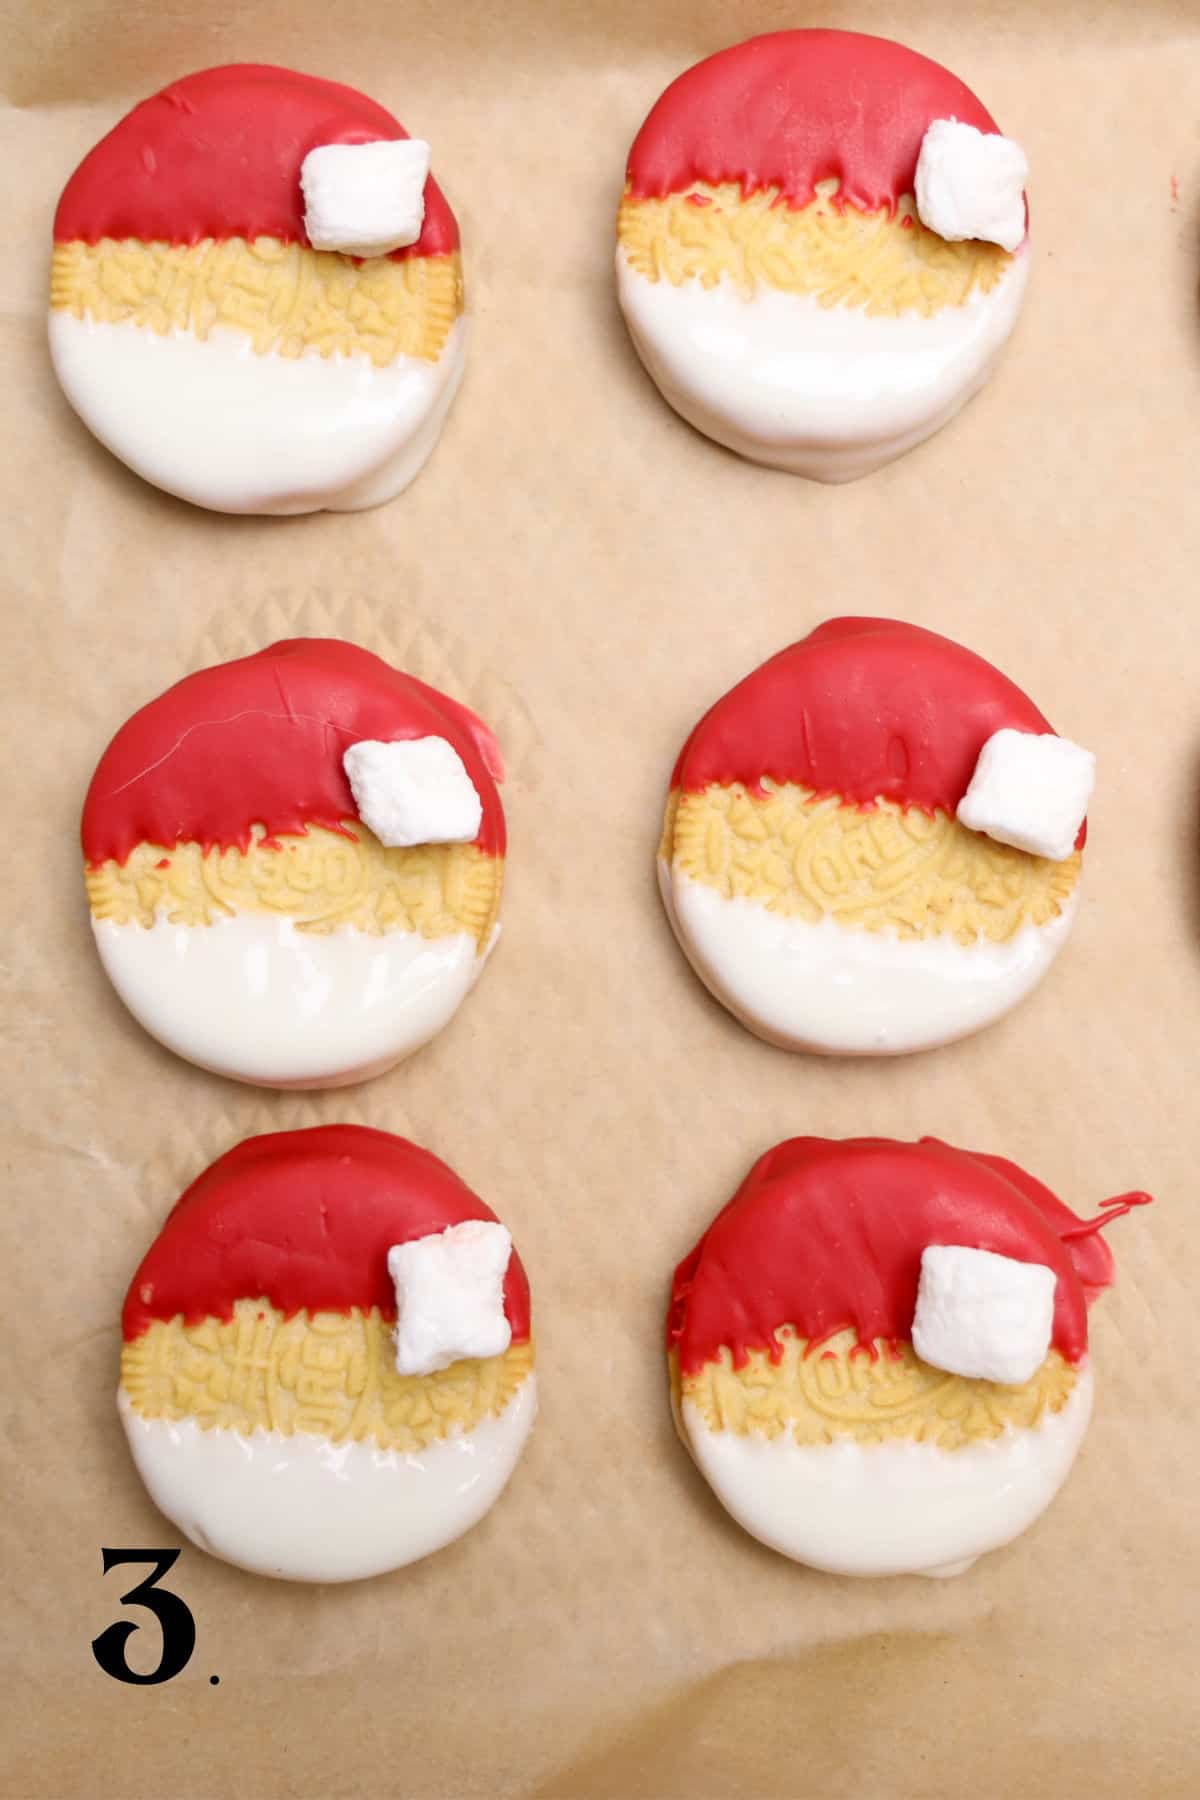
Step 3 – Add the marshmallow. Flash freeze for 3 minutes. Remove from freezer and dip the bottom of the cookie into white. Pull out and set on parchment paper.
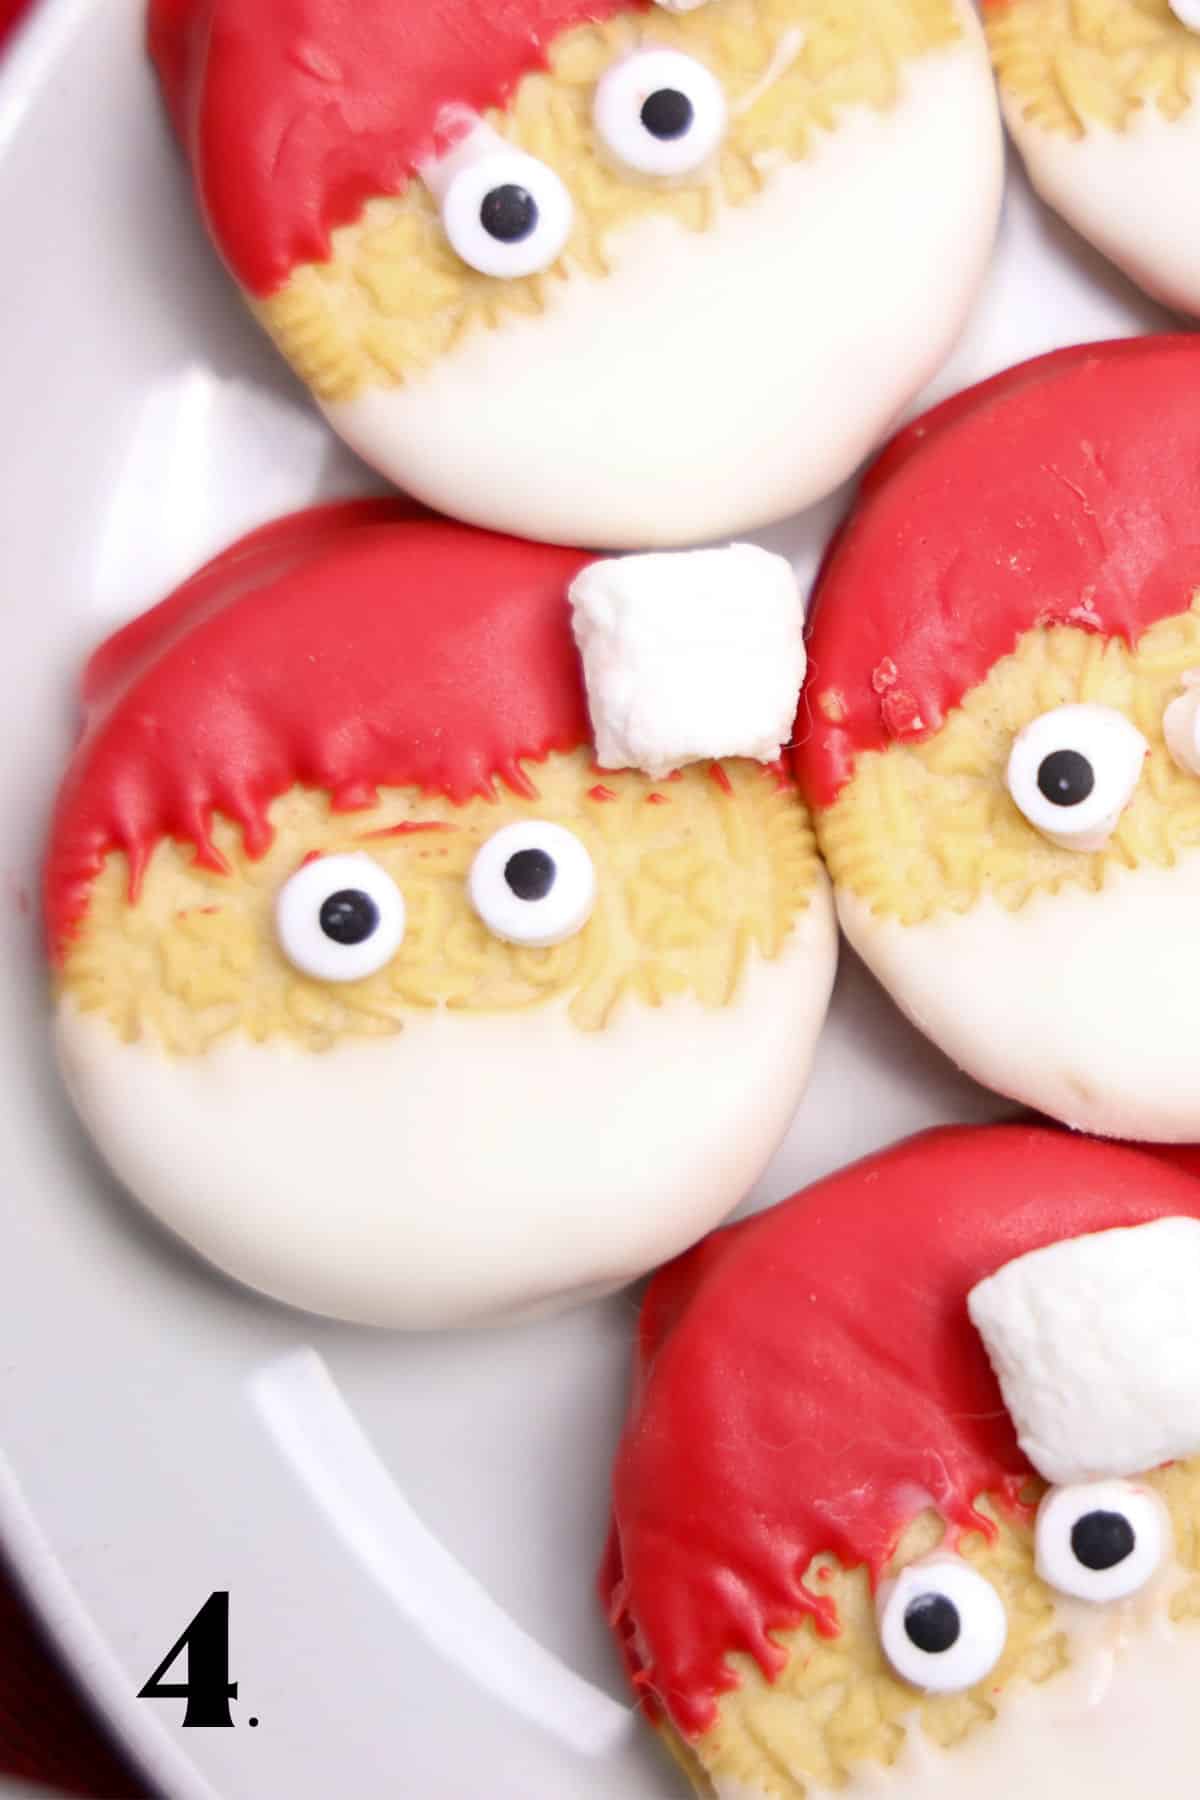
Step 4 – Place the eyes by using some of the white melts as a glue. I use food tweezers for this. Let dry and serve.
Tips for the Best Results
- Use separate microwave-safe bowls for your red candy melts and white candy melts to avoid color mixing.
- Follow each brand’s melting directions closely. Work in 15-second intervals and stir well so the coating melts evenly.
- Keep cookies at room temperature before dipping for a smooth red coating that sticks well.
- Set dipped cookies on a piece of parchment paper or wax paper placed over a large baking sheet to catch drips.
- Chill briefly for speed hardening so the white coating sets and keeps its shine.
- Use food tweezers to attach candy eyes neatly near the top of each Oreo.
Save The Recipe!
Substitutions and Variations
- Swap apple pie Oreos for golden Oreos or a classic Oreo depending on what flavor you love.
- Use milk chocolate or melted white chocolate in place of candy melts for a richer flavor.
- Add a black gel line across the lower half of each cookie to make Santa’s belt and finish with a yellow square of frosting for the belt buckle.
- Add a thin border of white frosting or use a piping bag along the top center edge of the dipped white section to create the look of Santa’s hat trim.
FAQs About This Recipe
Yes, though candy melts or melting wafers give smoother coverage and dry faster. If using chocolate chips, add a bit of coconut oil to thin the melted chocolate.
Keep in an airtight container at room temperature for up to five days. Store on wax paper layers to prevent sticking.
Yes, make them a day before your party so the coating is fully set and glossy.
Melt white candy coating and tint with oil-based red candy coloring for a similar effect.
Only if your kitchen is warm. The coatings harden best when left at room temperature once the white coating sets.
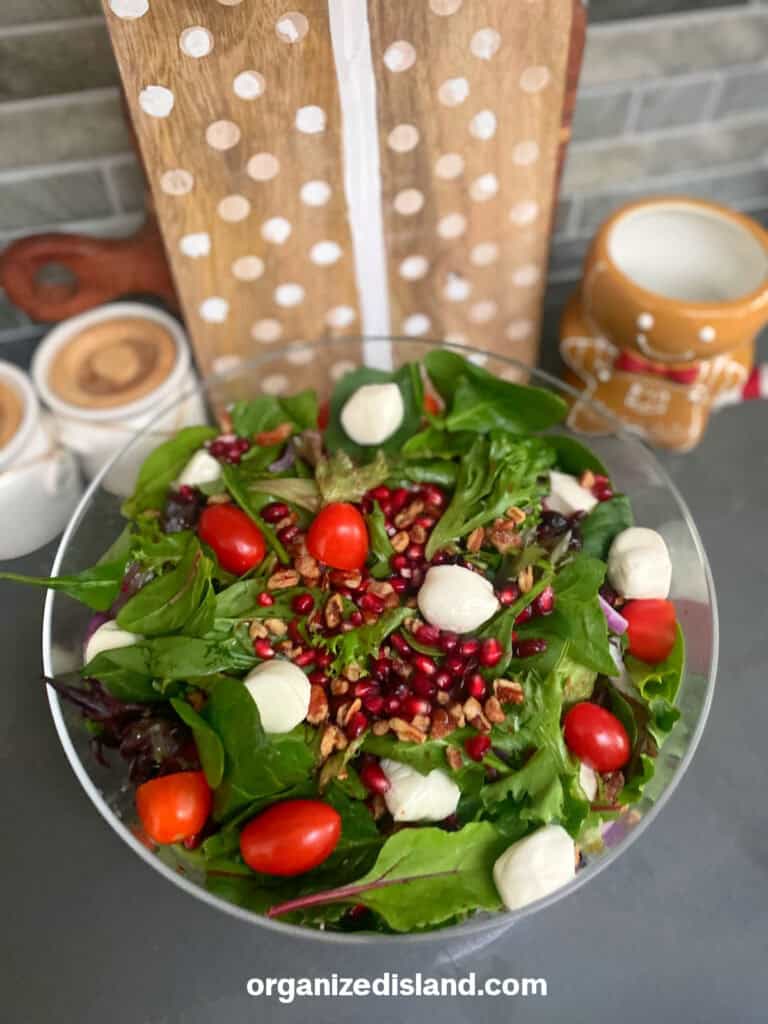
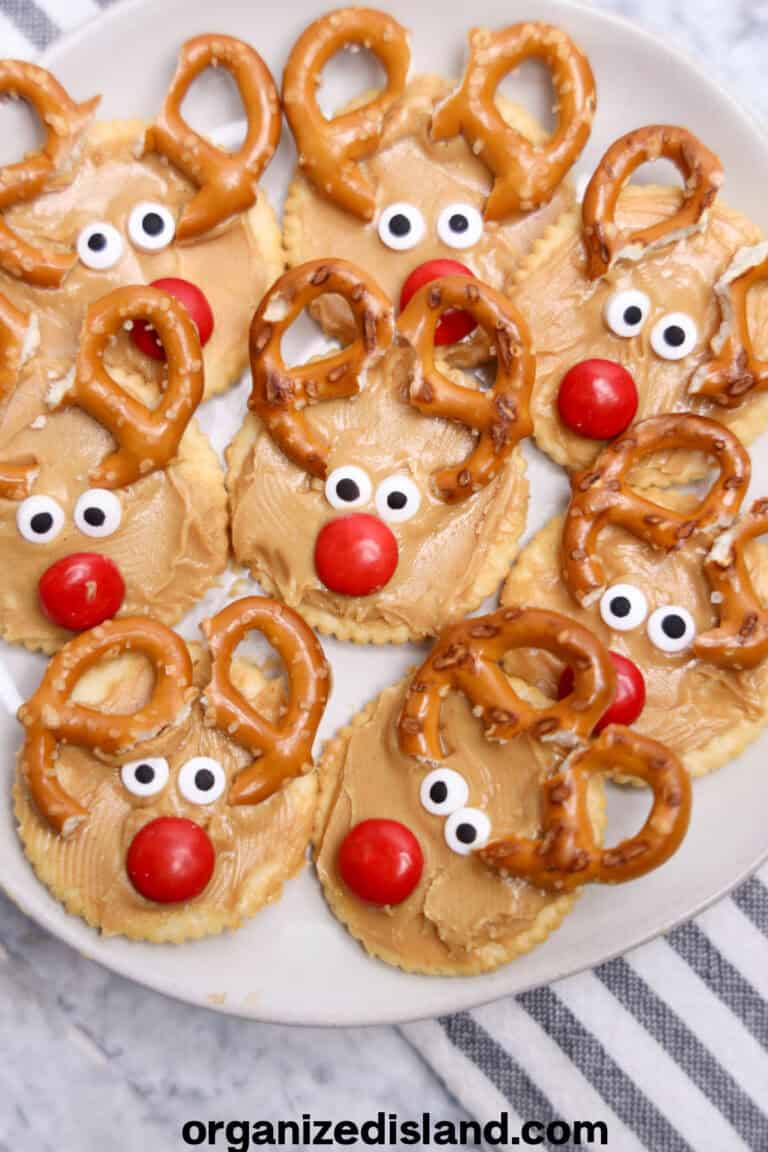
More fun Christmas treats


Santa Oreos
Equipment
- Microwave-safe bowls
Ingredients
- 12 apple pie or golden oreos
- 6 oz red candy melts
- 6 oz white Ghirardelli’s melting wafers
- 12 marshmallows
- 24 candy eyes
Instructions
- Heat candy melts as directed. Each brand varies. Generally, I heat them at 2 minutes on defrost and then another minute and half on defrost. Stir well and if more time is needed work in one minute intervals.
- Dip the cookie tops into the red and place on parchment paper. Add the marshmallow. Flash freeze for 3 minutes. Remove from freezer and dip the bottom of the cookie into white. Pull out and set on parchment paper.
- Place the eyes by using some of the white melts as a glue. I use food tweezers for this. Let dry and serve.
Notes
Nutrition
If you are not yet subscribing to my CELEBRATE THE SEASON newsletter, you can subscribe here. I share easy recipes for the season that the entire family is sure to love and also a few things that I don’t share here.
Love hese!