Christmas Tree Sandwich Stacks
This post may contain affiliate links.

This time of year, I love quick and festive appetizers that can be shared at holiday gatherings. These adorable Christmas Tree Sandwich Stacks are one of my favorite no bake party ideas because this Christmas recipe comes together in minutes but looks like you spent all afternoon crafting them.

With just a few simple ingredients and a small cookie cutter, you can turn ordinary sandwiches into a cheerful and whimsical appetizer that brightens any holiday table.

These little stacks are perfect for potlucks, Christmas parties, and family get-togethers. You can easily customize the fillings to fit your menu or dietary needs, and they make a beautiful addition to any appetizer spread.

Why You’ll Love This Recipe
- Cute and festive shape that looks impressive with minimal effort
- Uses simple, affordable ingredients
- Great make-ahead party appetizer
- Fun for kids and adults
- Easily customizable with different fillings and toppings
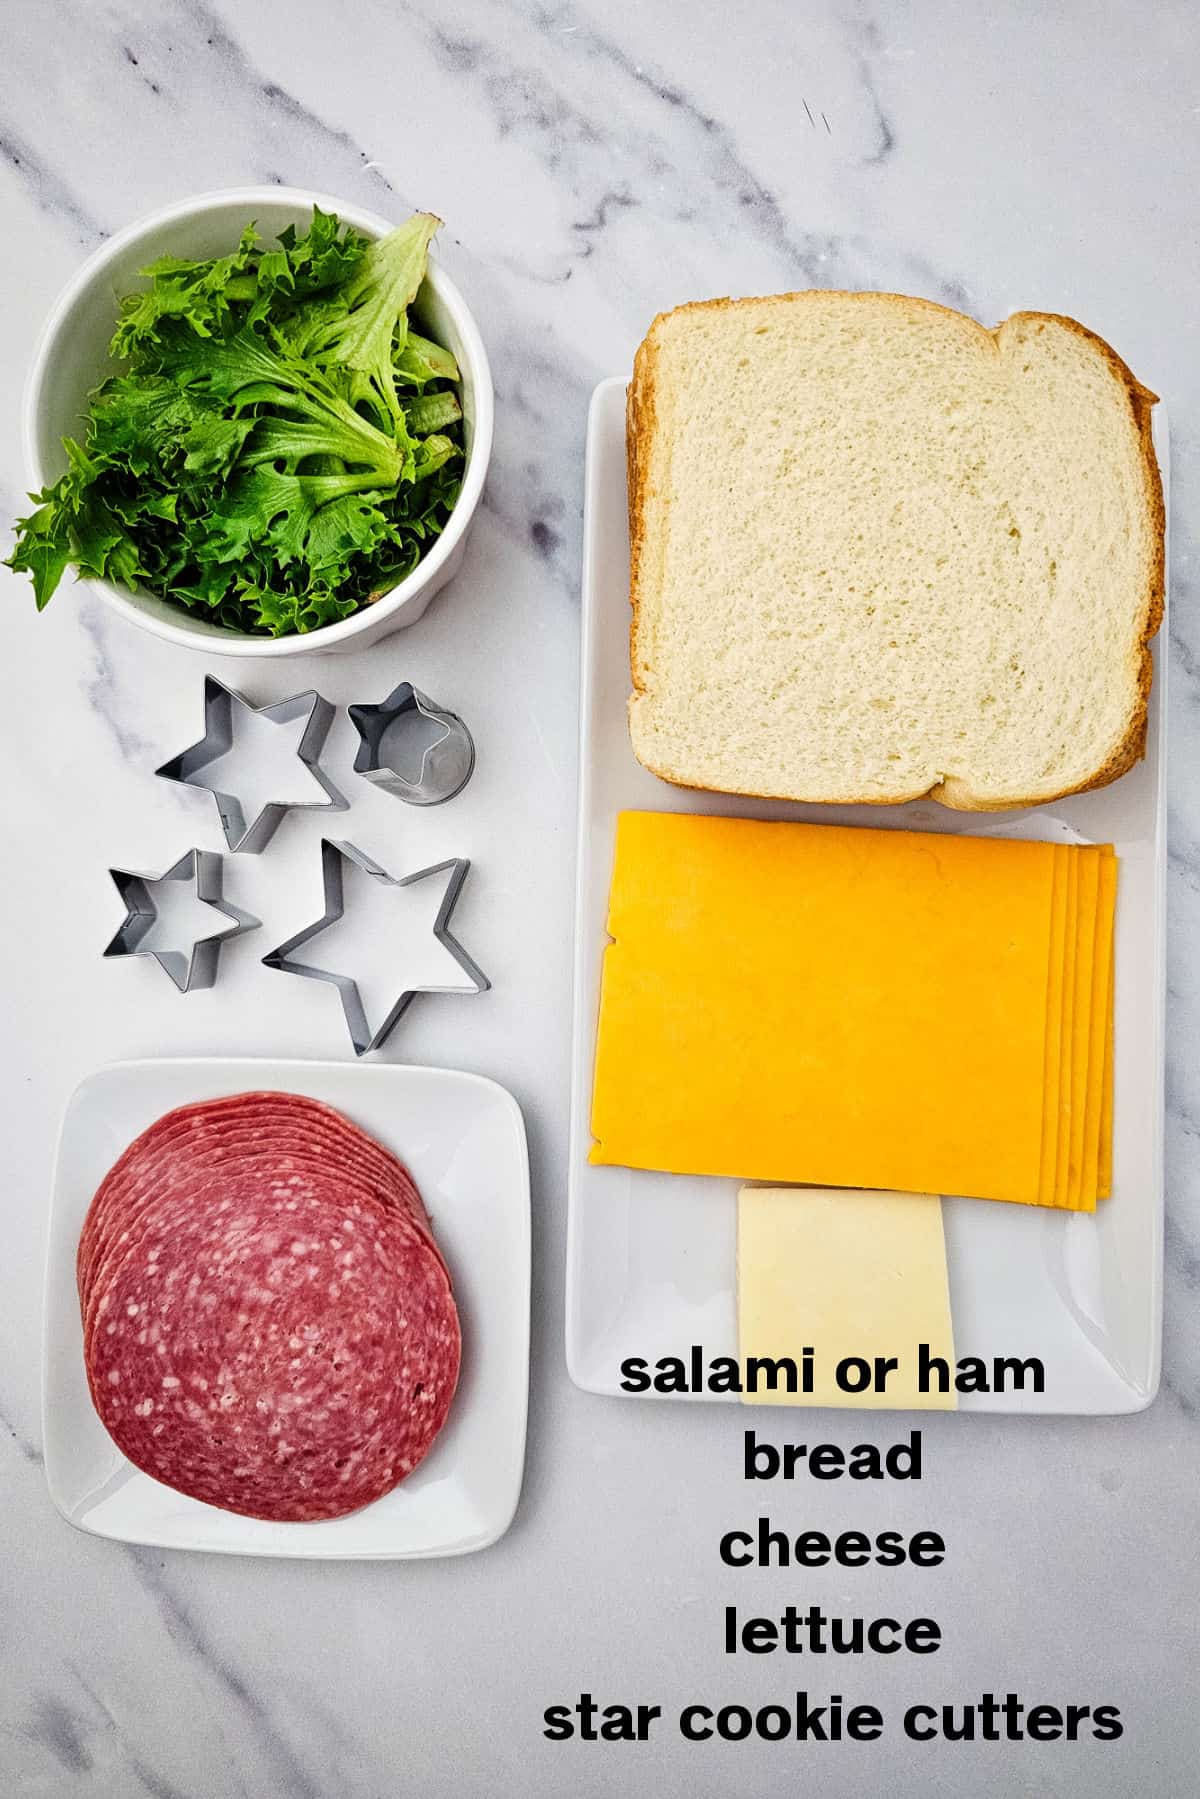
Ingredients
- Soft sandwich bread (white, wheat, or brioche)
- Deli ham or salami
- Lettuce
- Cheddar Cheese
- White Cheese
- You will also need 4 different-sized Star Cookie Cutters
How to Make Christmas Tree Sandwich Stack
- Spread a thin layer of cream cheese or your chosen filling.
- Add deli meat and veggie slices.
- Top with a second bread tree.
- Stack 2–3 sandwiches using a toothpick.
- Garnish the top with a tiny tomato, olive, or cheese star.
- Sprinkle herbs around the base for a festive look.
Save The Recipe!
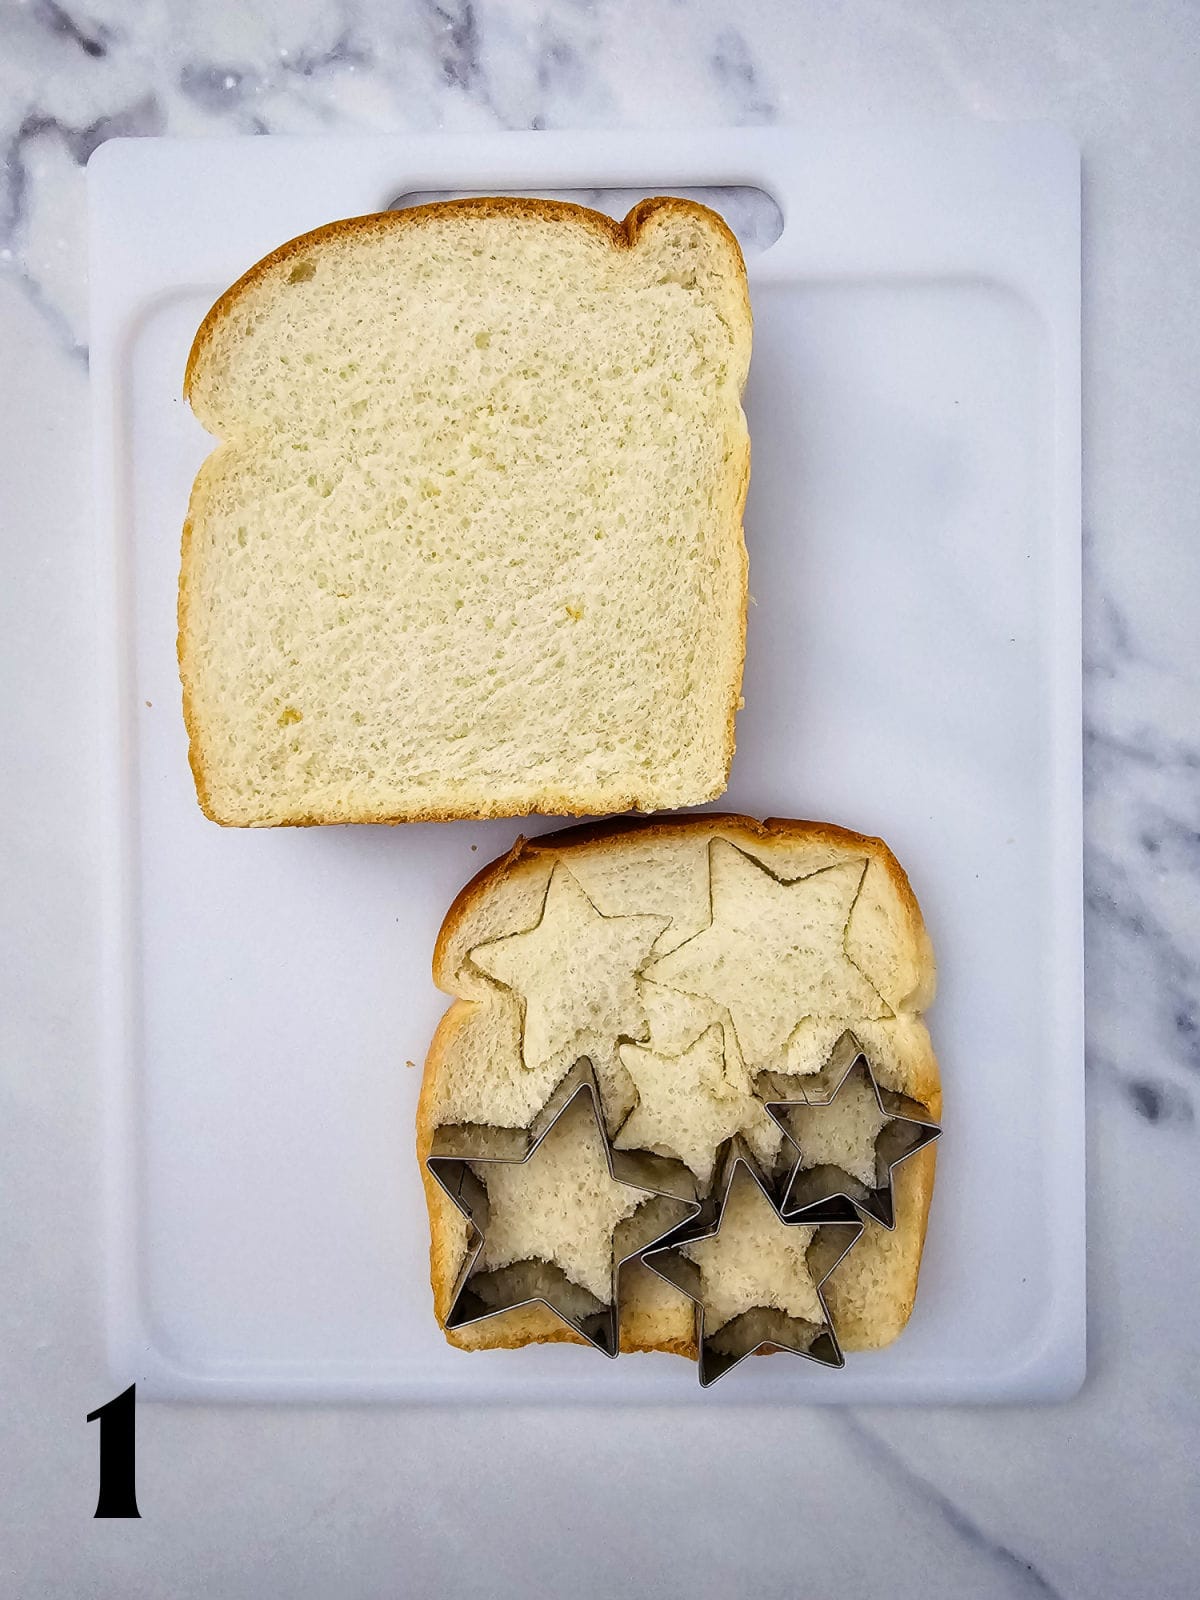
Step 1 – Use cookie cutters to cut bread into different sized star shapes.

Step 2 – Use cookie cutters to cut cheese into different sized star shapes. Do the same for the han or salami.
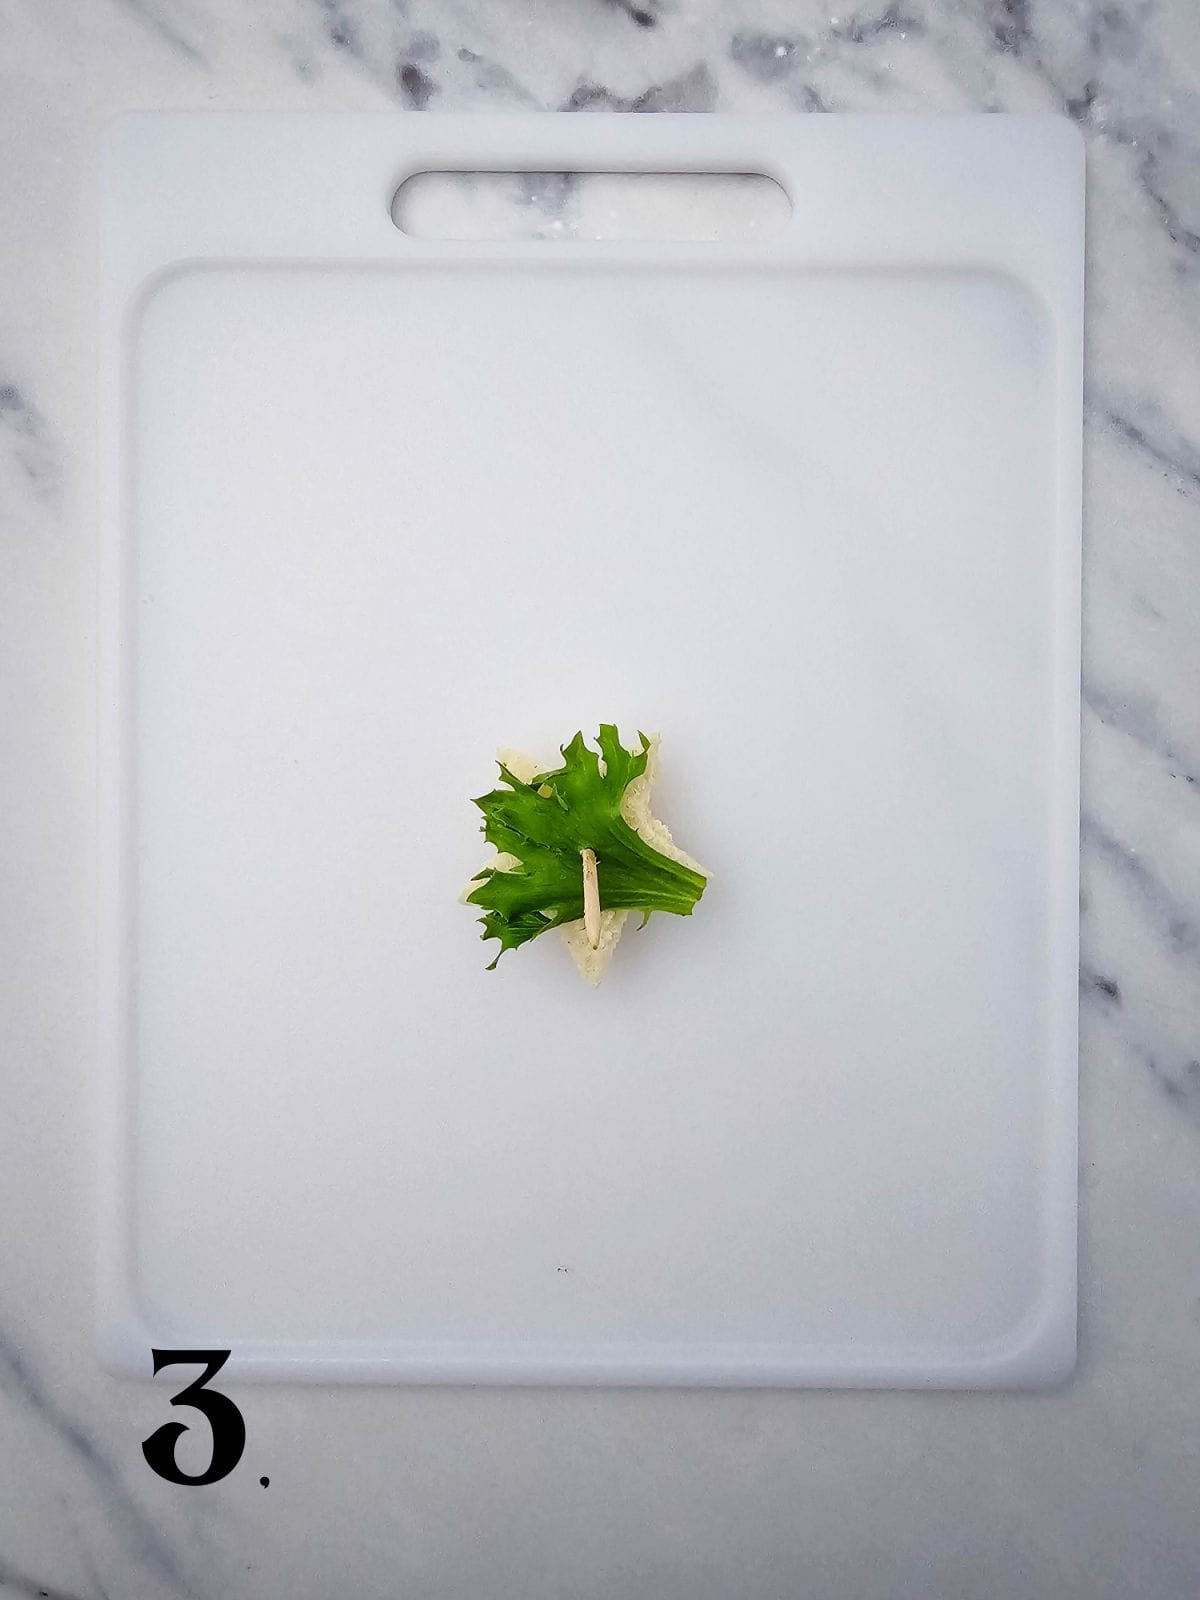
Step 3 – Start with a small star shaped cheese and add lettuce.
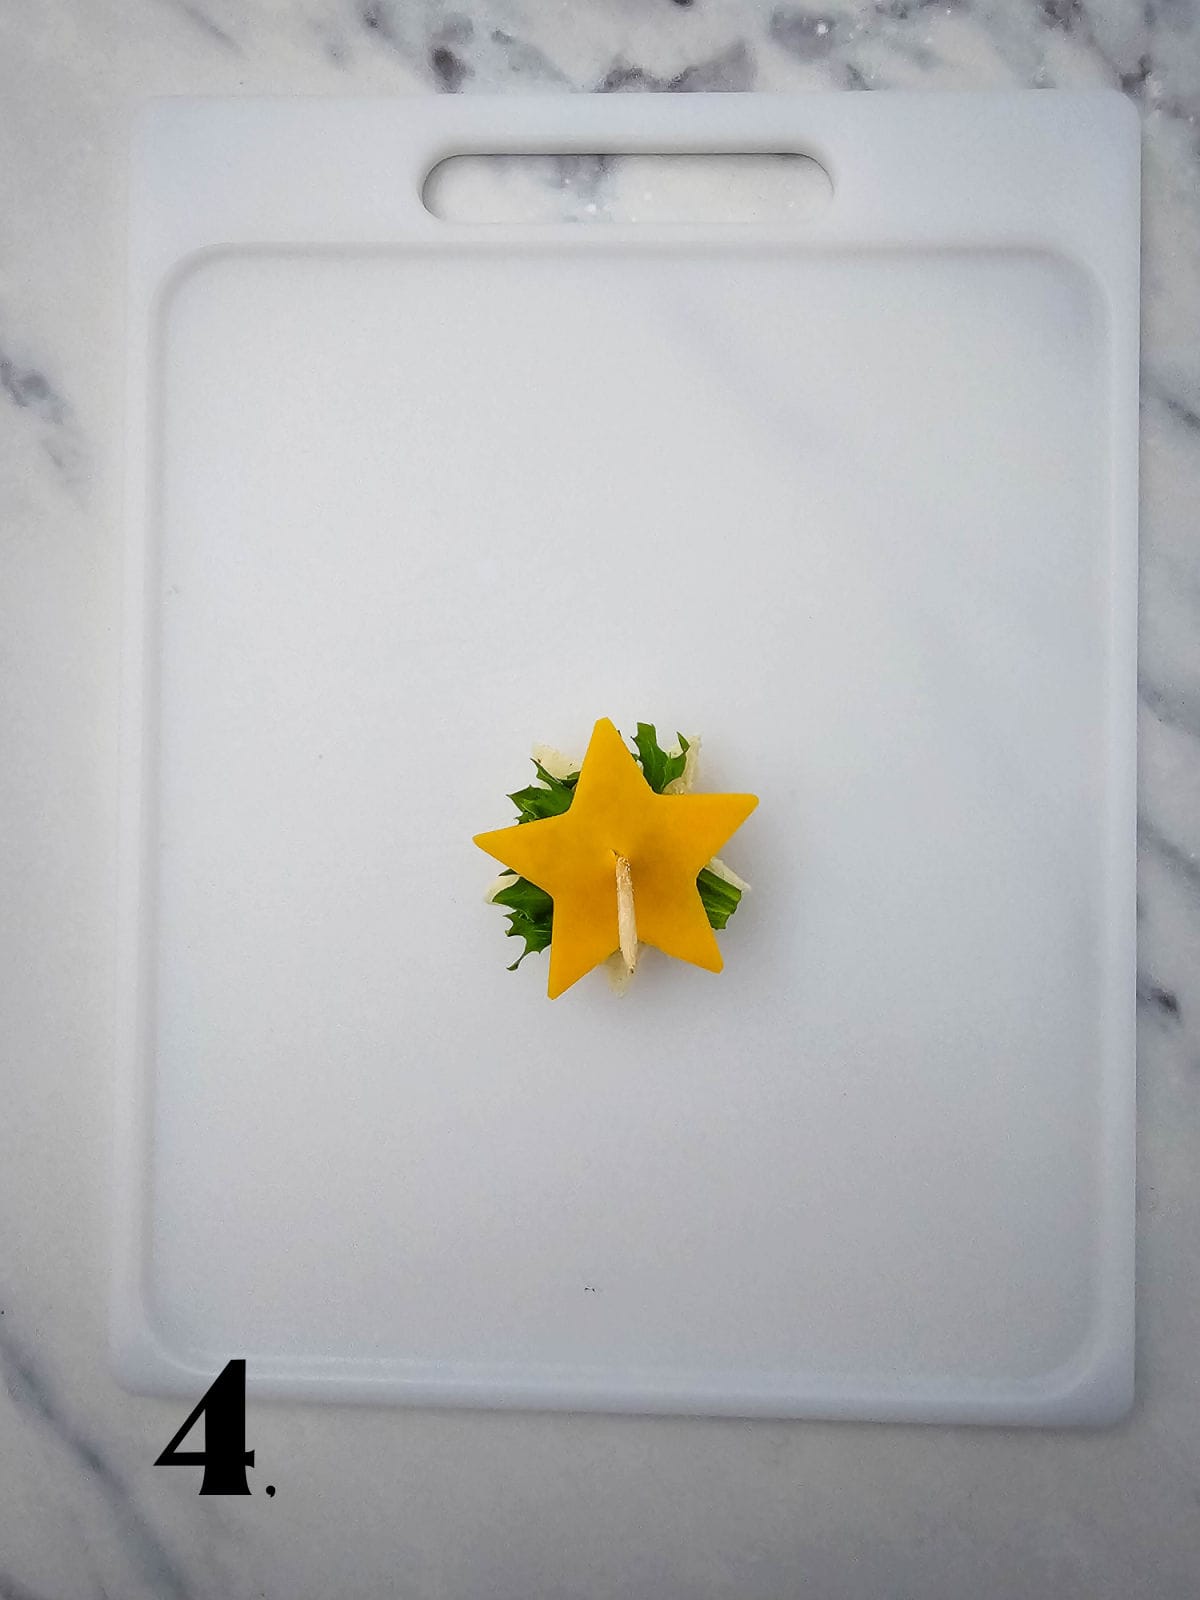
Step 4 – Continue with a slightly larger cheese star.
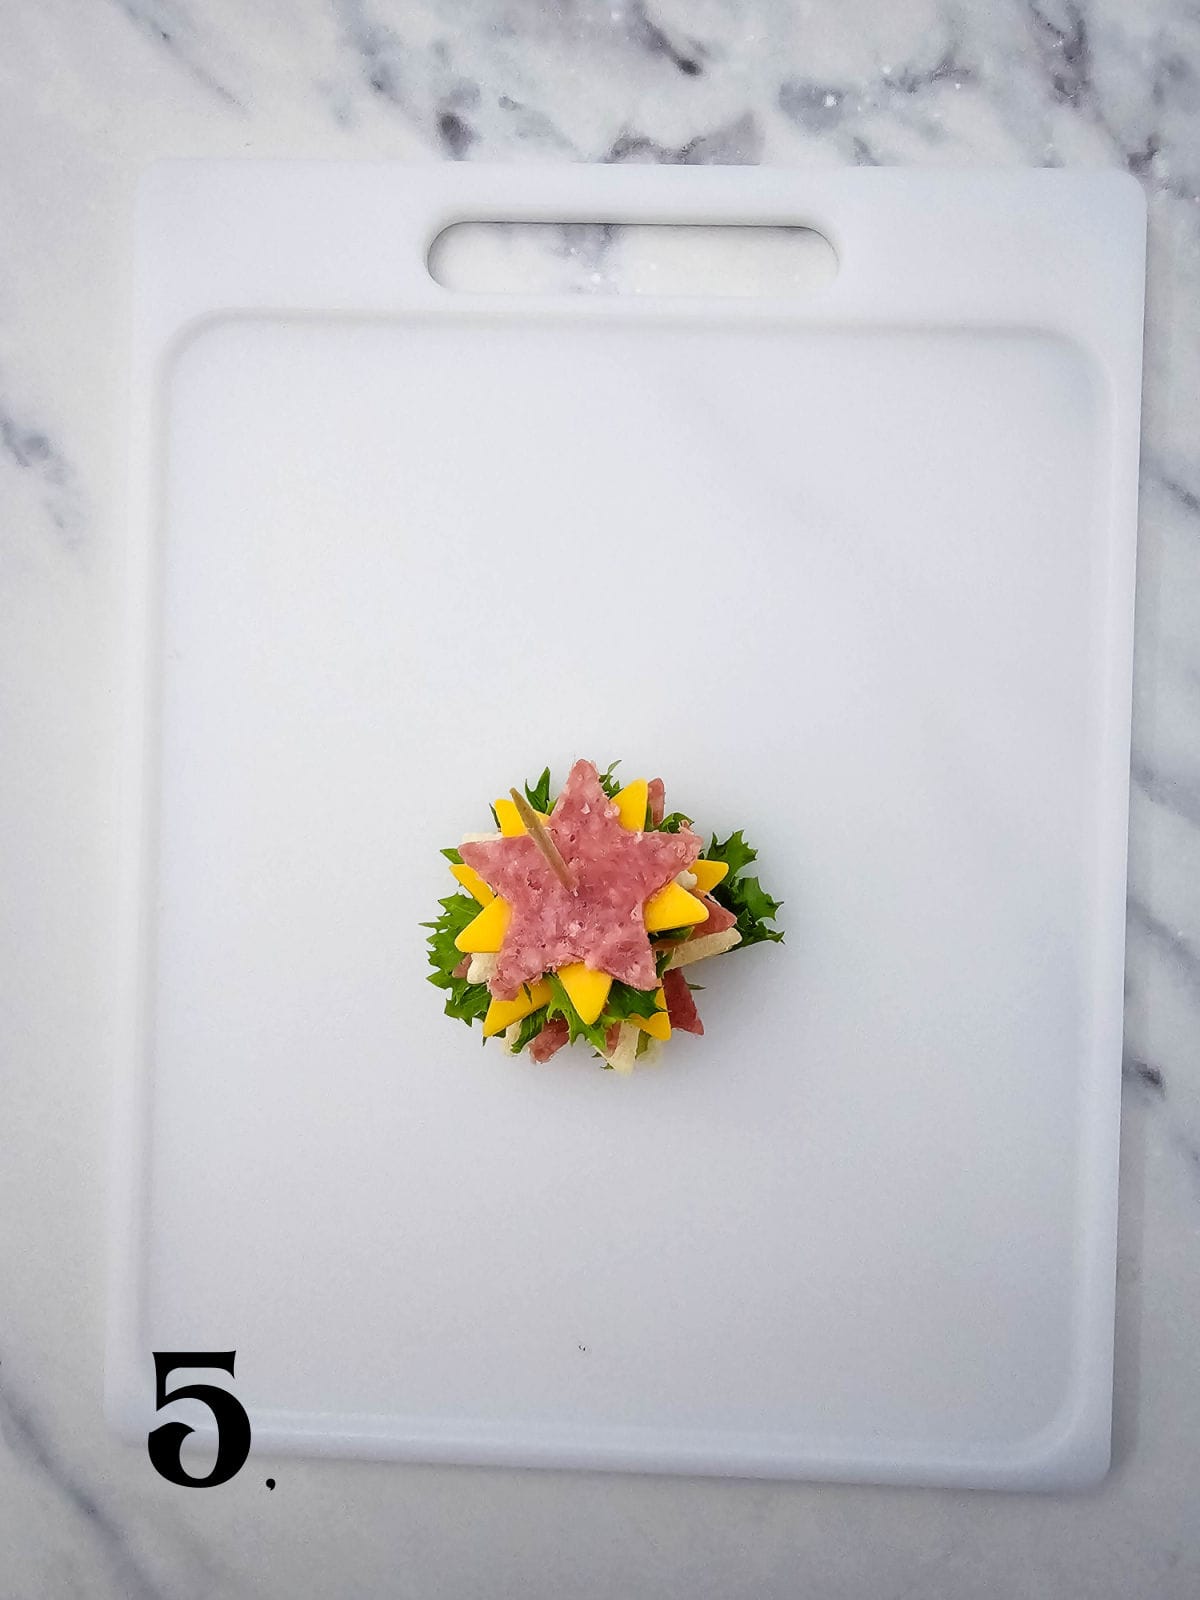
Step 5 –Continue with the salami (meat star), then a bread star.
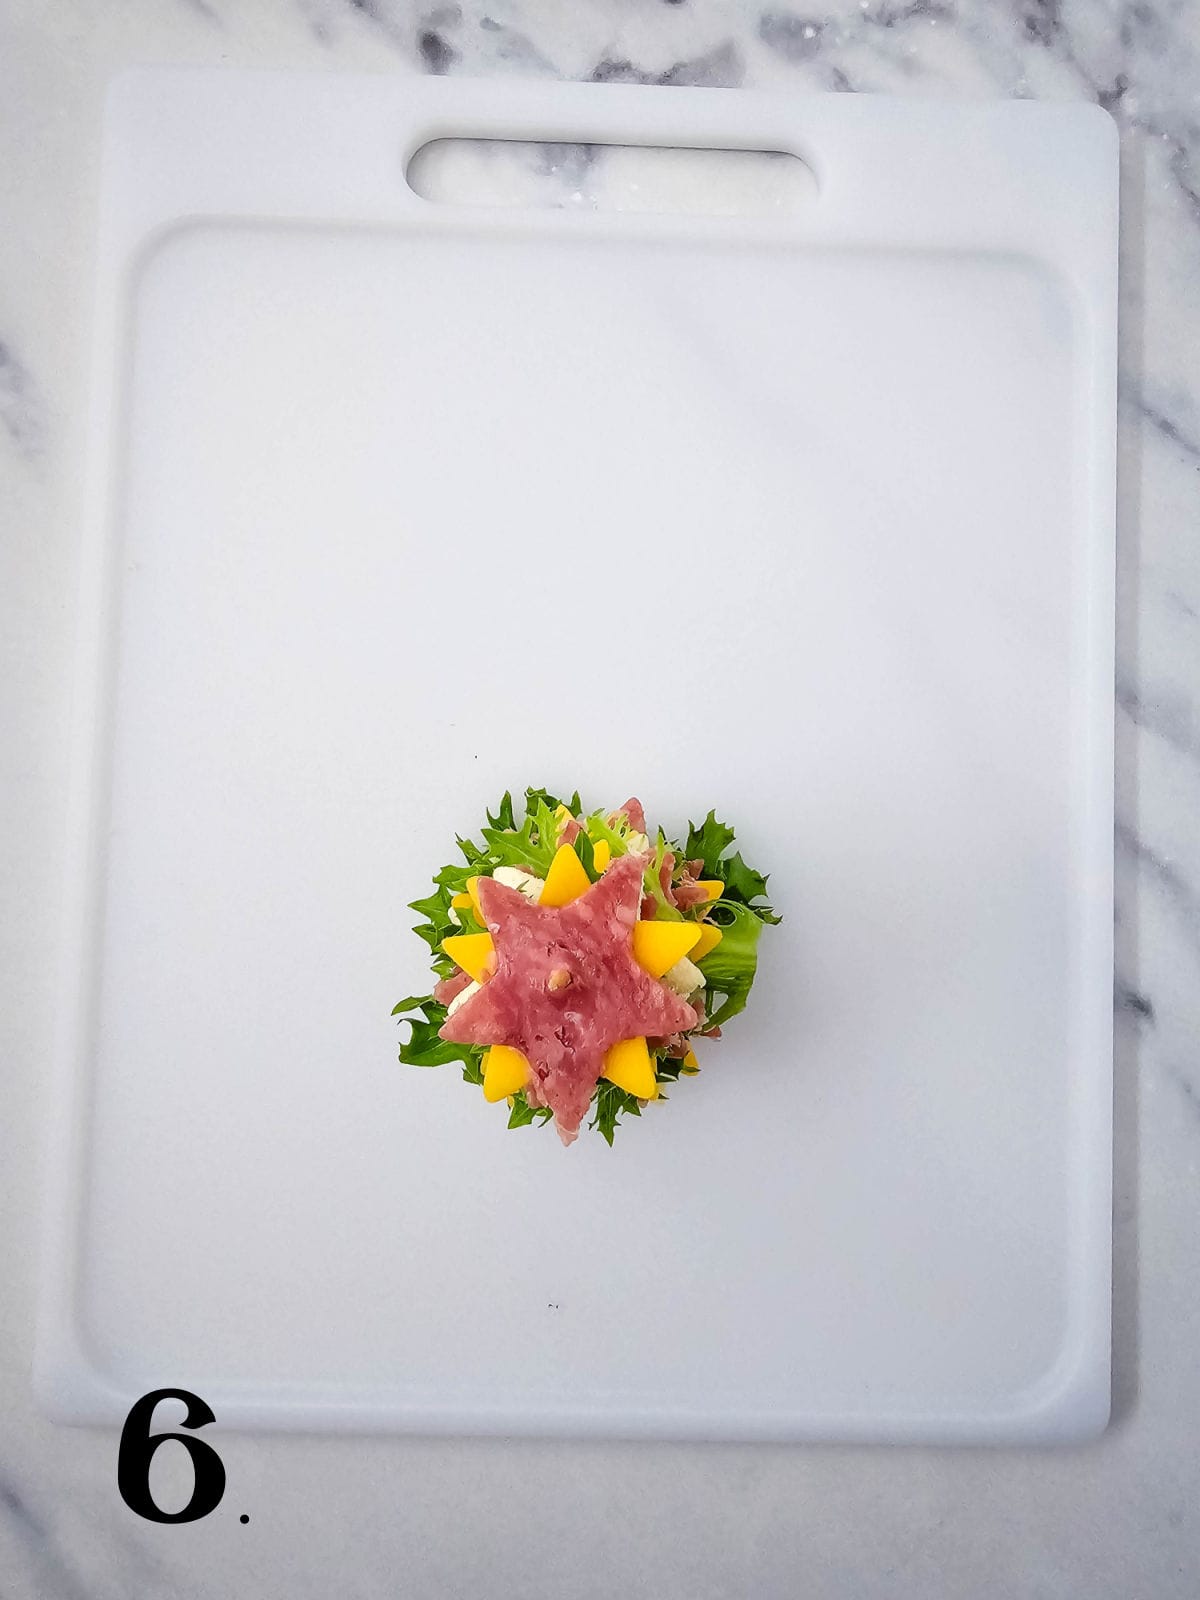
Step 6 – Continue the process repeating the order: bread, lettuce, cheese, salami.
Substitution Ideas
- Bread: Use sa brown bread for color contrast.
- Protein: You can use turkey, ham, roast beef, chicken slices, in place of the ham or salami.
- Greens: You can use butter lettuce, romaine or other leafy greens.
Raquel’s Time Saving Tips
- Use very soft bread — it cuts more cleanly with cookie cutters.
- Chill the assembled sandwiches for 20–30 minutes so they firm up before stacking.
- Make them ahead: Prepare up to 4 hours in advance; keep covered so the bread doesn’t dry out.
- Angle your stacks: Tilting them slightly makes the presentation even more tree-like.
- For a cleaner cut: Press the cookie cutter down firmly and twist slightly.
Storage Suggestion
Best served the same day but store leftovers in an airtight container in the refrigerator.
Serving Suggestion
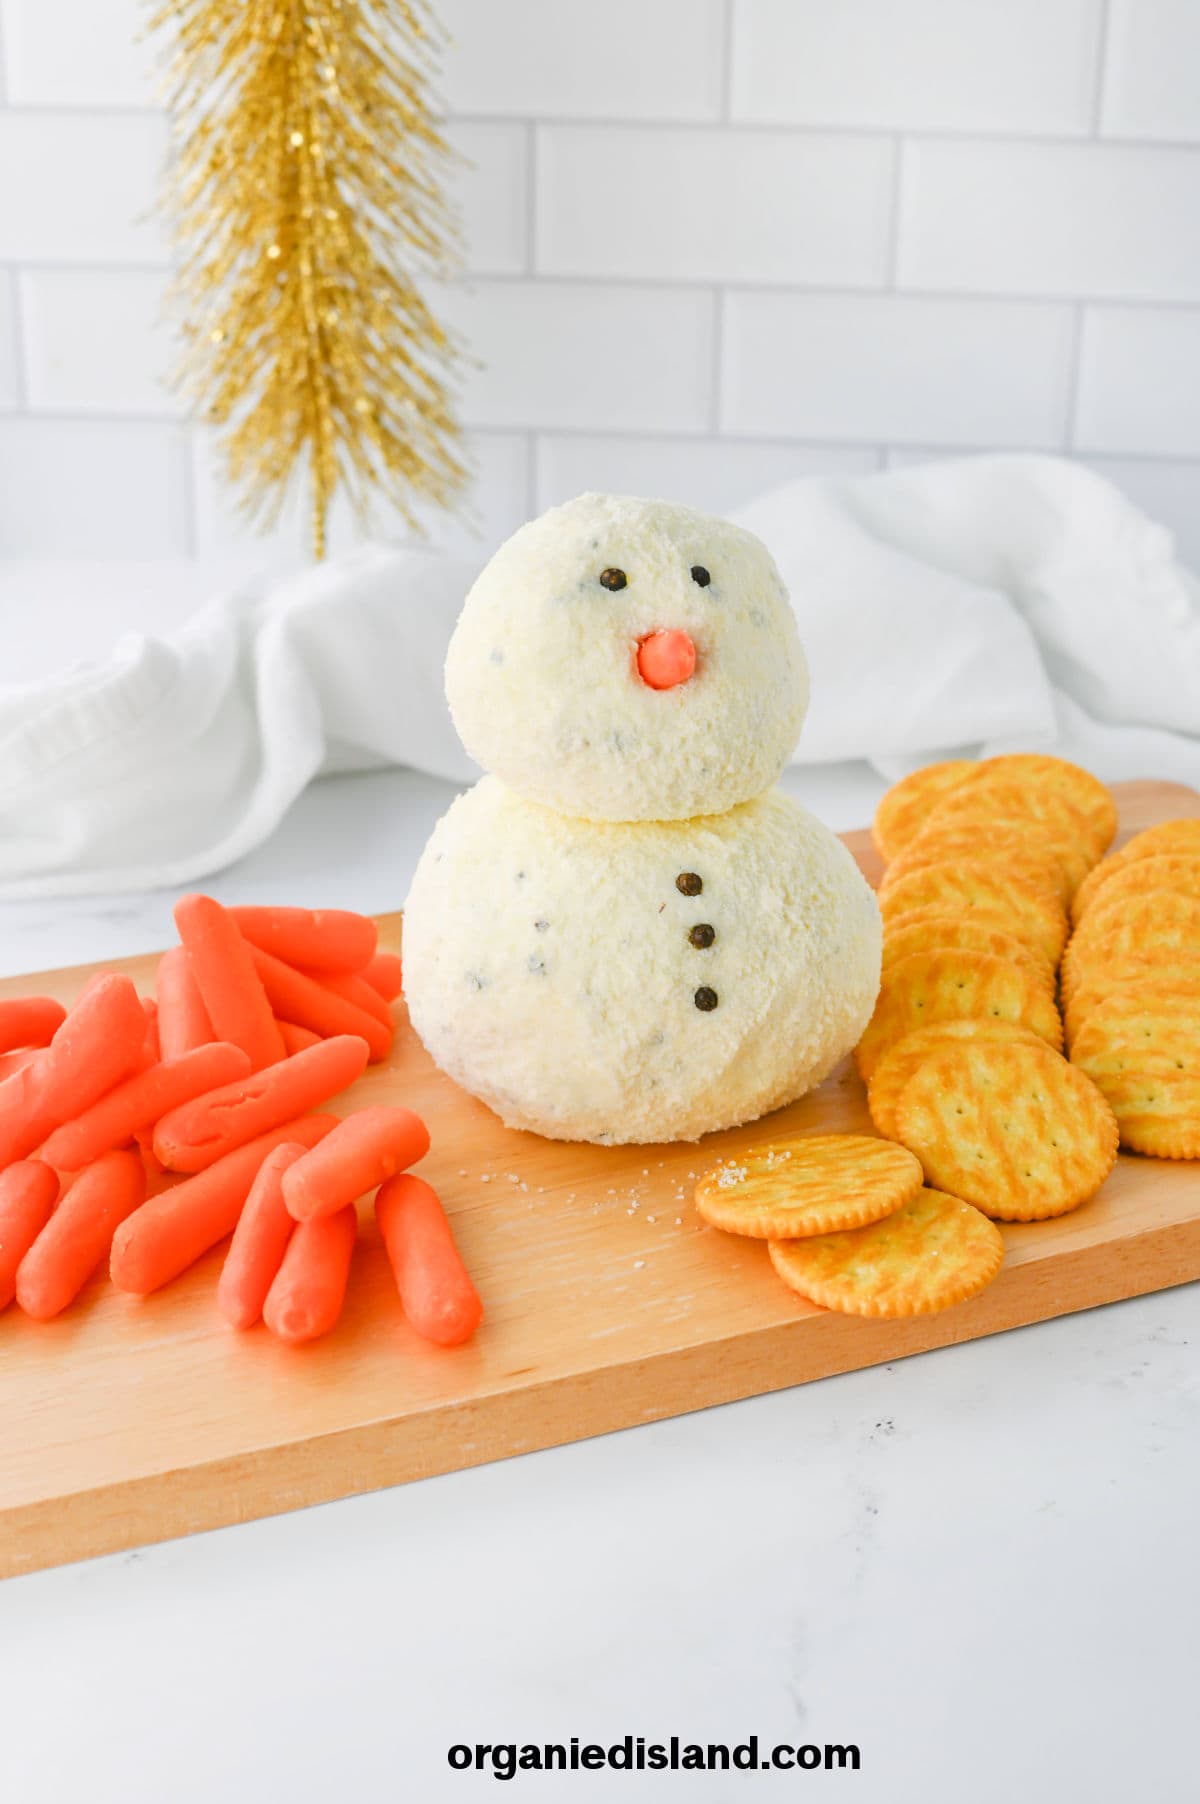
Serve this with my Snowman Cheese Ball, Christmas Wreath Veggie Tray, and my Christmas Fruit Tray,


Christmas Tree Sandwich Stack
Equipment
- 4" food picks
- 4 star cookie cutters
Ingredients
- 4 slices of bread
- 10 slices of salami lunch meat
- 6 slices of cheddar cheese we used Sargento slices
- 24 small pieces of lettuce – we used the Spring Mix from Walmart
- 2 x2 inch x 1 1/2 inch thick piece of white cheddar cheese off the block
Instructions
- Use the star cutters to make shapes for the sandwiches. For the bread, cheese and salami, you will need 2 of each size of the 3 stars from the cookie cutter package for each sandwich. (The smallest star from the other shape cutter will be used in a different step.) You will have to get creative and use the cutters as they fit. The process images help show a visual.
- Cut the cheese black so you have a 1 inch and a ½ inch thick block of cheese.
- Use the tiny star cutter from the fruit cutter set to cut 4 stars out of the ½ inch block. Cut the 1 inch block into 4 cubes.
- To assemble your sandwiches, poke the food pick about halfway into a cube of cheese.
- Now make your first layer. You will use the largest star cutouts for this layer. The order of the layer will be: bread, lettuce, cheese, salami. Slightly alternated the star points of each ingredient, to make it look more tree-like. Repeat this for the second layer.
- Now your third and fourth layers will use the middle size star cutouts, so repeat the previous step with that size.
- Your first and sixth layers will use the small star cutouts, same steps as before.
- Finally, top the tree with the ½ inch thick tiny star cheese.
Notes
If you are not yet subscribing to my CELEBRATE THE SEASON newsletter, you can subscribe here. I share easy recipes for the season that the entire family is sure to love and also a few things that I don’t share here.